There is a history between myself and this feta bread recipe. I’ve been making this cheese bread recipe since I was a student at the uni, more than 15 years ago! Back then, I didn’t have enough time for proper cooking and baking, so this was a great solution as it is easy, quick and makes enough for several days. Of course, I was having other meals during the day, but this feta bread was great as I could wrap it in some foil and take it with me or have it as a go-to breakfast.
Today, I continue making this feta bread and sharing it with friends and family. It’s great for gatherings and buffets, for picnics and walks, for work and lunchboxes. A crowd-pleaser that will often save the day as it’s really quick and only has a few simple ingredients that I usually have in my pantry. So let’s get started!
Jump to:
Why you should try my recipe
- Ready in less than an hour.
- Makes enough pieces to last for a few days.
- Freezable for up to 3 months.
- Easy to pack, great snack for walks.
- Perfect for lunchboxes and little ones.
Ingredients & How-to
To make this easy feta bread you are going to need some yogurt, olive oil, plain flour, baking powder, eggs, feta cheese, hard cheese, oregano, salt & pepper. For full quantities check the recipe down below.

01. I start with mixing the oil and yogurt. I like to use a light olive oil as it doesn’t have such a strong taste but you could use any type you have available at home. As for the yogurt, I’m using 1 cup of greek strained yogurt. If you can’t find strained yogurt or simply just have a different yogurt at home, then you could also use that one but you might have to add a couple of handfuls of flour later on if the dough is too sticky.
02. Now it’s time for the eggs. I’m using 3 eggs for my dough that will bind everything together, help the bread to rise since there is no yeast in this recipe and also give the feta bread a nice yellow color.
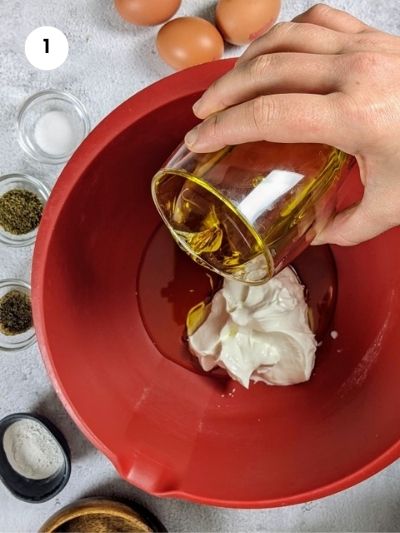

03. Before adding the dry ingredients in, I like to add the seasoning first. Just a little bit of salt, pepper and half a tablespoon of oregano. I find that oregano goes very well with feta cheese and will add a nice aroma to the feta bread, but if you don’t like it or don’t have any at home, then it’s fine to leave it out. As for the salt, be careful not to add too much, as the feta cheese is already quite salty. If you are making the feta bread for little ones or you’re simply careful with your daily salt intake, then it’s absolutely fine to leave the salt out and just add ground pepper and oregano.
04. Using a whisk or a spatula, I mix all the ingredients in the bowl well. Now that the wet ingredients are ready, I’m going to add the dry ones, similar to making a cake.

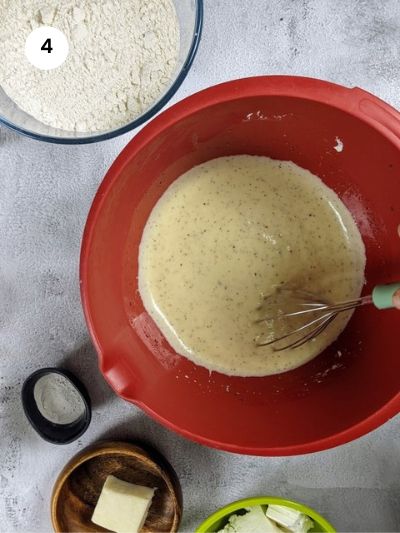
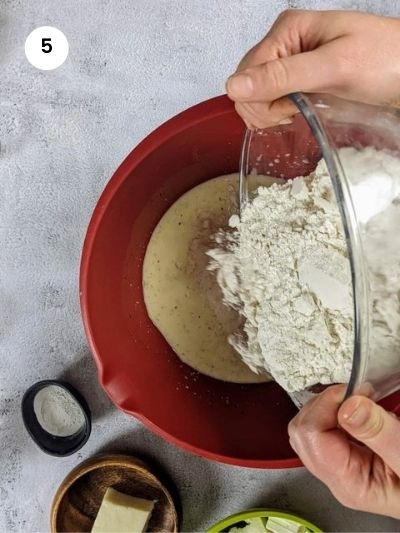
05. I add the flour and baking powder to the wet ingredients. I’m using plain flour and 3 teaspoons of baking powder that are going to help my bread to rise. The texture of this feta bread is not elastic as with usual bread because it doesn’t have any yeast, it’s more crumbly like a savory cake.
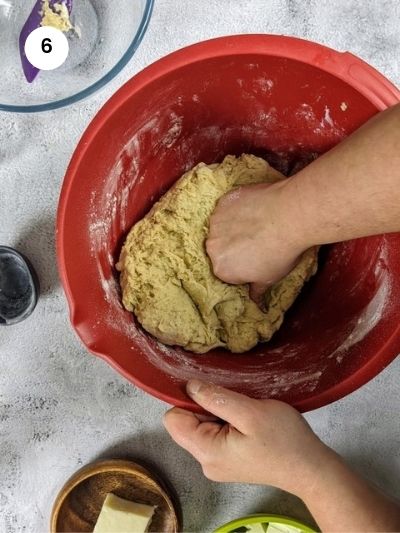
06. Now that the dry ingredients are in, I’m mixing everything well. I use a spatula to start with, and then I continue with my hands. You will need to knead the dough for 3-4 minutes until all the flour is incorporated. The dough shouldn’t be sticking to your hands. If it’s too sticky, then add a handful of flour at a time until it doesn’t stick to your hands.
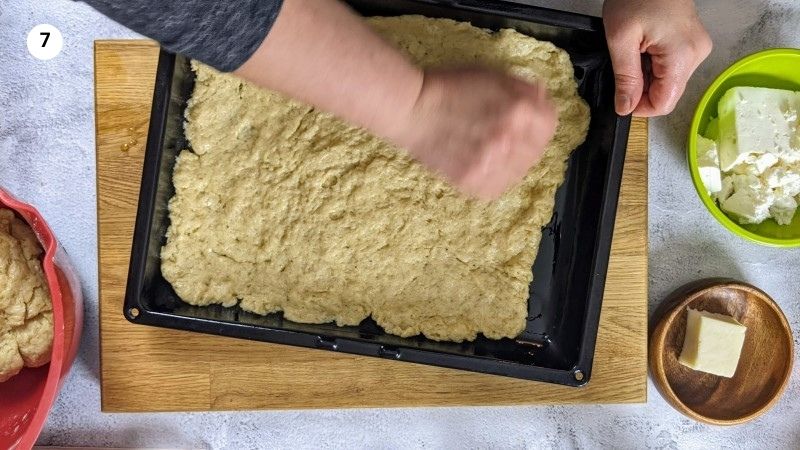
07. Now that the dough is ready, it’s time to assemble the feta bread. I’m using a pyrex tray or an ovenproof dish around 23x33cm or 9x13 inches. I add some oil to the bottom of the tray and then take half of the dough and place it inside. Using my fingers and knuckles, I’m spreading the dough until it covers the entire tray. Don’t worry if it’s too thin, it will rise in the oven.
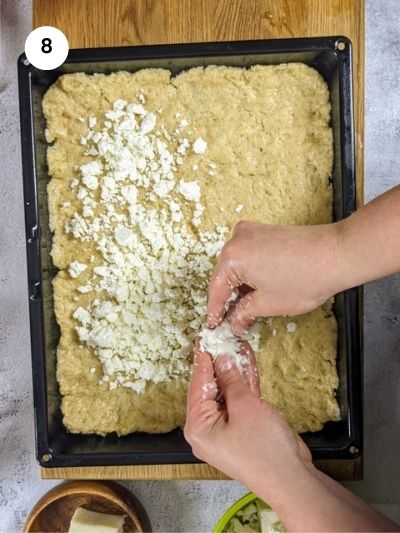
08. Now it’s time to add the cheese. I crumble the feta cheese and added it to the tray, spreading it evenly to cover all areas.
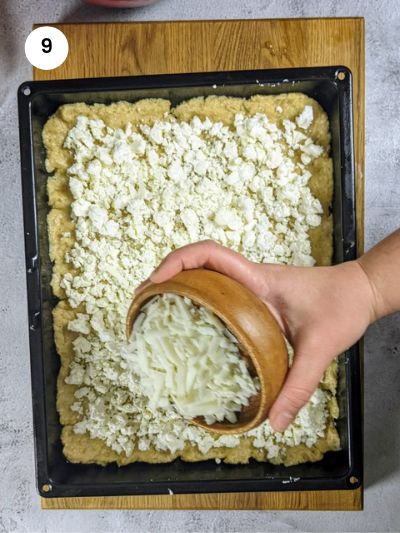
09. I like to use a little bit of hard cheese on top of the feta cheese. I find that it adds to the flavors, but it’s totally optional and you can just stick to feta cheese. If you do decide to add some hard cheese, then you could add some cheddar, romana, manchego, graviera, kefaloturi or another hard cheese that you like and have at home.
Mamazilla's Product Recommendations
This is a set of 2 pyrex baking dishes. Great for casseroles, baked food and puddings and easy to clean.
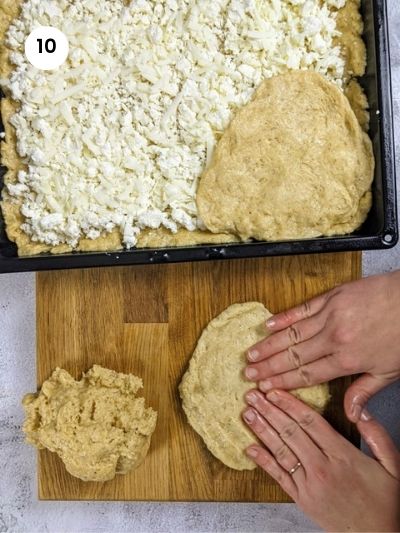
Buy On Amazon10. For the top layer, I’m splitting the remaining dough into 4 pieces. I open each piece with my fingers on my working surface and then place it on top of the cheese. I press the edges together to seal all the pieces. Remember that it will rise so it doesn’t have to be pretty.
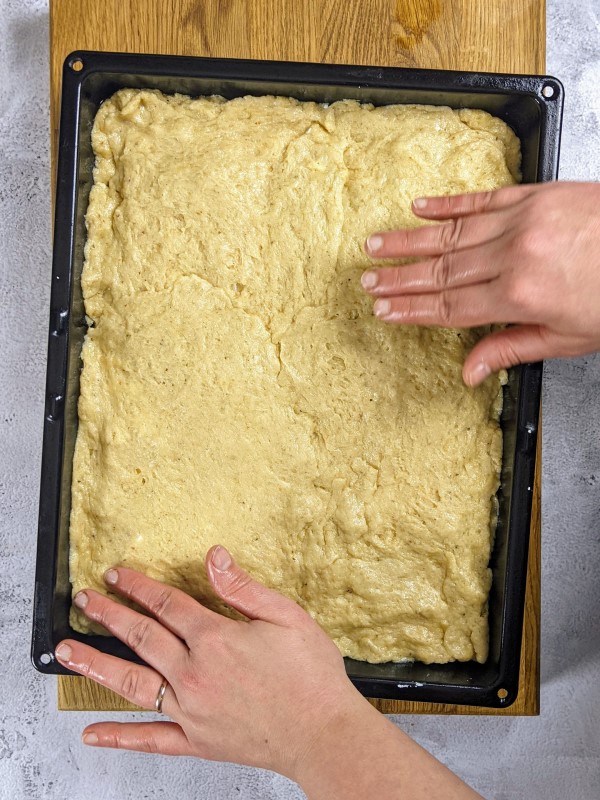
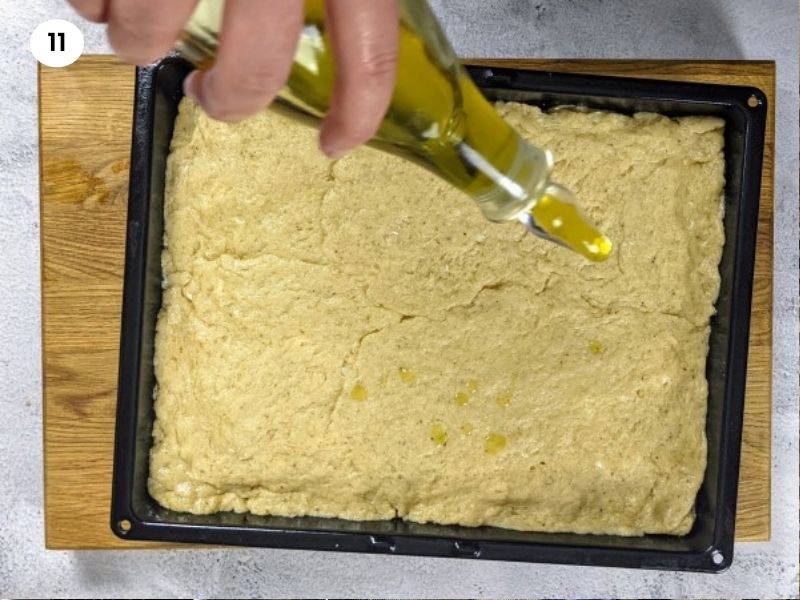
11. Before adding the tray in the oven, I drizzle the top with a little bit of olive oil to get a nice crust. I bake the cheese bread for about 25-30 minutes, depending on the oven. We want the feta bread to have a nice golden brown color when we take it out of the oven.
Serving suggestions
You can have this easy feta bread for breakfast, lunch or as a snack. Perfect for gatherings and buffets, picnics and walks. It’s so versatile!
Storage
You could store the feta bread in an airtight container at room temperature for 2-3 days. After, I recommend storing it in the fridge where it can stay for another 3 days. The feta bread is also freezable for up to 3 months. I usually leave half of it to eat within a couple of days and then cut the other half into square pieces, wrap them with foil or put them in a ziploc bag and put them in the freezer. It only takes a couple of hours to thaw, and then you could either warm them up a little bit or just have them as they are.
FAQ
The main cheese that I'm using in this cheese bread is feta cheese. On top of the feta, I like to add some hard cheese that is going to add a nice flavor to the bread, like cheddar, manchego or the greek graviera or kefaloturi.
This recipe for cheese bread is without yeast hence you don't need to wait for the bread to rise. Instead, the recipe has plain flour and baking powder that is going to help to rise nicely in the oven.
The feta bread can last at room temperature for 3 days or in the fridge for 6 days. It also freezes well, so if you think you are not going to consume it all then let it cool down and store a few pieces in the freezer in a ziploc bag.
Feta bread is suitable for babies and little ones. Just remember that the cheese is already too salty so do not add any extra when making the dough.
If you tried my Easy Feta Bread No Yeast or any other recipe on my website, please leave a 🌟 star rating and let me know how it went in the 📝 comments below. I love hearing from you!
Recipe
Easy Feta Bread No Yeast
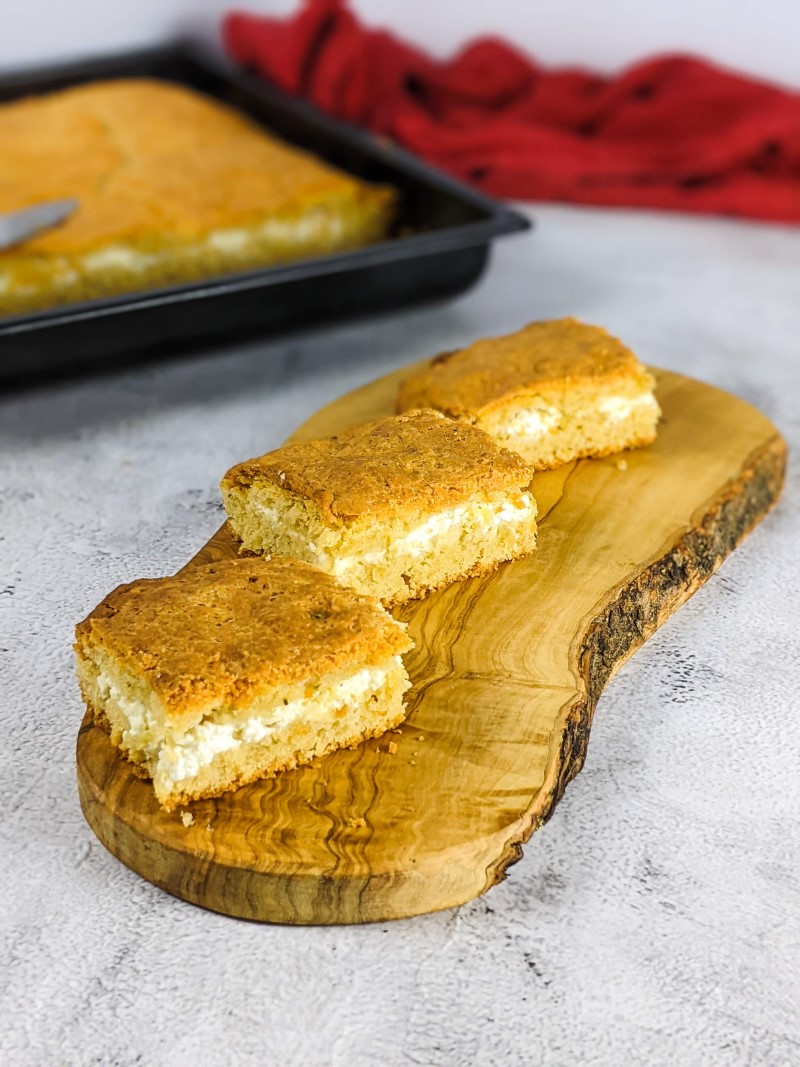
This feta cheese bread is so easy to make and ready in less than an hour. It's tangy from the feta and has a crumbly texture as it doesn't have any yeast. The feta bread recipe will become a go-to meal that you can enjoy for breakfast, snacks and a crowd-pleaser for gatherings and picnics with friends and children.
12 servings
15 minutes
Ingredients
- 1 cup (220gr) greek yogurt
- 1 cup (200gr) olive oil
- 3 ½ cups (500gr) plain flour
- 3 eggs
- 10oz / 300gr feta cheese
- 1.5oz / 50gr hard cheese
- 3 teaspoons of baking powder
- ½ tablespoon of oregano
- 1 teaspoon of salt
- ½ teaspoon of pepper
Equipment
- pyrex tray (paid link)
Instructions
- In a bowl, add the yogurt, olive oil, eggs, oregano, salt and pepper.
- Using a whisk, mix everything well.
- Add the flour and baking powder to the bowl. Start mixing with a spatula and then use your hands. Knead for 3-4 minutes until all the flour is incorporated.
- Add some oil to the bottom of a rectangular tray or ovenproof dish.
- Place half of the dough inside the tray and using your fingers, spread it evenly so it covers all the surface of the tray.
- Crumble the feta and add it to the tray, spreading it evenly around. Grate the hard cheese and add it to the tray.
- Split the other half of the dough into four pieces. Using your fingers, open each piece flat on a working surface and then add it on top of the cheese in the tray.
- Press the edges of each top layer to join them and the sides to join with the bottom layer.
- Drizzle the top with some olive oil and put the tray in the oven.
- Bake for 25-30 minutes in a preheated oven to 180°C/350°F.
Notes
- The top and bottom layers might be a bit thin but the dough will rise in the oven.
- For hard cheese, you could use cheddar, romana, manchego, graviera, kefaloture or a hard cheese of your preference.
- I'm using a rectangular tray 23x33cm or 9x13 inches.
Storage
Store it in an airtight container at room temperature and consume within 3 days or in the fridge for 3 more days. The feta bread is also freezable for up to 3 months.
Nutrition Info (per serving)
I am not a nutritionist. The nutrition information has been calculated using an on-line calculator, and is intended for information and guidance purposes only. If the nutrition information is important to you, you should consider calculating it yourself, using your preferred tool.








Julia
My family loves this feta flatbread, it’s easy to prepare and perfect for lunchboxes and days out.