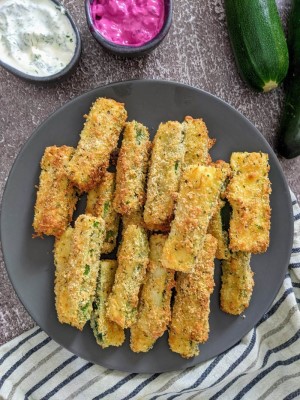
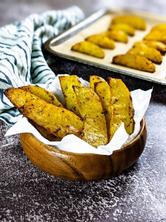
This month my vegetable garden is giving me so many zucchinis, so I decided to share with you some of my favorite recipes where zucchinis are the key main ingredient. For this baked zucchini fries recipe, you will need no oil as we are baking the zucchinis in the oven! They are so delicious and healthy that the whole family is going to love them. They are a big hit with children too as they are very crispy and my little one loves dipping them in yogurt or sauces.
Jump to:
Why you should try my recipe
- Only 6 ingredients that you already have in your pantry.
- It takes only 10 minutes to prepare the zucchini wedges and max 30 minutes to bake them.
- Healthy and light as they are baked in the oven.
- Great dippers in sauces or yogurt for a light snack or side dish.
- A big hit with little children and babies that follow BLW method.
Ingredients & How-to
The recipe has only 6 simple ingredients that you probably already have in your pantry: zucchinis, eggs, hard cheese, flour, breadcrumbs and mixed dry herbs or italian seasoning. That’s it! For full quantities check the recipe down below.

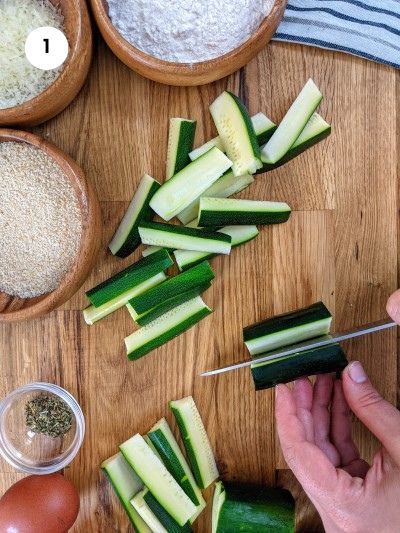
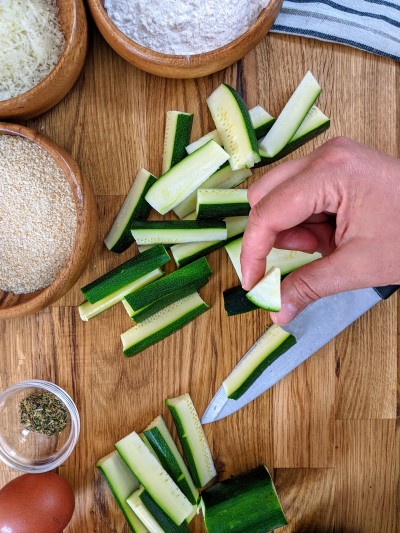
01. I start by cutting the zucchinis into wedges. I first cut each one into 3 as I don’t like the fries to be very very long. Then each third into quarters lengthwise and then in the middle.
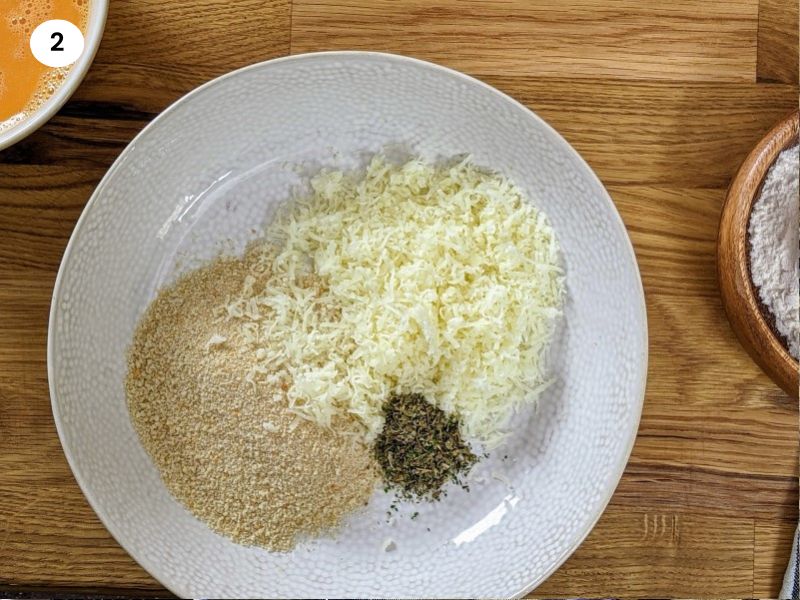
02. In a big bowl, I mix the breadcrumbs, grated cheese and mixed dry herbs and set it aside. You could use breadcrumbs or panko, whatever is easier to find or you already have in your pantry. You could also add some salt and pepper to this mixture. I usually don’t add any, as I like to use hard goat cheese which is already too salty, but I will leave it to you and your preference. In another bowl, I beat the 2 eggs and now everything is ready to start coating the zucchini wedges.
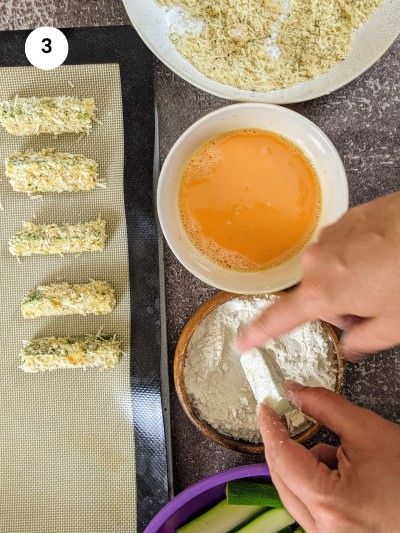
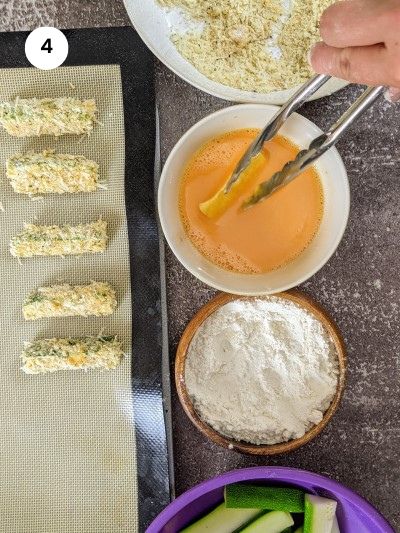
03. Now it’s time to start coating the wedges. The process is simple really: flour, egg then breadcrumb mixture. I first dredge the zucchini wedge into the flour and tap it to get off any excess.
04. Then I dip it into the egg mixture making sure both sides are covered. I like to use some tongues to dip it into the eggs otherwise the tip of my fingers gets very clumpy from the flour and egg.
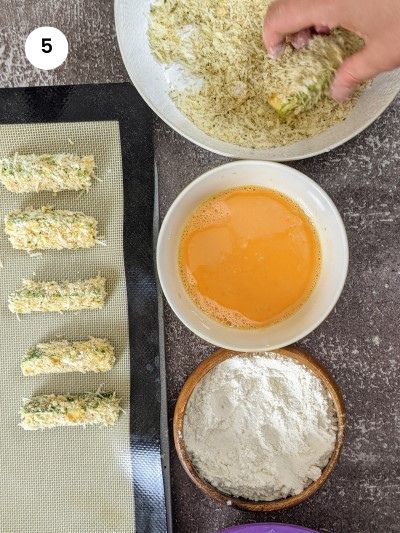
05. Finally, I dredge it in the breadcrumb & cheese mixture making sure the zucchini fries are covered well on all sides.
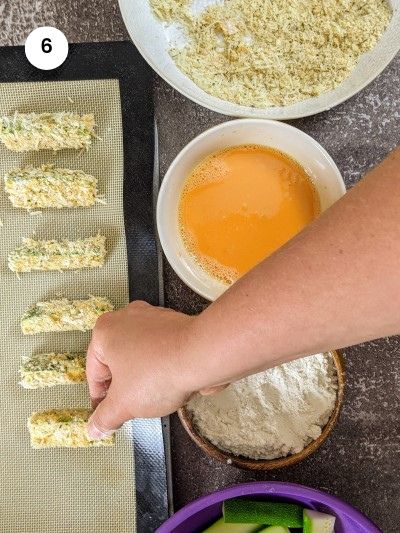
06. Then I place them on a baking tray lined with parchment paper or a silicone mat. I leave a couple of fingers between each zucchini frie for the air to circulate. This helps the zucchini fries to get extra crispy.
Mamazilla's Product Recommendations
Easy to clean stainless steel trays. I have a couple of those for roasting veggies or baking cookies.
Buy On AmazonTips
- Use zucchinis that are medium size. You don’t want the wedges to be too thick as they won’t get too crispy.
- Dry pat the zucchinis with a towel. After washing your zucchinis, make sure you dry them very well with a towel so they don’t get soggy.
- Place all the bowls close to you. To speed up the process place the bowls in order in front of you: zucchinis, flour, eggs, breadcrumbs mixture.
- Use tongs for the eggs. If you use your fingers to dredge the zucchini fries then I recommend using tongs to dip them in the eggs as you will end up having a clumpy mixture.
Serving suggestions
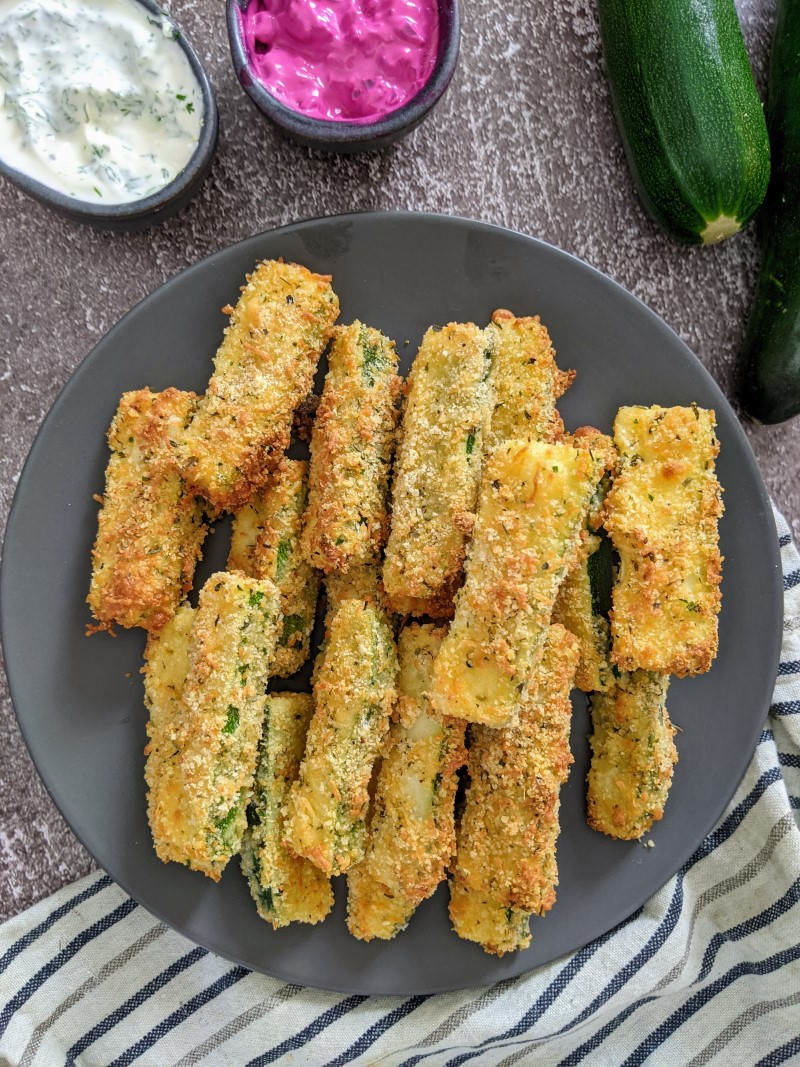
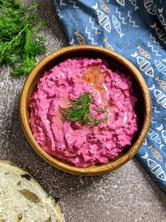
You can have these baked zucchini fries as a side dish with your main or a snack with some sauce to dip them like my tzatziki sauce or another favorite, my beets & yogurt dip. These are also great for babies that follow the Baby Led Weaning method and little ones as they are the perfect size for their little fingers.
Storage
I recommend eating them fresh, as they come out of the oven when they are very crispy and warm. If you decide to store them for the next day, then you will find that they will get softer but still taste nice. You will just lose the crispiness.
FAQ
You could cut the zucchinis into wedges around the size of your finger or into a round shape. You don't want them to be very thick though as they will not cook through properly, and it will affect the crispiness.
You could use your favorite hard cheese to coat the zucchini fries. I've tried it with parmesan cheese and hard goats cheese and the result was good with both.
Baked zucchini fries are great for babies that follow the baby-led weaning method as they are easy to hold with their little hands, and they can be used as dippers for sauces and yogurt. Just make sure you don't add any salt to the mixture.
If you tried my Baked Zucchini Fries or any other recipe on my website, please leave a 🌟 star rating and let me know how it went in the 📝 comments below. I love hearing from you!
Recipe
Baked Zucchini Fries
These zucchini or courgette fries are made in the oven, so you will find no oil in this recipe. They are super healthy, tasty and crispy that everyone is going to love them. You could serve my baked zucchini wedges as an appetizer or snack with a dipping sauce or yogurt on the side.4 servings
10 minutes
Ingredients
- 2 zucchinis / courgettes
- ⅓ cup breadcrumbs
- ¼ cup (25gr) hard cheese
- 1 tablespoon of mixed dry herbs
- ⅓ cup flour
- 2 eggs
Equipment
- baking tray (paid link)
Instructions
- Preheat the oven to 180°C/350°F
- Cut the zucchinis into wedges and set them aside.
- Mix the breadcrumbs, hard cheese, and mixed herbs into a bowl and set aside.
- Add the two eggs to a bowl and mix well.
- Place a parchment paper or silicone mat on a tray.
- Add each zucchini wedge first into flour and remove any excess by tapping gently.
- Then add it to the egg mixture and finally to the breadcrumb & cheese mixture.
- Make sure it's covered well on all sides and place it on the tray.
- Continue with the rest of the zucchini wedges.
- Bake for 25-30 minutes until golden brown flipping them halfway through.
- Serve immediately as they are nice crisp.
Notes
- You could add some salt if you like in the breadcrumb & cheese mixture.
- I haven't tried making the zucchini fries with gluten-free flour so if you do, please leave me a comment below as I would love to know how it went.
Storage
The zucchini fries are better eaten fresh when they come out of the oven as they will become softer on the next day.
Nutrition Info (per serving)
I am not a nutritionist. The nutrition information has been calculated using an on-line calculator, and is intended for information and guidance purposes only. If the nutrition information is important to you, you should consider calculating it yourself, using your preferred tool.




Comments