You will find these sesame seed bagels or ‘koulouria’, as we call them in Greek, in every street corner and bakery when you visit Greece. They are our on-the-go breakfast. People will just grab a coffee and a sesame bagel and head to work, or moms will wrap one and put it in their little one’s lunch box. My husband absolutely loves them and he is looking forward to having them for breakfast when we visit Greece. So I decided to surprise him and make them at home. They were a big hit, so now I’m bound to make them every week!
You will only need a handful of ingredients to make the sesame bread rings and hands-on time is no more than 30 minutes. Similar to making bread, the dough will need to rest for about 2 hours in total, so you do need to be patient. What I usually do is prepare the dough and leave it to rest and rise while I’m doing my other jobs.
Jump to:
Why you should try my recipe
- Easy to follow step-by-step instructions on how to make the most crispy Greek koulouria.
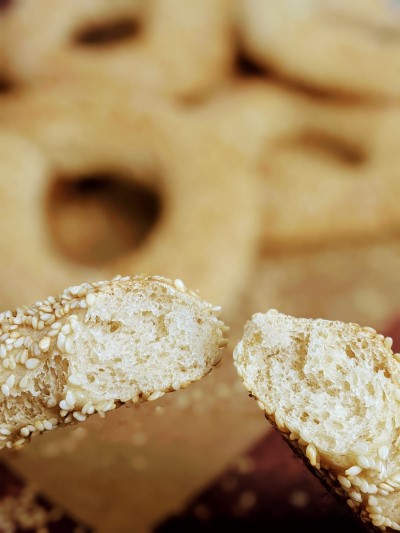
- They are crispy outside and soft in the middle, just like the ones you find in Greek markets.
- Freezable for up to 1 month, so you could make a big batch and have some ready anytime.
- Great healthy treat for lunch boxes, walks and picnics.
Ingredients & How-to
To make the sesame seed bagels you will only need 5 simple ingredients: plain flour, yeast, salt, honey or sugar and sesame seeds. For full quantities check the recipe down below.

Step 1: Activate Yeast
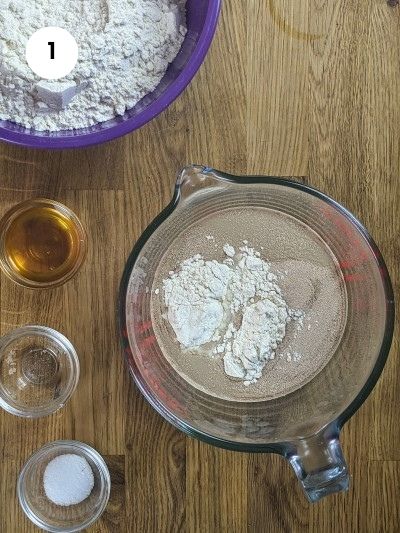
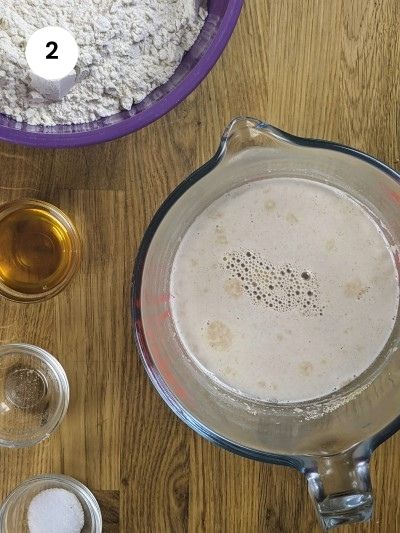
01. In a bowl, I add the lukewarm water. That’s water in a temperature warmer than your body, but not too hot. Then I add the honey and stir a little to dissolve it. Instead of honey, you could also use sugar or any sweetener of your choice. Finally, I add the dry yeast and a couple of tablespoons of flour, and I mix it all well.
02. I cover the bowl with cling film or a towel and leave it to rest for 10 minutes. The yeast will get activated and there will be bubbles and foam at the top. Now we are ready to prepare the dough for the sesame seed bagels.
Step 2: Make the Dough
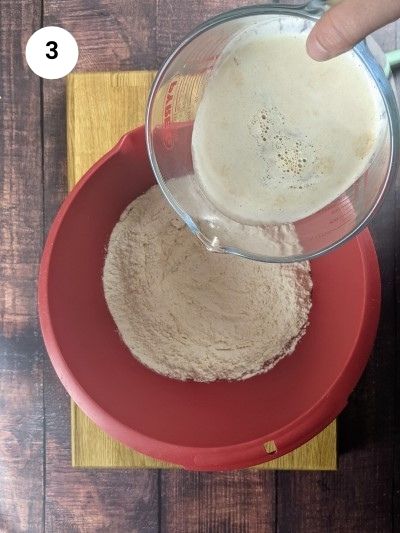
03. In a big bowl, I add the flour and salt and mix them well. I make a well in the middle and start adding the water and yeast mixture.
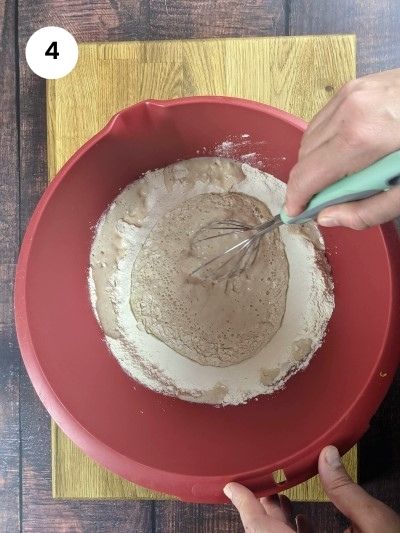
04. With my hands or a whisk, I mix the wet ingredients with the flour. I bring flour from the sides to the middle where the wet ingredients are. Then, using my hands I try to incorporate most of the flour and form into a dough.
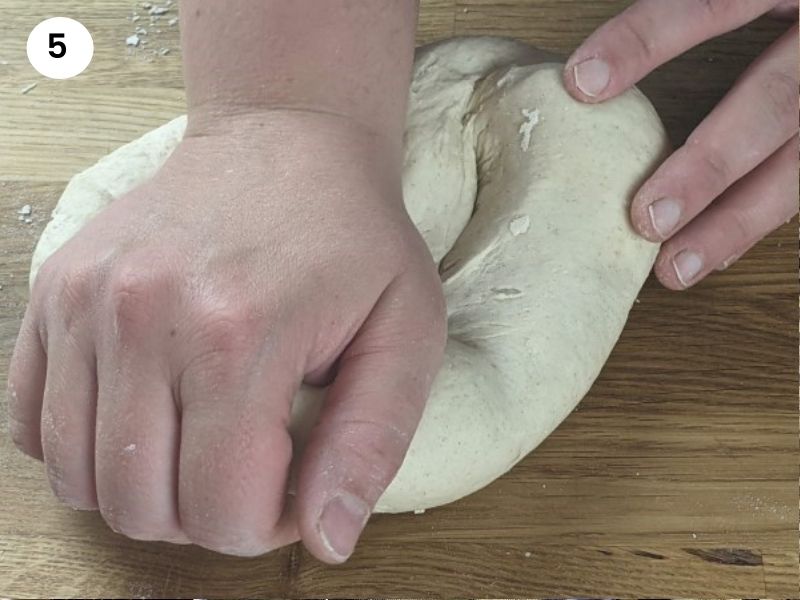
05. Now it’s time to start kneading the dough. I place on a wooden board the dough and any flour that is left in the bowl. I start kneading by holding the dough with one hand and stretching it using the bottom part of my other hand. It will take around 8 to 10 minutes to get an elastic, soft dough.
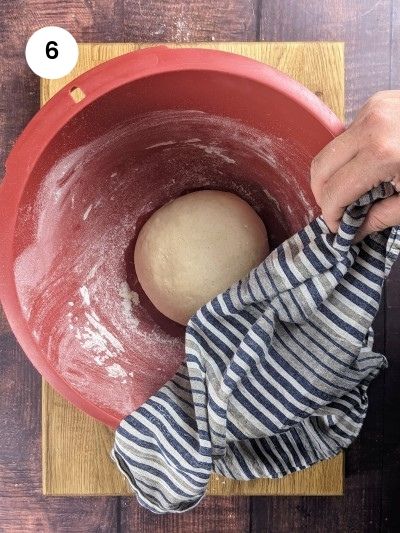
06. I form the dough into a big ball. Then, I add a little bit of oil to the bottom of the bowl and place the dough ball in. I cover with a towel and place the bowl to a warm area in my house.
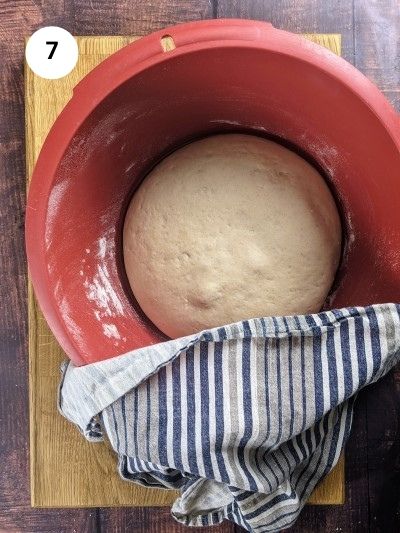
07. I leave the dough to rest and rise for around 1 ½ hours. If your house is cold, you could cover the bowl with a blanket to keep it warm. The dough will be double in size after resting. I place the risen dough on my working surface and knead for a minute to remove all the air bubbles.
Step 3: Form Bread Rings
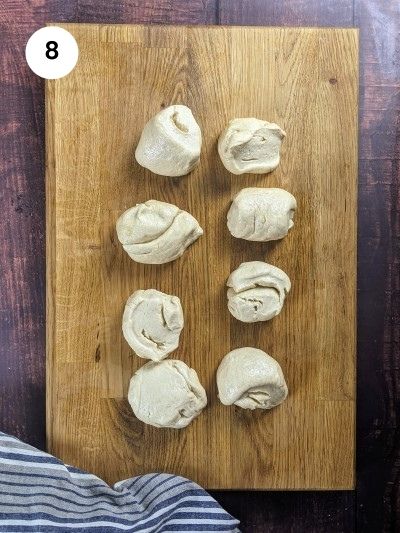
08. I form the dough into a big roll. Then, I cut it into 8 pieces using a knife or a dough scraper. Each piece is around 90 grams / 3.2 oz.
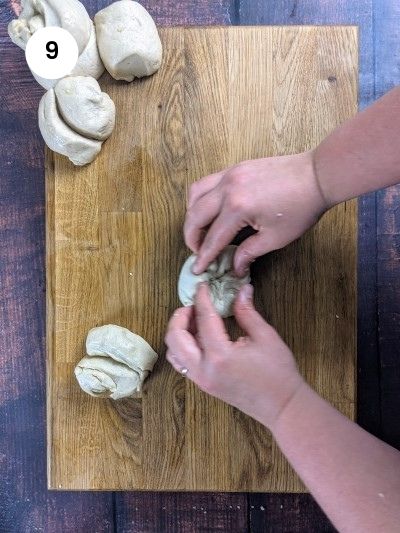
09. I take each dough piece and knead it a little bit to form a dough ball.
Mamazilla's Product Recommendations
This one is one of my favorite kitchen tools. I use it for dough and baking but also when I want to move my chopped vegetables from the chopping board to the pot. Love it!
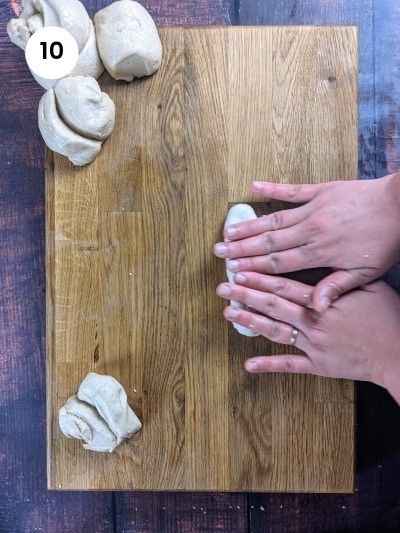
Buy On Amazon10. Using my fingers, just above my palm, I start rolling the dough into a sausage roll.
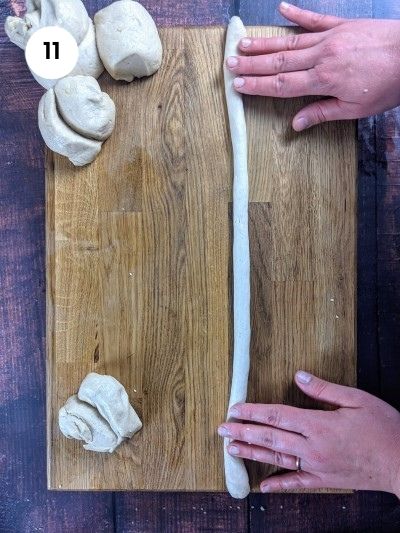
11. The dough roll should be thin and long, around 45cm or 18 inches. Try to roll each dough ball into the same length so they are baked evenly in the oven.
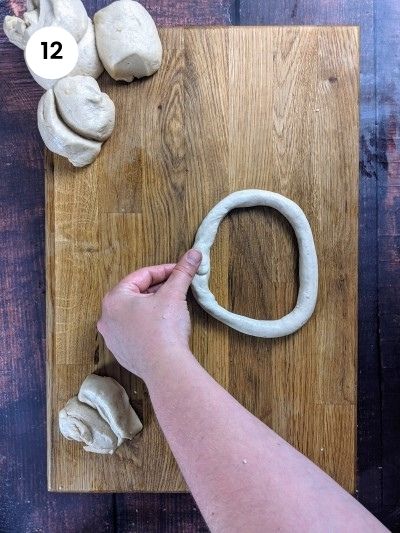
12. Then, I press the two ends together to form a circle.
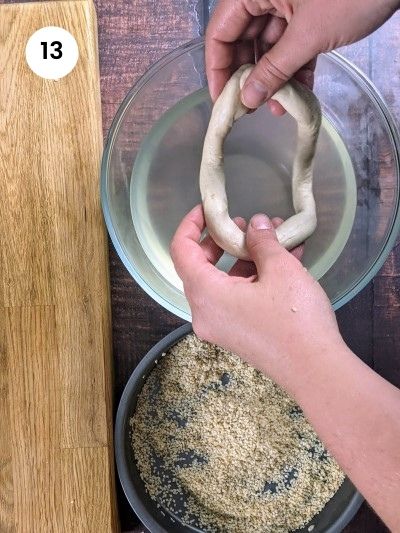
13. In a bowl, I add about 2 cups of water and add some honey or sugar. When each bread ring is rolled out, I dip it in the water bowl for a couple of seconds. The honey or sugar in the water helps to get that shiny look on the outside when the sesame seed bagels are baked.
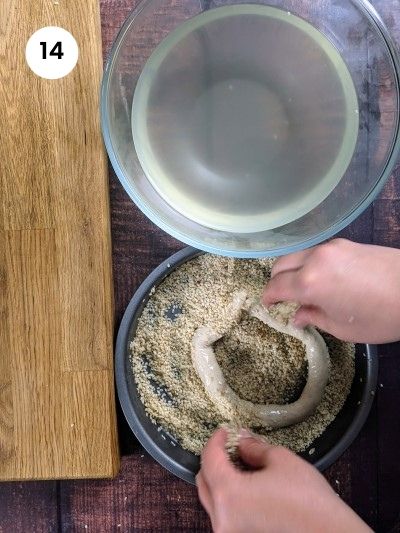
14. Right after dipping the bread ring in the water, I place it on a tray with sesame seeds. I cover the bagel with sesame seeds all around, on both sides.
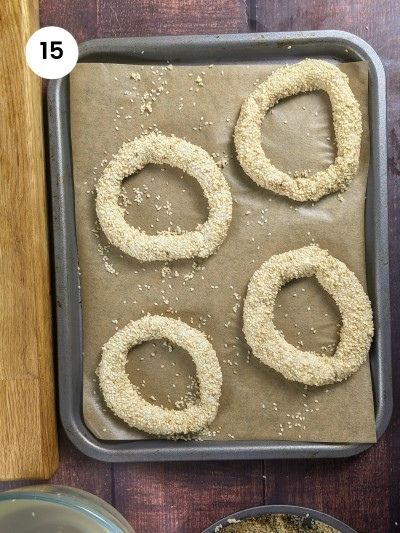
15. Then I place the sesame seeds bagel on a baking tray lined with parchment paper. Don’t put more than 4 bread rings on each tray as they will get bigger and we don’t want them to stick to each other. I cover the bagels with a tea towel and leave them to rest for 30 minutes.
Mamazilla's Product Recommendations
Easy to clean stainless steel trays. I have a couple of those for roasting veggies or baking cookies.
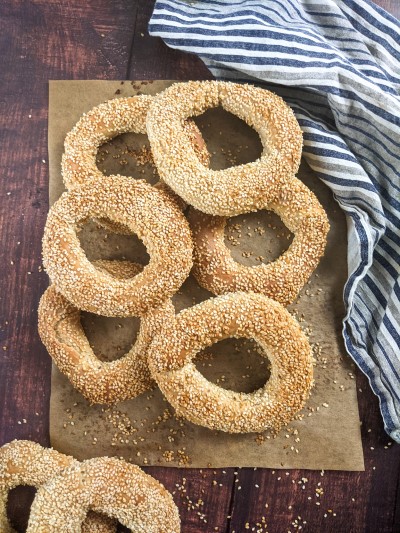
Buy On Amazon16. Finally, it’s time to bake the Greek koulouria or sesame seed bagels. I bake one tray at a time on a preheated oven to 200°C/390°F. They will need just 15-20 minutes to get a nice golden brown color.
Serving suggestions
We usually have these sesame seeds bagels as a morning snack or breakfast. You can have them with your coffee or tea, cut them in half and add some honey or peanut butter or cheese spread. They are so versatile! You could put them in your bag when you are out on a walk as it’s easy to pack them or take some on a picnic.
Greek sesame bread rings are also a great for little ones and babies that follow the Baby-Led Weaning method as they are easy to hold with their little hands and very soft in the middle. If your little ones are going to school, you could put them in their lunch box and have them as a healthy treat. Since they contain honey or sugar, I recommend sharing the bagels with little ones over the age of 12 months. You could also reduce the amount of sugar or honey to half for a healthier choice.
Storage
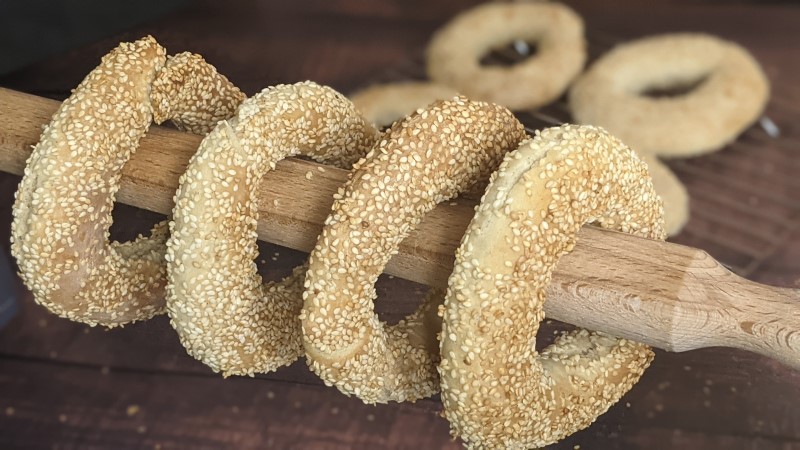
I recommend storing the sesame seeds bagels in a bread bin or a bag in room temperature. They are also freezable for up to 1 month. Let them cool down completely, put them in a ziploc bag and place in the freezer. When defrosted, they will be like freshly baked.
FAQ
Lukewarm water is water in temperature between 98-105 degrees Fahrenheit or 36.5-40.5 Celsius. It's not too hot nor too cold, when you run water on your wrist it's just a bit warmer than body temperature.
Any remaining sesame seeds might be wet from dipping the wet bagel. You could either leave them outside for a day to dry and then store them in a jar or bag, or you could put them in a pan and toast them for 30sec and then store them.
Sesame seed bagels are freezable for up to 1 month. After they cool down completely, place them in a ziploc bag or wrap each one individually with some kitchen foil and put them in the freezer. To defrost, take them out of the freezer the night before and allow them to come to room temperature and get soft before consuming.
Sesame seed bagels are suitable for babies from 12 months old since they contain honey or sugar. You could reduce the amount of sugar to half if you are making the bagels for your little ones.
If you tried my Greek Koulouria - Sesame Seed Bagels or any other recipe on my website, please leave a 🌟 star rating and let me know how it went in the 📝 comments below. I love hearing from you!
Recipe
Greek Koulouria - Sesame Seed Bagels
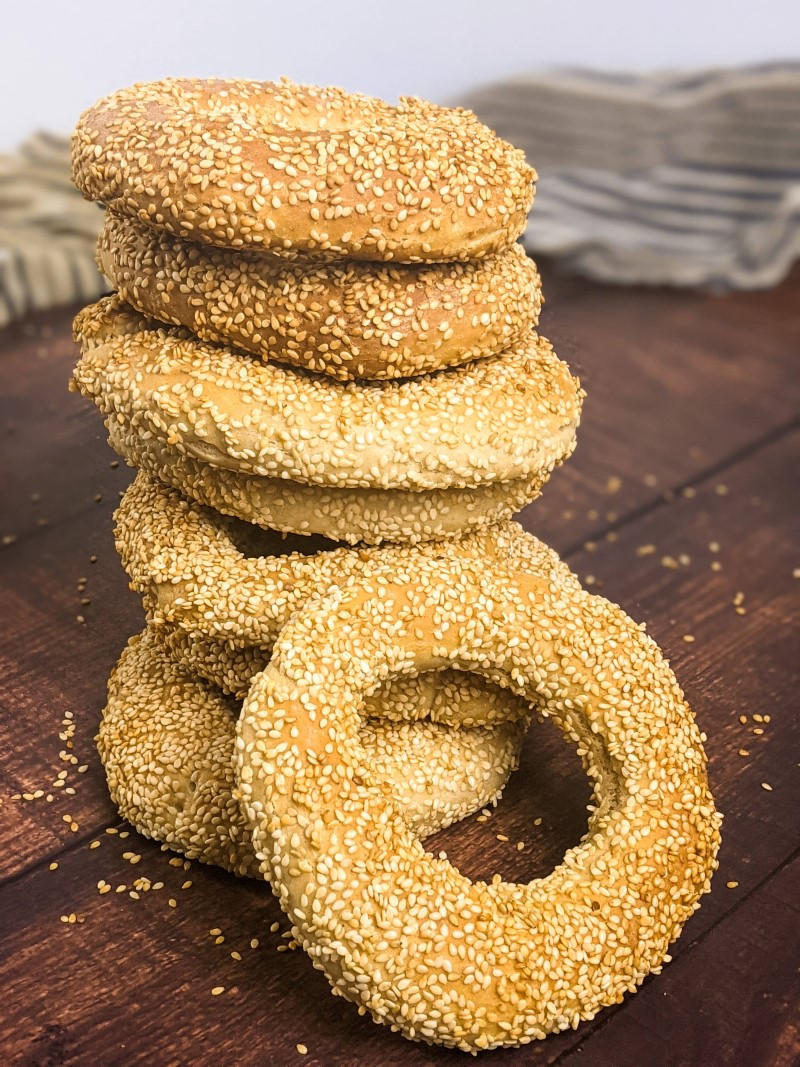
These delicious, crispy sesame bread rings are the most popular on-the-go Greek breakfast. They are very easy to prepare, all you need is patience for the dough to rest & rise. Try them plain with your coffee or tea, take them with you when you are out and about or put them in your lunch box.8 pieces
30 minutes
Ingredients
- 2 ½ cups plain flour
- 1 cup sesame seeds
- 1 cup lukewarm water
- 1 teaspoon of salt
- 1 sachet or 8gr or 2 ¼ teaspoons of dry yeast
- 2 tablespoons of honey or sugar
- 1 tablespoon of olive oil
Equipment
- dough scraper (paid link)
- baking tray (paid link)
Instructions
- Add the lukewarm water to a bowl. Add one tablespoon of honey or sugar and stir to dissolve it.
- Add the dry yeast and 2 tablespoons from the flour to the water mixture.
- Stir to combine all ingredients. Cover with cling film or a towel and leave it to rest for 10 minutes. After 10 minutes, the activated yeast will be foamy at the top and that means it's ready.
- In a big bowl, add the flour and salt and stir a little to combine them.
- Make a well in the middle and add the water and yeast mixture. Using your hand or a whisk, start bringing flour to the water and mixing the two.
- When most of the flour is absorbed, empty the dough and the flour on a surface to start kneading.
- Knead the dough for 8-10 minutes until it's soft and elastic. When you are done with kneading, form the dough into a ball.
- Add a tablespoon of olive oil to the bowl and place the dough ball in. Cover with a towel and place the bowl in a warm area of your house for 1 ½ hours.
- When the dough has doubled in size, place it on a surface and knead for a minute to get all the air bubbles out.
- Form into a big roll and cut it into 8 pieces. Roll each piece into a ball.
- Add some water to a bowl, around 2 cups, and add one tablespoon of honey or sugar. Stir to dissolve. Add the sesame seeds to a wide tray.
- Take one dough ball and start rolling it into a long sausage shape. Press the two ends together to form a circle.
- Dip the bread ring into the bowl with the water. Then place it on the tray with the sesame seeds and cover with sesame all around.
- Place the sesame bread ring on a baking tray lined with parchment paper.
- Continue with the rest of the dough balls. You will need two baking trays, each will have four sesame bagels.
- Cover the bread rings with a towel and leave them to rest for 30 minutes. In the meantime, preheat the oven to 200°C/390°F.
- Bake one tray at a time for 15-20 minutes or until the Greek sesame bagels are golden brown.
Notes
- You can use honey, sugar or any other sweeteners of your choice.
Storage
Store the Greek sesame seed bagels in a bread bin for up to 3 days. The next day, they will not be as crispy as when coming out of the oven but still taste as good. Sesame bread rings are also freezable. When they cool down completely, put them in a ziploc bag in the freezer for up to 1 month.
Nutrition Info (per serving)
I am not a nutritionist. The nutrition information has been calculated using an on-line calculator, and is intended for information and guidance purposes only. If the nutrition information is important to you, you should consider calculating it yourself, using your preferred tool.








Fufu
Oh my god I’ve been looking for this bagel recipe everywhere! It’s an old childhood favourite Greek snack of my mothers when she was a child! I haven’t been able to find any other bagel recipes of this & it turned out fantastic! My mother loved them saying it reminded her of her mothers baking, as a 16 year old I’m quite proud of myself because it was honestly quite hard with the yeast & dough but I think it turned out great! definitely will have to use this recipe again in the future, now my mothers begging me to make them again!😅🇬🇷❤️🥯
Julia
Thank you for giving my recipe a try, Fufu! I’m so happy that your mother enjoyed them and that they brought back fond childhood memories for her. Yeast doughs can be a bit tricky at times, but it sounds like you did a fantastic job!