Easter cookies are one of those things that you can find in all Greek houses during the festive season. We usually make them one or two weeks before Easter, but are not allowed to eat any until Easter day because of the Lent. In the past, you couldn’t find any of today’s raising agents like baking powder, so they were using baking ammonia for the cookies to rise and be fluffy.
Although, many traditional baking recipes for koulourakia (Greek biscuits) and other sweet indulgences require ammonia as a raising agent, it’s not something you can easily find outside of Greece. In this recipe for Greek Easter cookies, I have adjusted the ingredients and found the perfect balance, using a mix of baking powder and baking soda, that makes the fluffiest cookies with a crunchy exterior and delicious orange taste and aroma. Let’s get started!
Jump to:
Why you should try my recipe
- Easy to follow step-by-step instructions on how to make the best Greek Easter cookies.
- Soft in the middle and crunch outside.
- Ready in less than an hour.
- A whole batch that can last for a few weeks if you can resist.
Ingredients & How-to
For these Greek Easter cookies all you need is some cold butter, plain flour, granulated sugar, eggs, milk, an orange, baking powder, baking soda, salt and vanilla extract.

1. Preparing the cookie dough
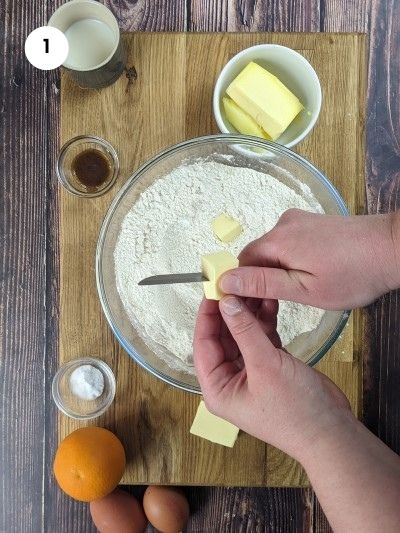
01. To start, I’m mixing the dry ingredients in a big bowl, the flour, sugar, baking powder and salt. Then, I’m adding the cold butter to the mixture cut into cubes. I prefer to add the butter cold rather than at room temperature or melted as it helps the cookies to turn out more crunchy and it’s also easier to shape them later on.
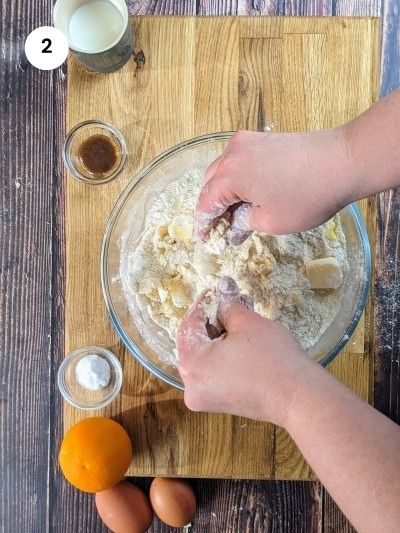
02. If you have a food processor, then you can just mix it for a minute until the mixture resembles breadcrumbs. If you don’t, then use your fingertips and rub the butter with the flour until it resembles fine breadcrumbs. Try to work as quickly as possible, as the butter will start to get soft in time.
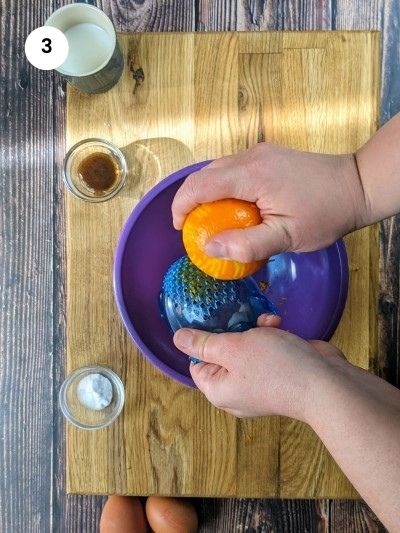
03. Now, it’s time to prepare the wet ingredients. In a different bowl, I’m adding the zest from one orange and ¼ cup (60ml) of the juice from the orange. As every orange is different and some of them are much juicer than others, I prefer to give you an exact measurement as this can affect how much flour needs to be added.
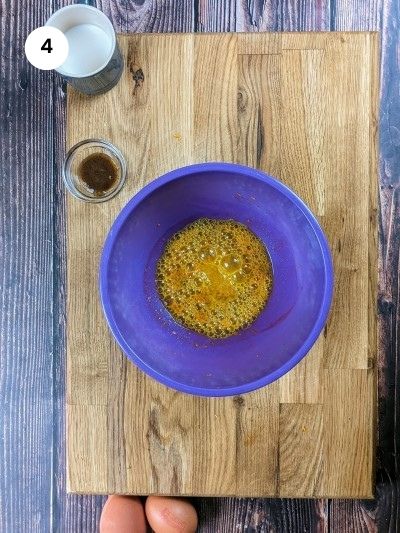
04. Another raising agent that I’m using for the Greek koulourakia is baking soda. I’m adding ½ teaspoon of baking soda to the orange juice and gently stirring. You will notice that the mixture will start immediately foaming as the soda reacts to the acidity of the orange.
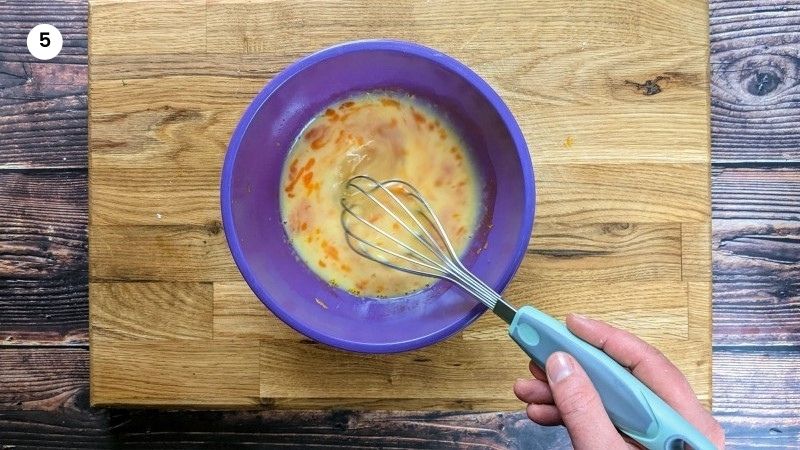
05. Finally, I’m adding the rest of the wet ingredients to the bowl, the milk, vanilla extract and two eggs. With a whisk, I’m mixing everything well, making sure that the egg whites and yolks are blended.
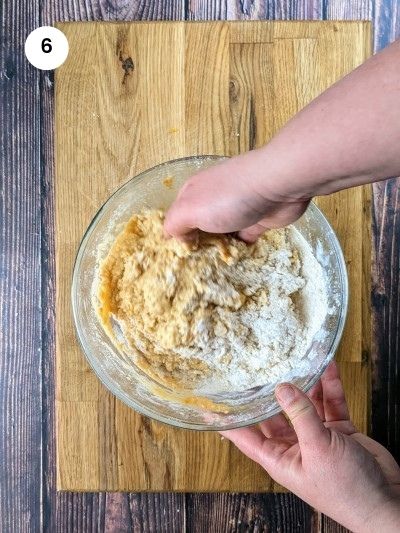
06. I’m making a little well in the flour mixture and then, I empty the bowl with the wet ingredients into the flour. Now, you could either use your hand to mix everything together or, if you don’t like that sticky feeling between your fingers, you could use a spatula to start with and then some gloves. I prefer to knead the dough with bare hands as I can feel how sticky and hard it is.
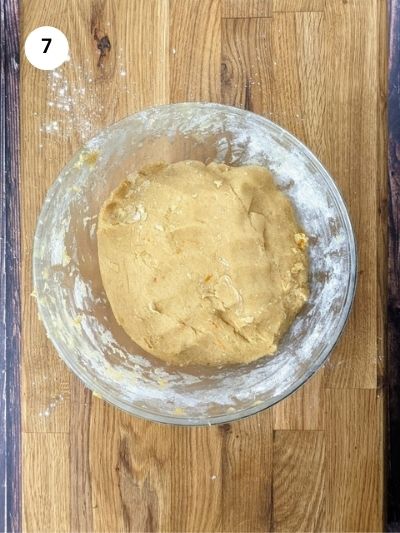
07. After all the flour is incorporated, the dough shouldn’t be sticking too much to your fingers. It will be soft, not hard like bread dough. If it feels too sticky, add a handful of flour at a time but no more than 3 until it feels more smooth and non-sticky. Then I cover the dough with a tea towel and put it in the fridge to rest for 10 minutes. That will help to form the cookies easier, as the butter will get cold and the gluten to develop.
2. Shaping the Easter cookies
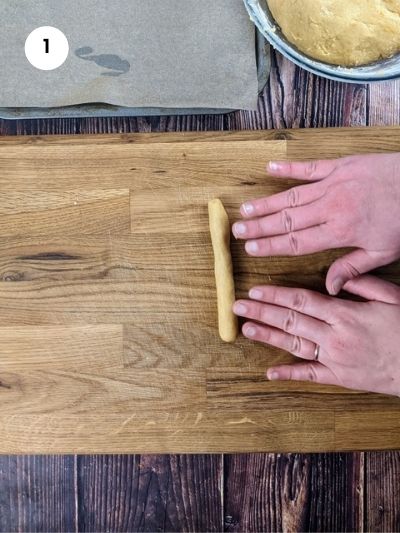
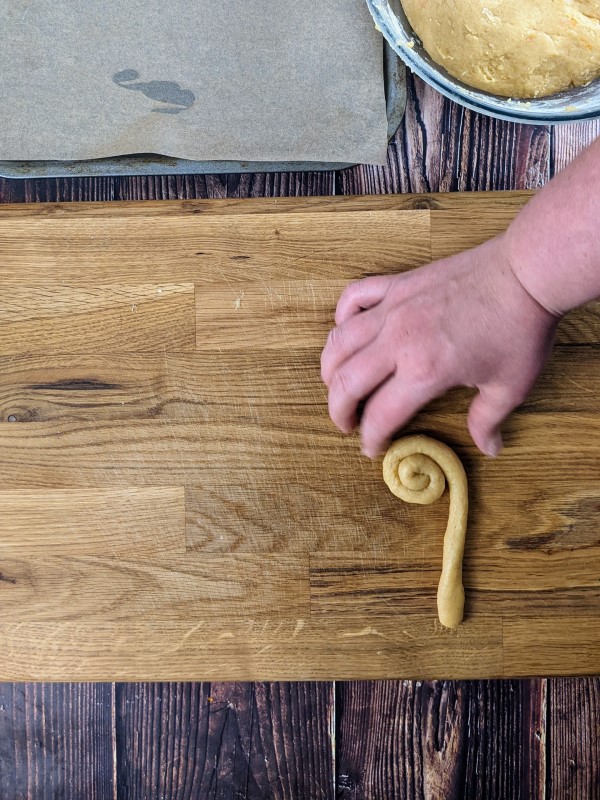
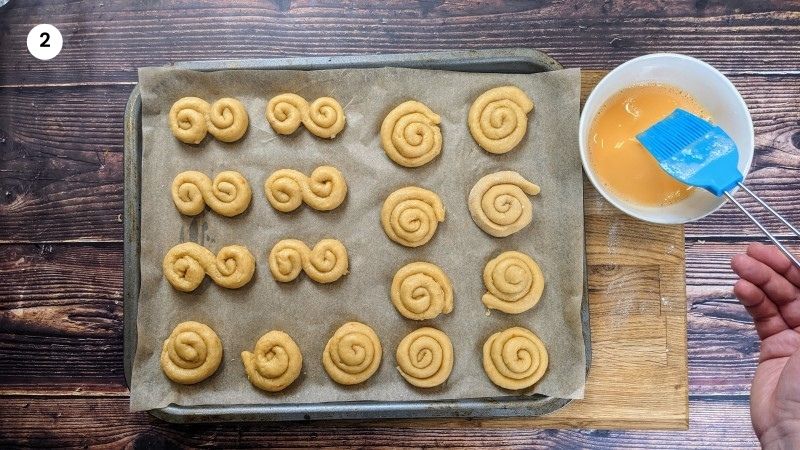
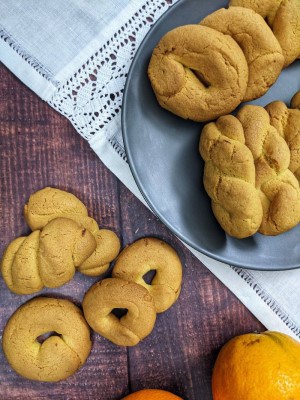
01. Now it’s time to start shaping the cookies. I take a small piece of dough and shape it into a ball with my palms. It should be a similar size to a meatball, around 35 grams. Then, using my fingers I roll it into a rope. Now, you could form different shapes, just use your imagination. I usually make little braids, coil shapes or S shape cookies. If you have little ones, you could get them involved in shaping the cookies.
I place the cookies in a lined baking tray leaving about a finger space between the cookies.
02. Before putting the cookies in the oven, I’m mixing well an egg with a tablespoon of water to make an egg wash. I brush the cookies and then bake in a preheated oven. It takes between 12-14 minutes for the cookies to get ready so do keep an eye on them as you don’t want them to get burnt.
Mamazilla's Product Recommendations
Easy to clean stainless steel trays. I have a couple of those for roasting veggies or baking cookies.
Buy On AmazonServing suggestions
Although we traditionally make these cookies for Easter, there is no reason you couldn’t enjoy them all year round. You can enjoy a couple with your morning coffee and for the little ones, they can dip them in a glass of milk.
Storage
You could store the Greek Easter cookies at room temperature for up to 4 weeks in an airtight container.
FAQ
If the cookie dough is a little bit sticky, then leave it in the fridge for 10 more minutes to rest. That helps the butter to get colder and then it will be easier to shape the cookies. However, if the dough is too sticky and there is a significant amount staying on your fingers when handling it, then you will need to add more flour. To avoid the dough getting too hard, I recommend adding just one handful at a time, incorporating it and checking if you have reached the desired texture.
Koulourakia can last up to 4 weeks at room temperature, stored in an airtight container. They might get a bit softer and lose some of their crunchiness compared to when fresh but they will still taste great.
If you tried my Greek Easter Cookies - Koulourakia or any other recipe on my website, please leave a 🌟 star rating and let me know how it went in the 📝 comments below. I love hearing from you!
Recipe
Greek Easter Cookies - Koulourakia
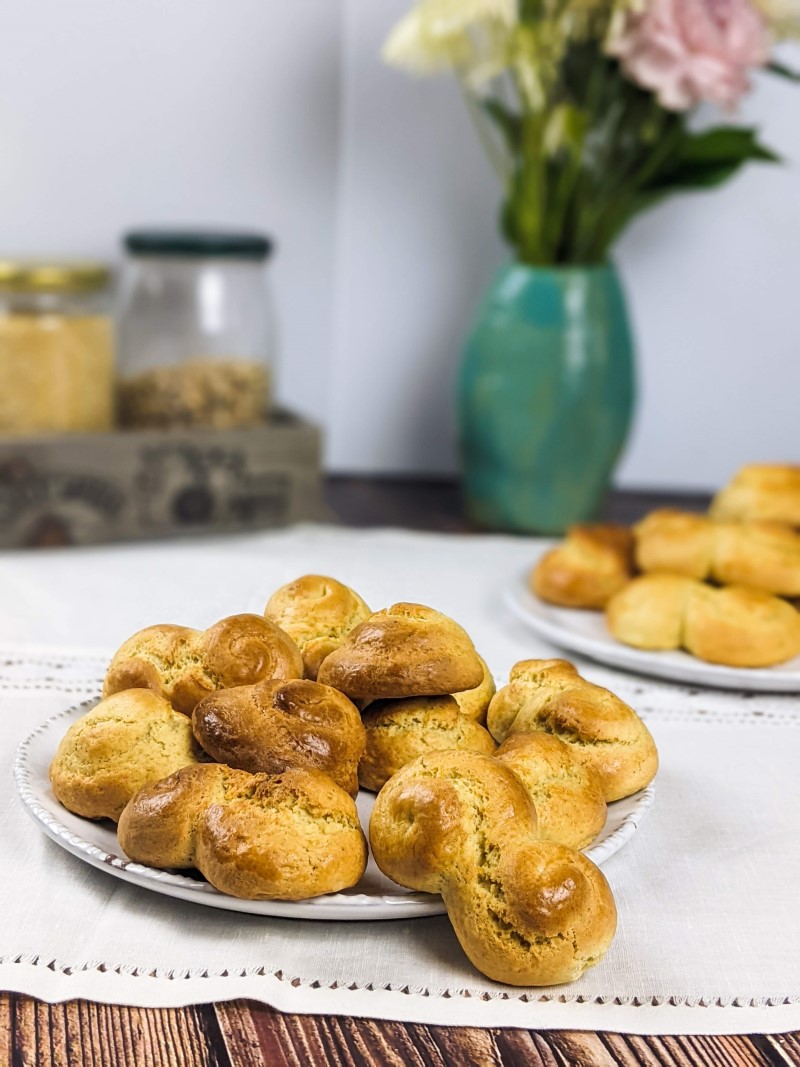
This recipe for Greek Easter cookies or koulourakia as we call them in Greek, makes the most light and soft cookies that are crunchy outside and with a distinct orange flavor. Everyone is going to love them! Shape them into different shapes and why not get the whole family involved. Enjoy!35-40 cookies
40 minutes
Ingredients
- 1 stick / 115gr cold butter
- 4 ⅓ cups / 550gr plain flour
- ¼ cup / 60ml milk
- 1 cup / 200gr granulated sugar
- 2 eggs (plus 1 egg for brushing)
- 2 teaspoons of baking powder
- 1 teaspoon of vanilla extract
- zest from 1 orange
- ¼ cup / 60ml orange juice
- ½ teaspoon of baking soda
- ¼ teaspoon of salt
Equipment
- food processor (paid link)
- baking tray (paid link)
Instructions
- In a bowl, mix the flour, sugar, baking powder and salt. Add the cold butter cut into cubes.
- Using your fingertips, rub the butter with the flour mixture until it resembles breadcrumbs.
- In a different bowl, add the zest from the orange and the orange juice. Add the baking soda and stir until it starts foaming.
- Add the milk, vanilla powder and 2 eggs to the mixture. Whisk until everything is mixed well.
- Make a well in the flour and add the wet ingredients. Using your hands or a spatula, start mixing until it becomes a non-sticky dough. If it's too sticky, add one handful of flour at a time. Place the dough in the fridge to rest for 10 minutes.
- Take a small piece of dough, similar to a meatball size or around 35gr, and shape it into a ball in your palm. Roll it into a rope and then form different shapes like coil, braid or S shape and anything you like.
- Place the cookies on a tray lined with parchment paper. Leave around a finger space between them.
- Brush them with egg wash, a mixture of one egg with a tablespoon of water. Bake them for 12-14 minutes in preheated oven to 180°C/350°F until they have a nice golden color.
- When they come out of the oven, allow them to cool down before moving them.
Notes
- This recipe yields around 35-40 cookies, depending on the size. Try to shape them the same size to cook uniformly.
- Leave some space between them on the baking tray as they will get bigger.
Storage
Store the Greek Easter cookies at room temperature for up to four weeks.
Nutrition Info (per serving)
I am not a nutritionist. The nutrition information has been calculated using an on-line calculator, and is intended for information and guidance purposes only. If the nutrition information is important to you, you should consider calculating it yourself, using your preferred tool.






Comments