These Greek sweet breads or tsourekia as we call them in Greek are a staple of Greek Easter celebrations and beyond. They have a distinctive aroma from the mahlepi and mastiha spices that make them unique from other brioche bread types. If you have a stand mixer, then it’s very easy to make them and it’s just a matter of waiting for the dough to proof. If you’d like to go the traditional way and knead by hand then it requires more energy, but the result will definitely reward you.
The tsoureki bread is very similar to the vasilopita sweet bread if you have ever tried it. The difference is that Greeks usually have them for Easter and they like to add a red hard-boiled egg in the middle. In my family, we enjoy the tsoureki all year round and my kids love it for breakfast or as a snack.
Jump to:
Why you should try my recipe
- Step-by-step instructions with photos on how to make the best Greek sweet bread.
- Rich flavor and stringy, soft texture.
- Makes 3 big loaves.
- Great flavor and full of aromas of Greek sweet bread.
- Freezable if you make a big batch.
- Different ideas on how to decorate it.
Ingredients & How-to
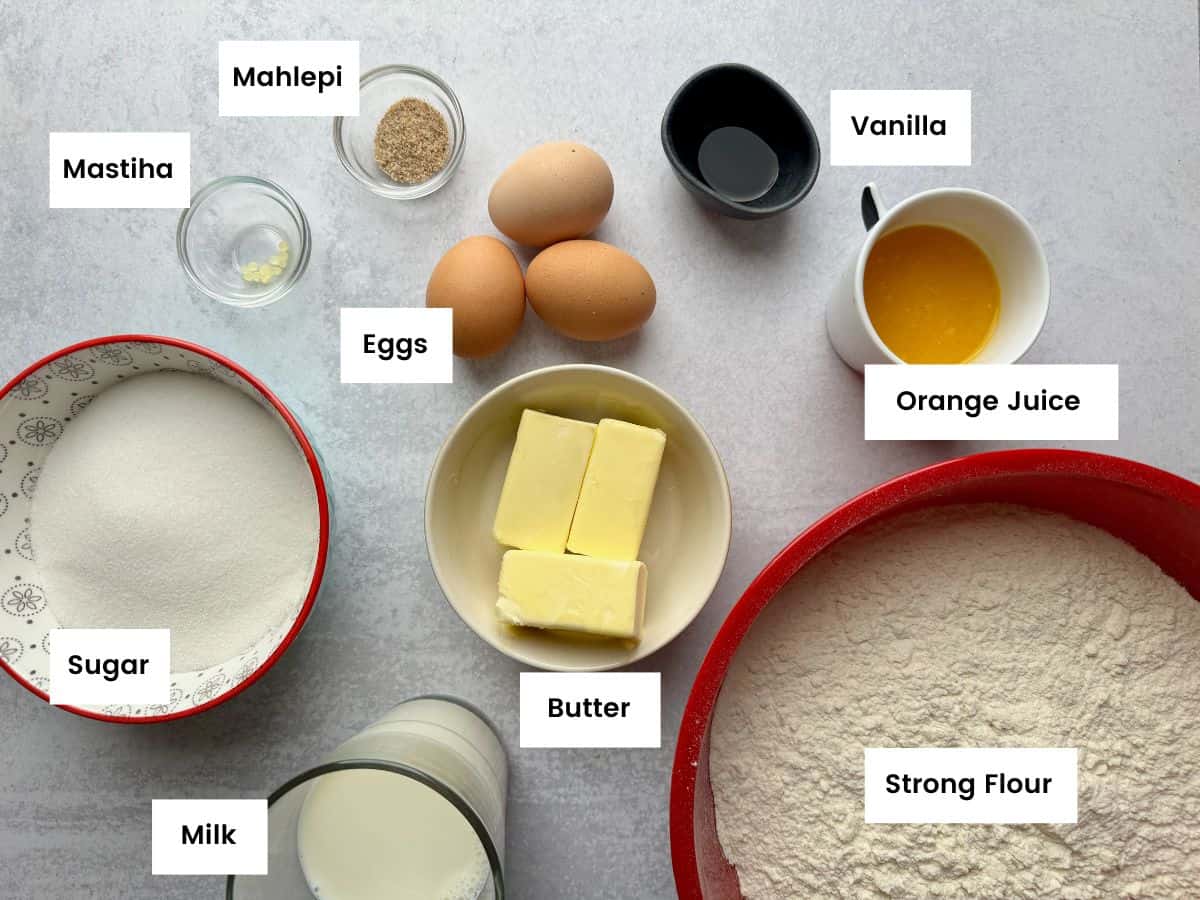
To make this Greek sweet bread or tsoureki, you will need active dry yeast, sugar, milk, bread or strong flour, eggs, orange juice, butter, mahlepi and mastiha tears. All the ingredients need to be at room temperature, so make sure you take the eggs, orange, milk and butter out of the fridge half an hour before you start making the sweet bread.
The last two ingredients, mahlepi and mastiha or mastic, are the ones that give the Greek sweet bread its unique aroma and flavor compared to classic brioche. While you can omit them and still enjoy a delightful sweet bread, I strongly encourage going the extra mile and acquiring these ingredients for an authentic tsoureki flavor.
Mastic usually comes in little kernels when I buy it, so there are a couple of ways to grind it at home. One way is using a pestle and mortar, where you add 6-7 mastic kernels and a teaspoon of sugar, and then turn it into powder. If you have a spice grinder then you could add the mastiha tears with a teaspoon of sugar and give it a few spins until it gets into powder. Lastly, if you don’t have any of those tools, you could simply use a small plastic bag for food storage. Add the mastic kernels and a teaspoon of sugar, then place a tea towel on top of the bag and hit it gently with a rolling pin or a meat tenderizer hammer.
Mamazilla's Product Recommendations
Great aroma and enough mastiha tears for 5-6 recipes since you'll only need a little bit each time.
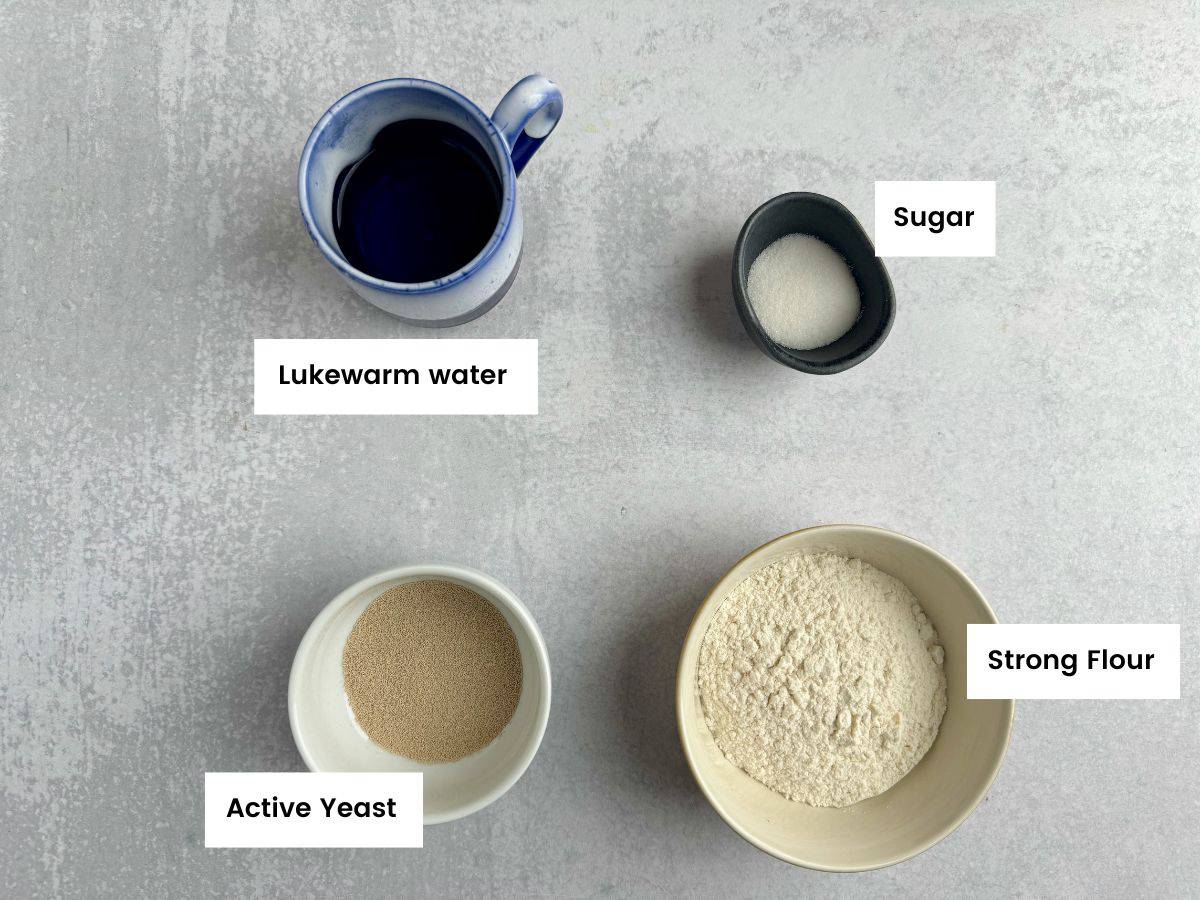
Buy On Amazon01. To start, I’m going to activate the yeast. I’m using active dry yeast which is easy to find in most grocery stores. In a bowl, I add the yeast, sugar, lukewarm water and flour. Be extra careful with the temperature of the water as if it’s too hot it will kill the yeast. It should be warmer than your body temperature when you dip your hand in. If you have a thermometer, it should be at 105℉–115℉ temperature or 40-45°C.
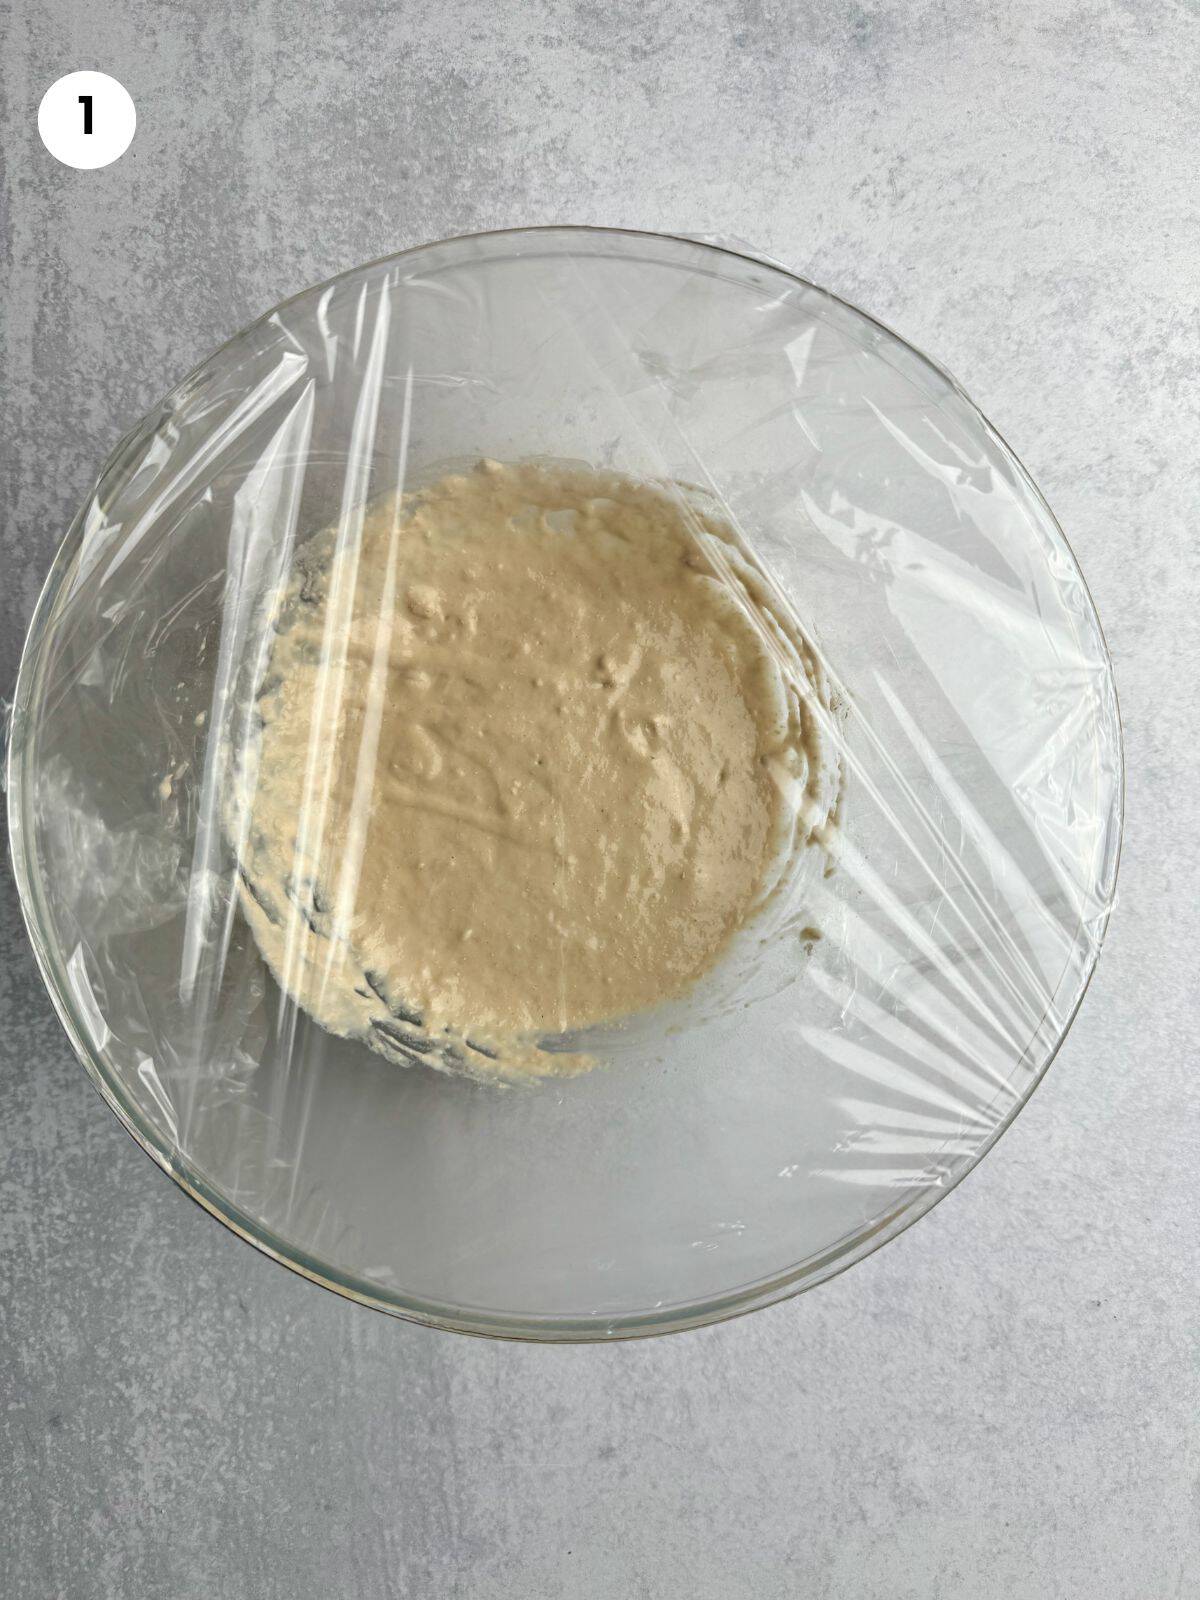
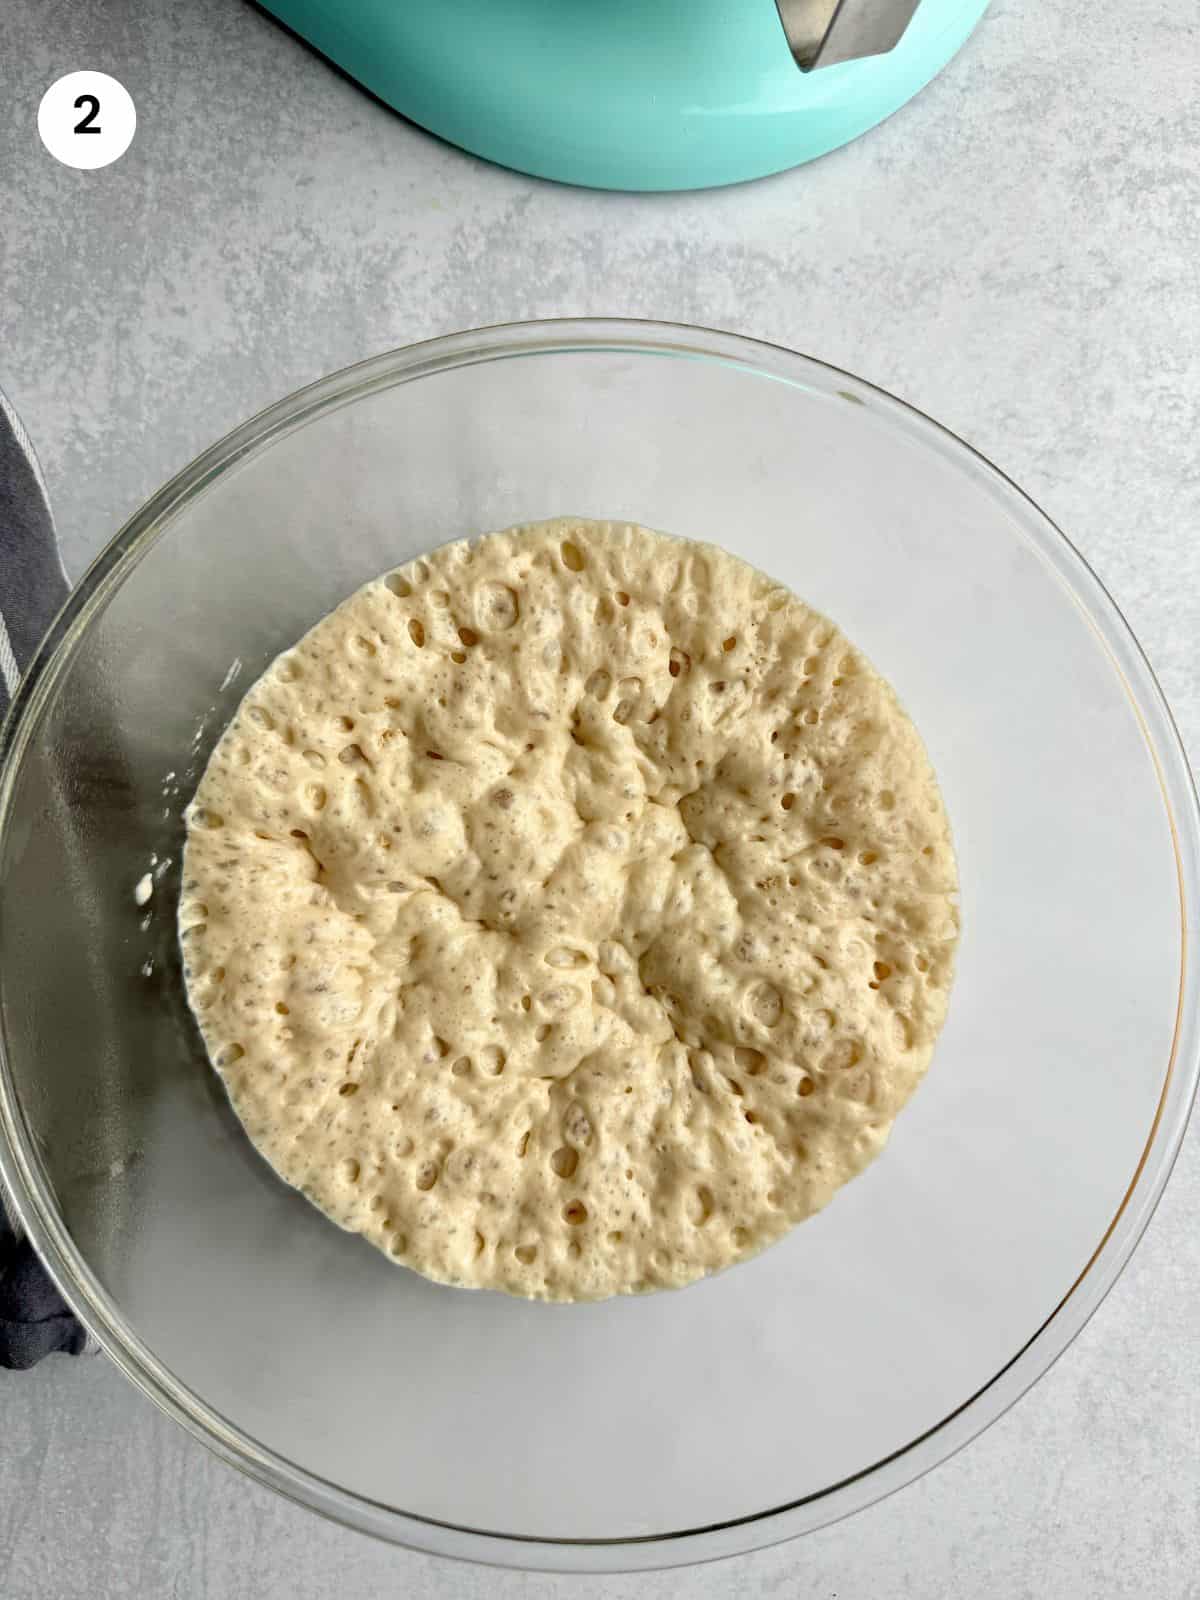
02. I mix everything well and then I cover the bowl with some cling film and wrap it with a towel. I leave it in a warm corner of my kitchen, usually close to the stove, for about 15 minutes. You should then see lots of bubbles at the top and the mixture would have doubled its size. If it hasn’t, that means the yeast is dead and you should start again with a new one.
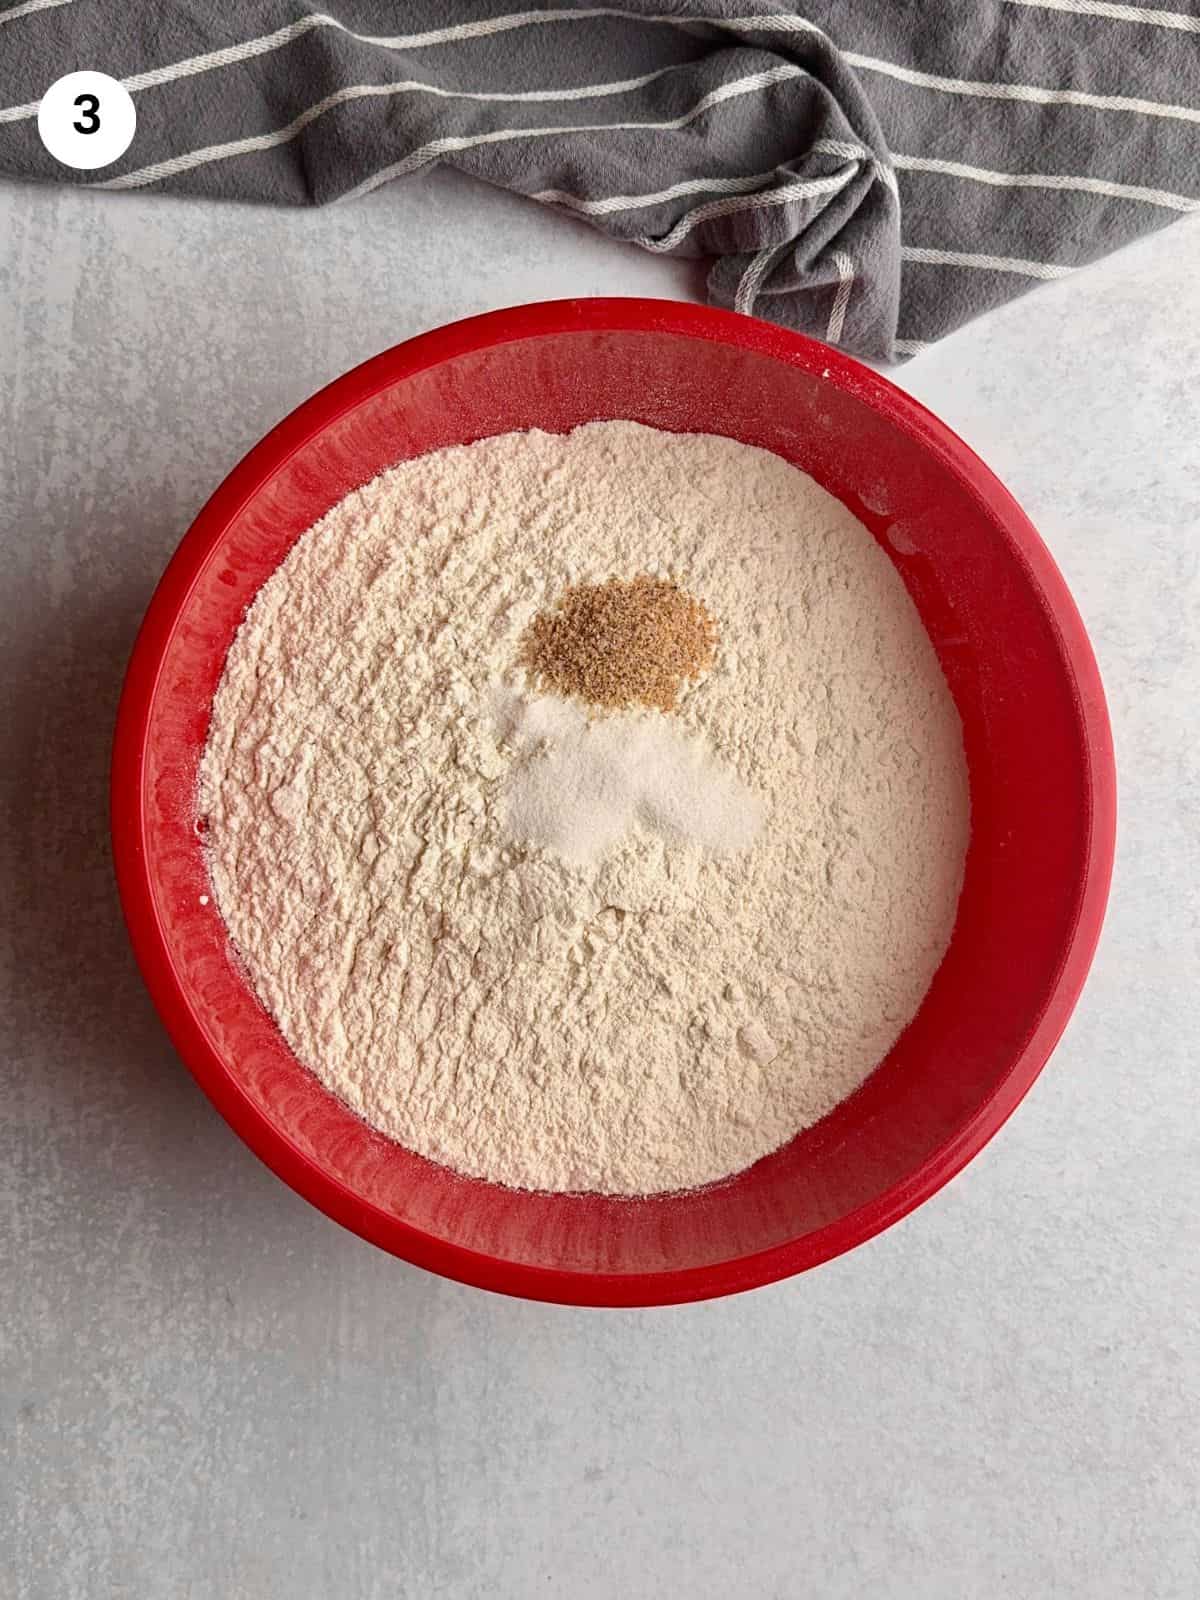
03. Using a pestel and mortar, I turn the mastiha tears into powder with a teaspoon of sugar. In a bowl, I mix all the dry ingredients, the flour, mahlepi and the mastiha tears powder. I’m using bread flour or any strong flour high in protein.
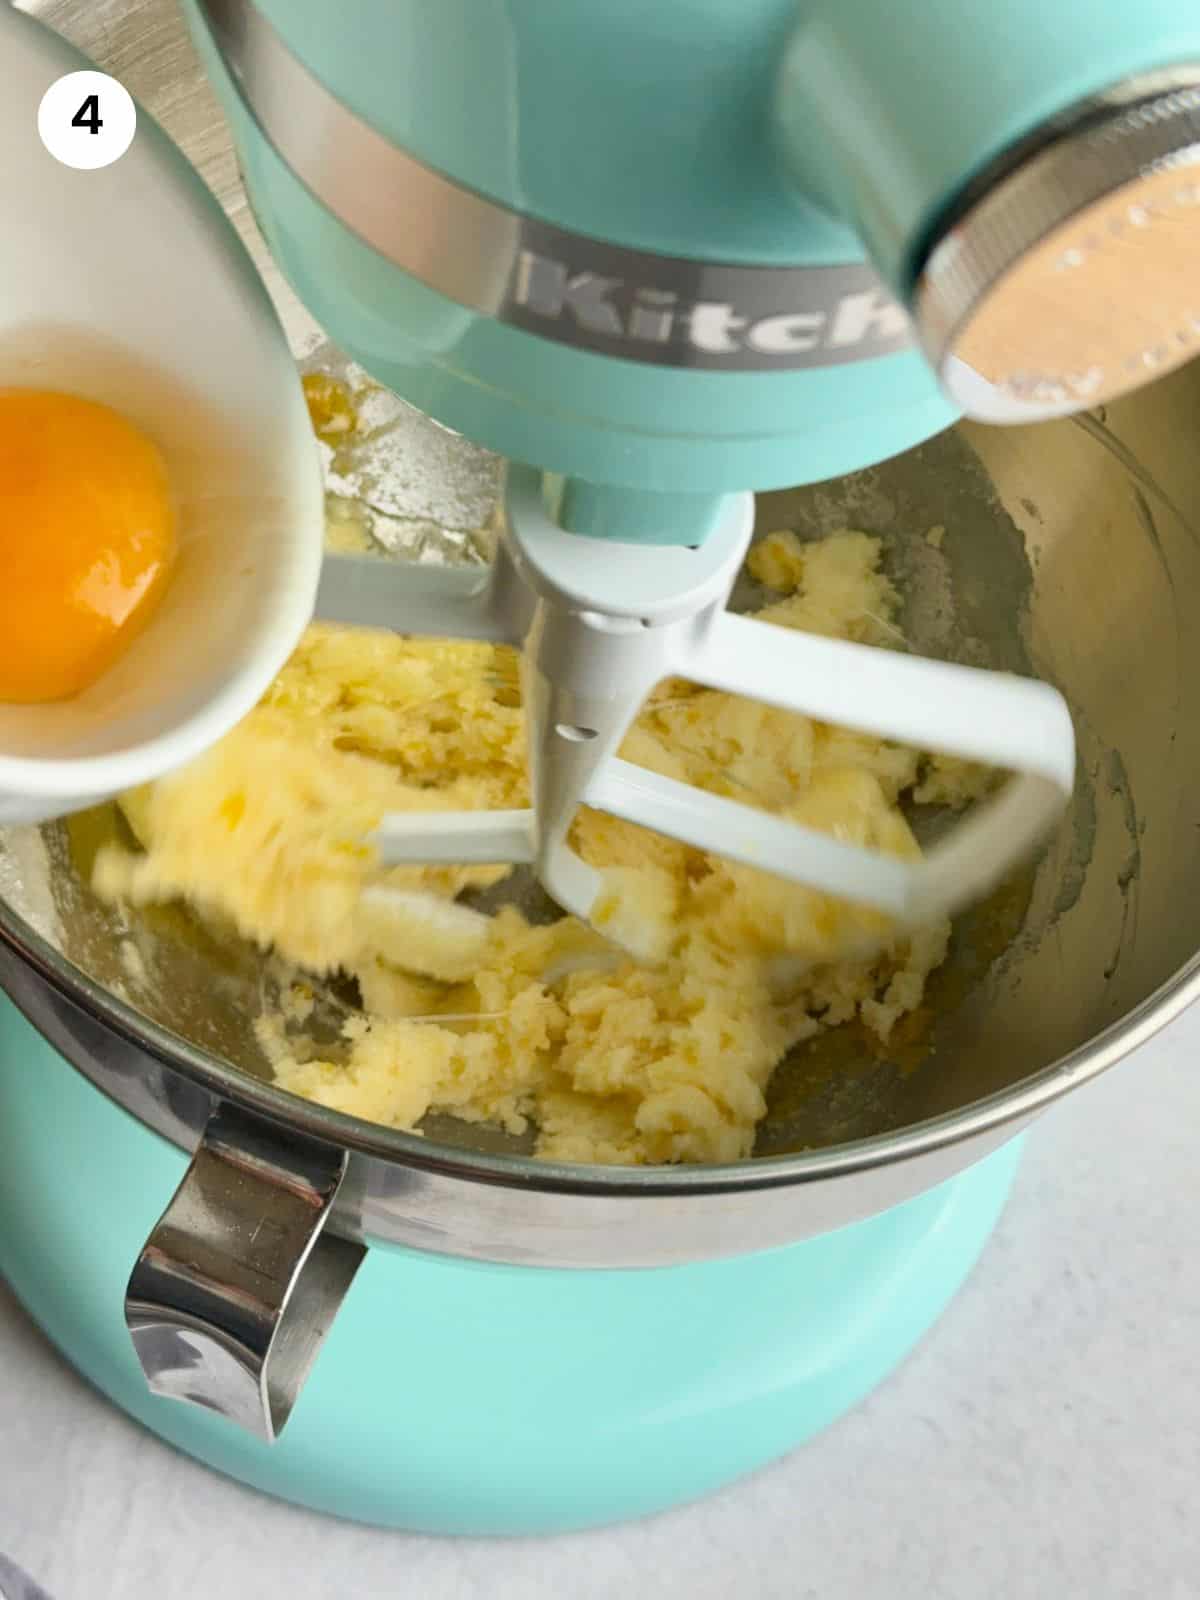
04. I’m using a stand mixer to make the dough but you could also try by hand if you don’t have a mixer. In the mixer bowl, I add the sugar and start mixing using the paddle attachment. I then add the eggs one at a time. I mix everything well for a minute until it’s fluffy.
Mamazilla's Product Recommendations
Fresh, great flavor mahlepi or mahlab that you will find in many middle eastern cuisines. I use it a lot for baking sweet bread!
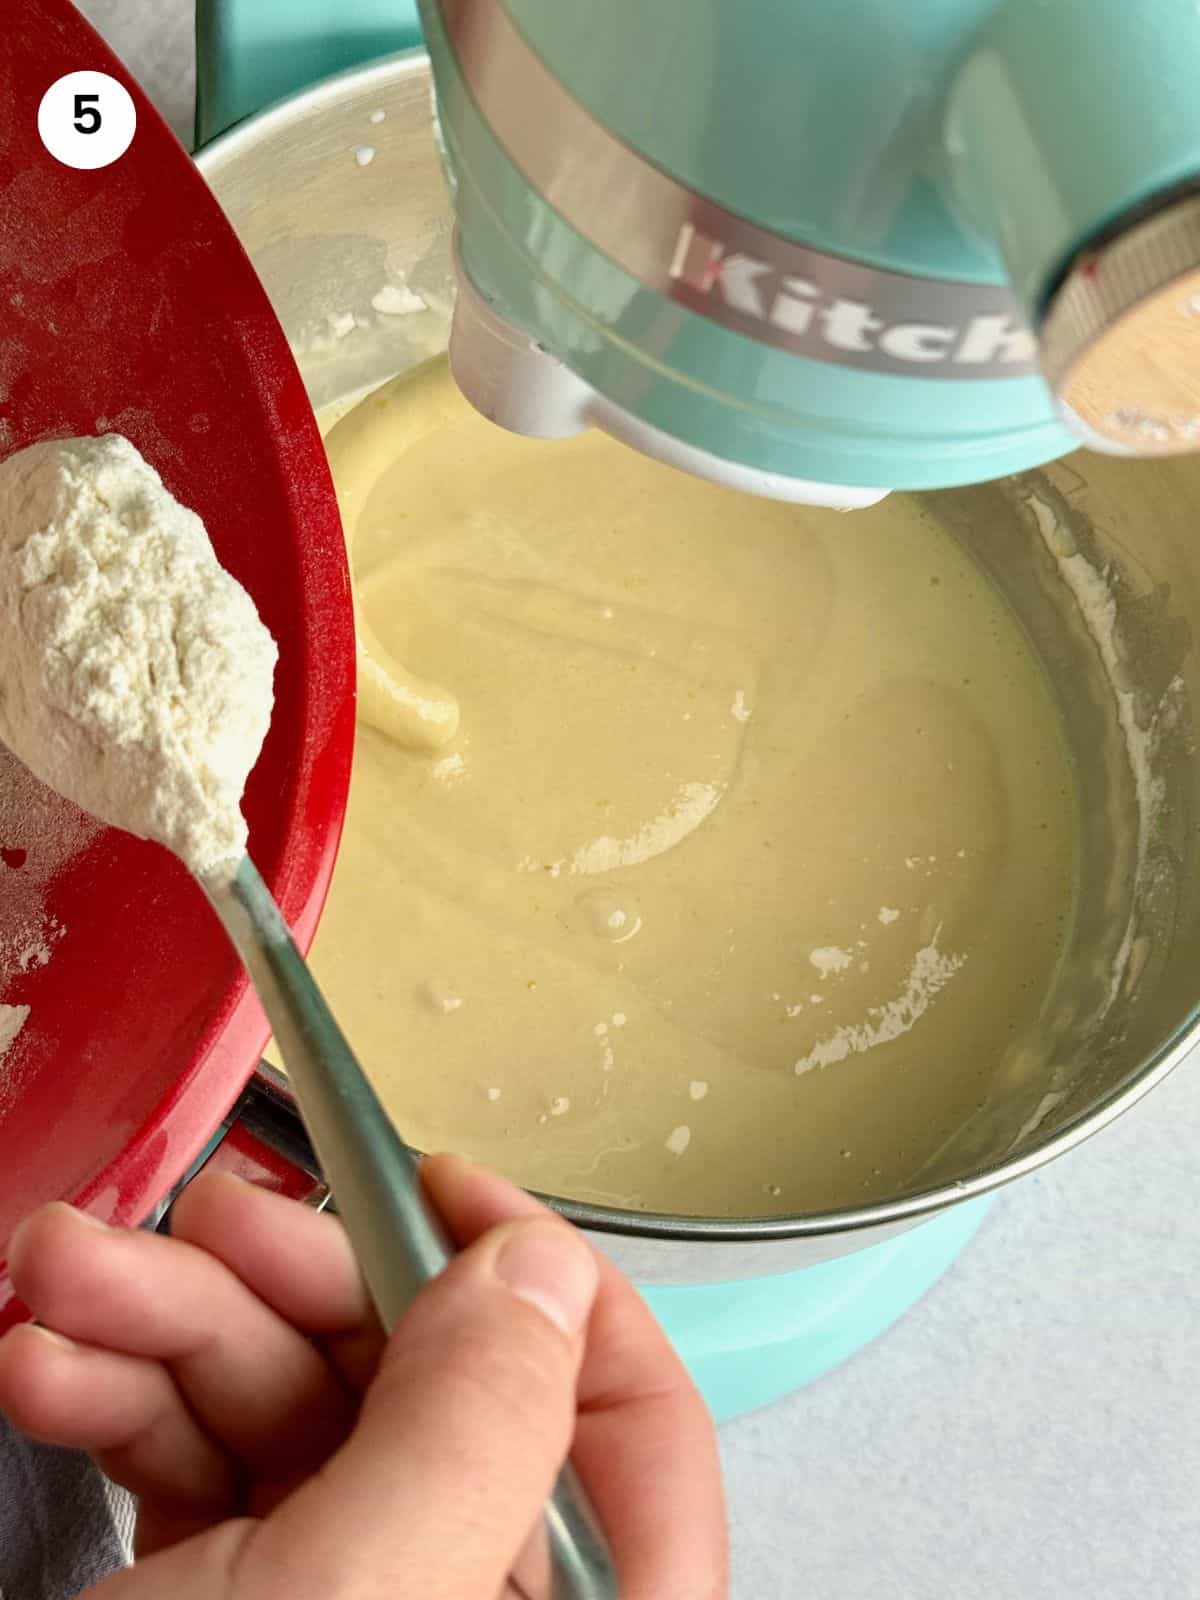
Buy On Amazon05. I add the orange juice and vanilla extract to the bowl and continue mixing at medium-high speed. Now it’s time to change the mixer attachment to the hook for kneading the dough. I add half of the flour and the milk and continue mixing at medium speed.
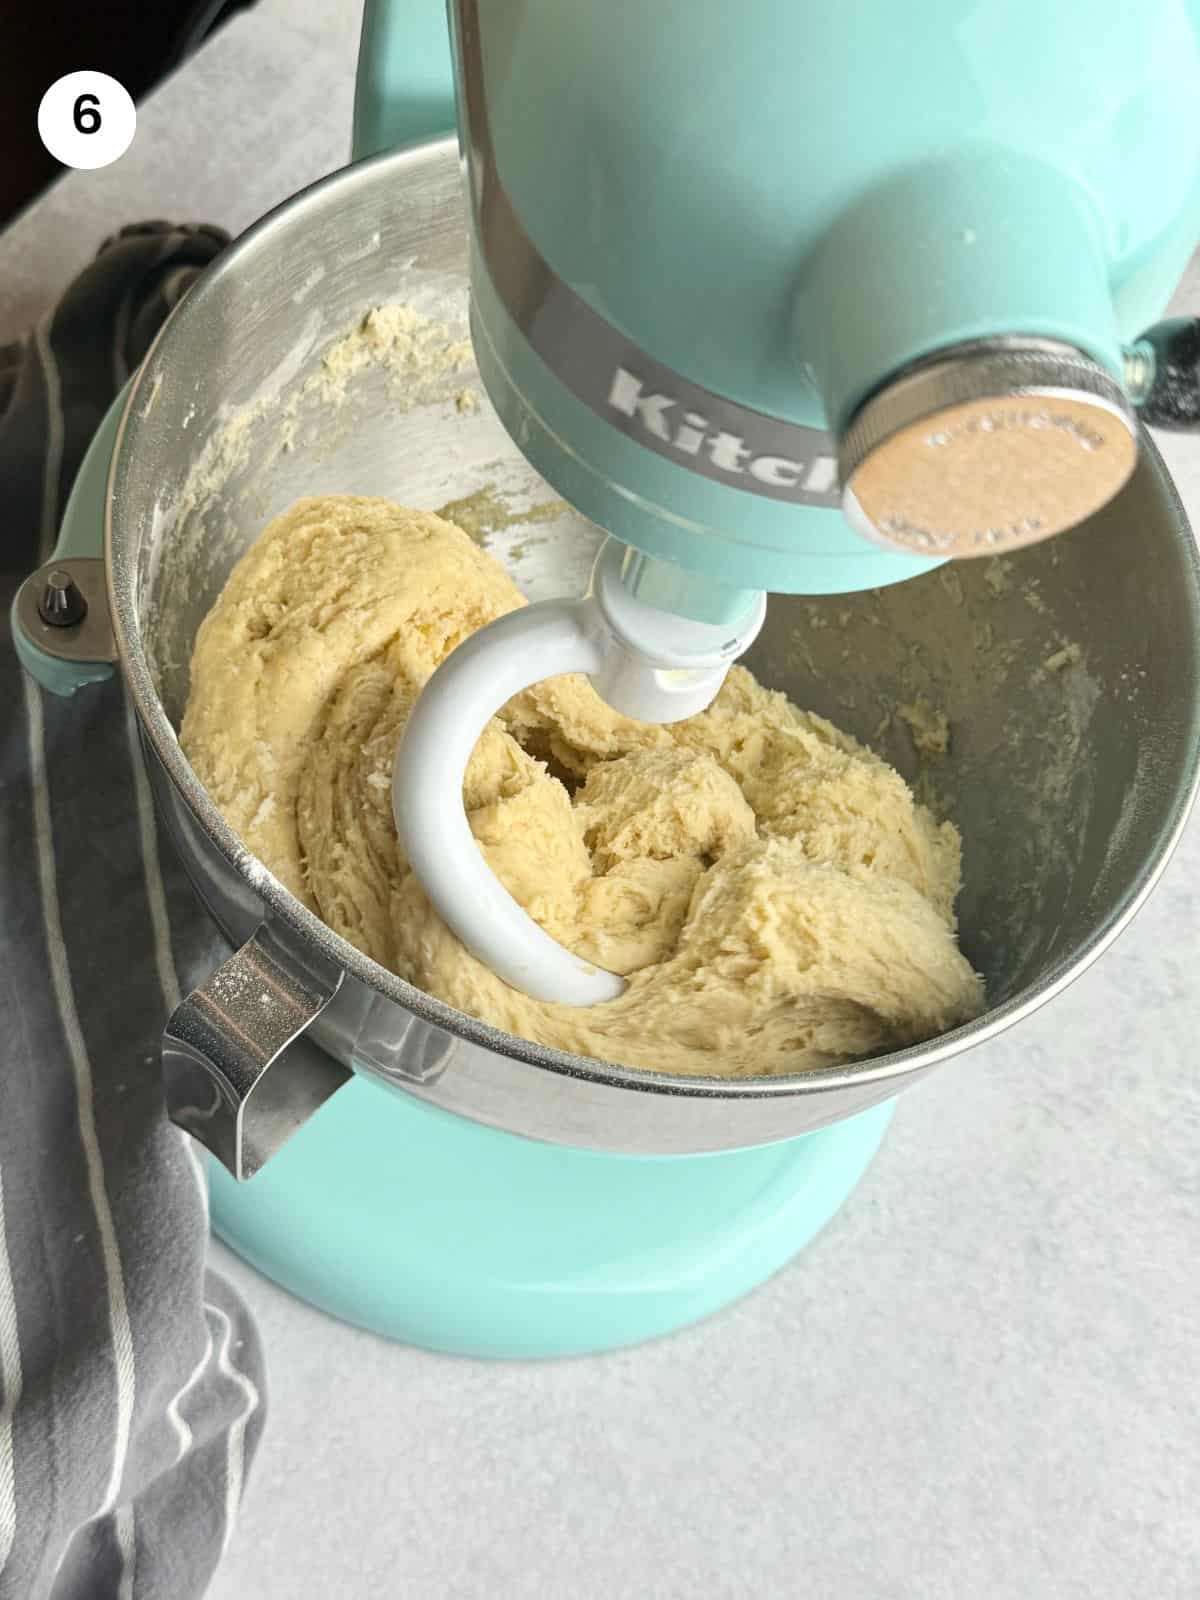
06. I add the yeast mixture to the bowl and turn the speed to low. I then add the remaining flour and mix for 4-5 minutes until it’s all incorporated and not sticking to the sides.
Mamazilla's Product Recommendations
This mini KitchenAid stand mixer is a high quality mixer and a bit smaller than the expensive bigger version they have. If you are not a heavy duty baker or don't have a lot of space, I highly recommend it.
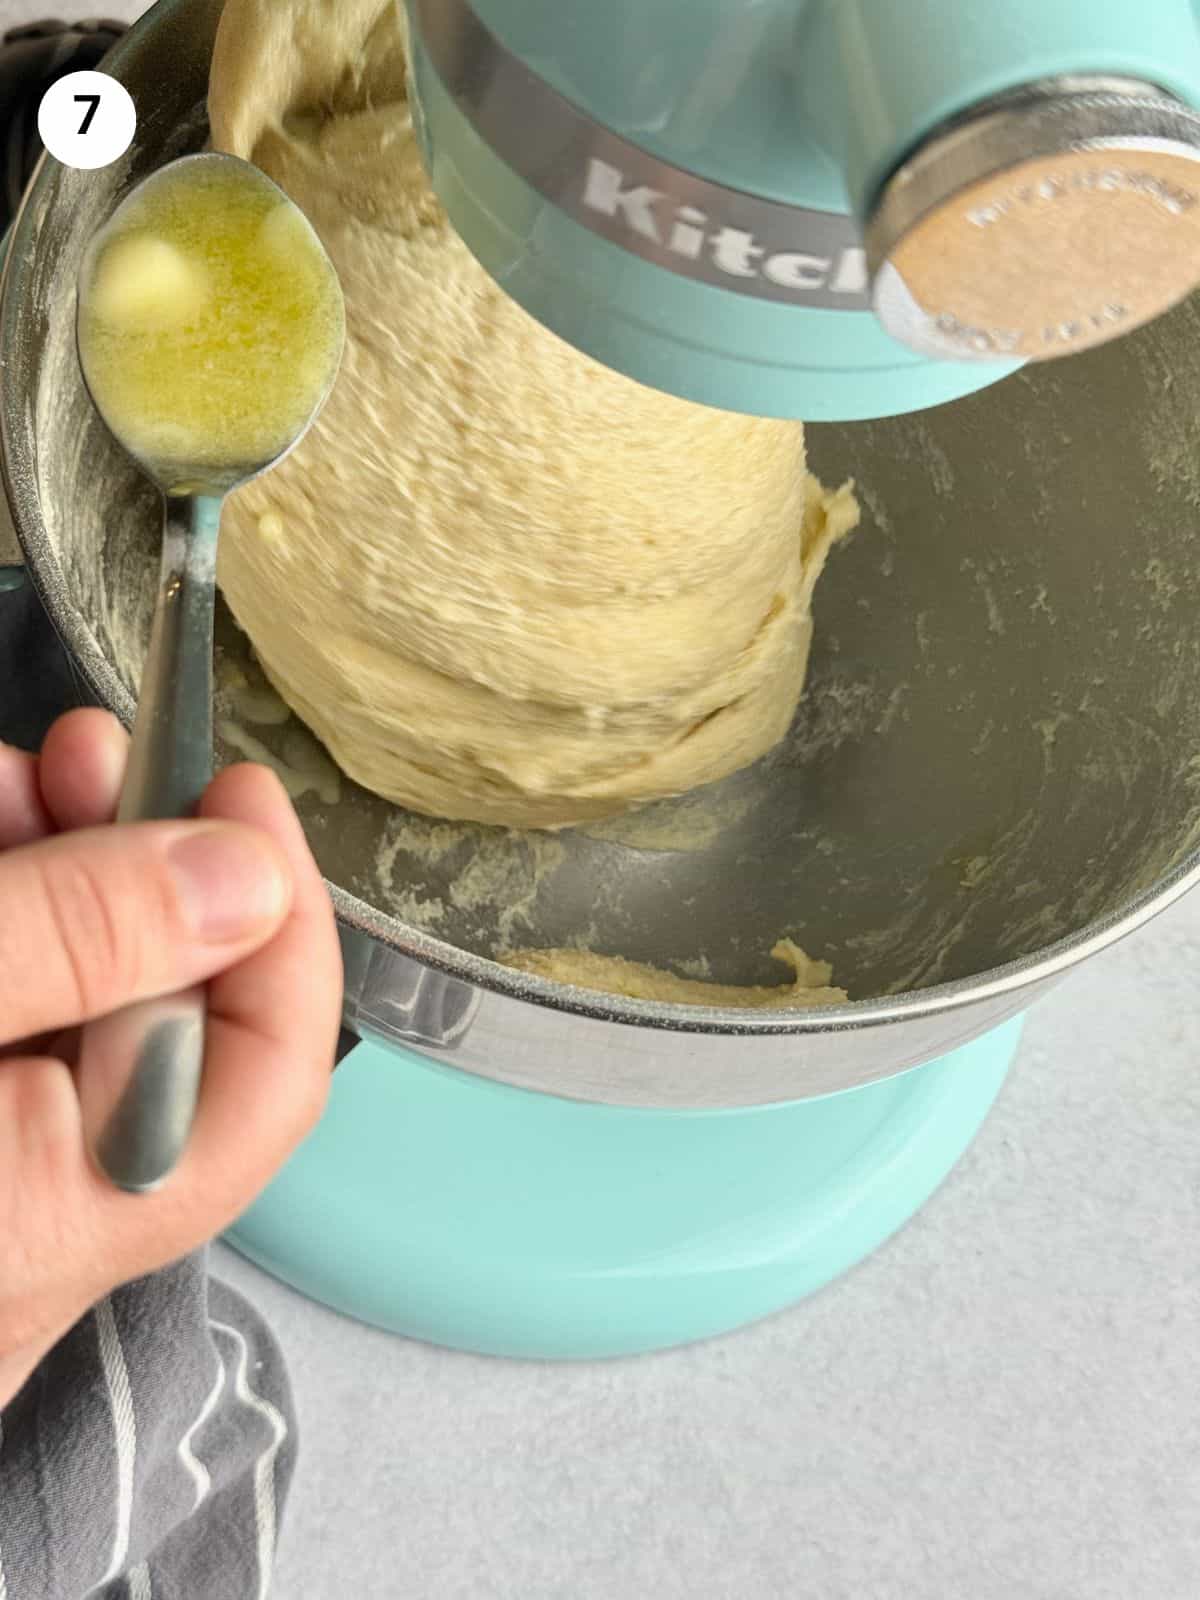
Buy On Amazon07. My butter is already melted and at room temperature, not very hot as it might kill the yeast. I start adding the butter one tablespoon at a time while the mixer is running at low speed. Wait until each tablespoon is incorporated with the dough before adding more butter to the bowl. It will take 4-5 minutes to add all the butter.
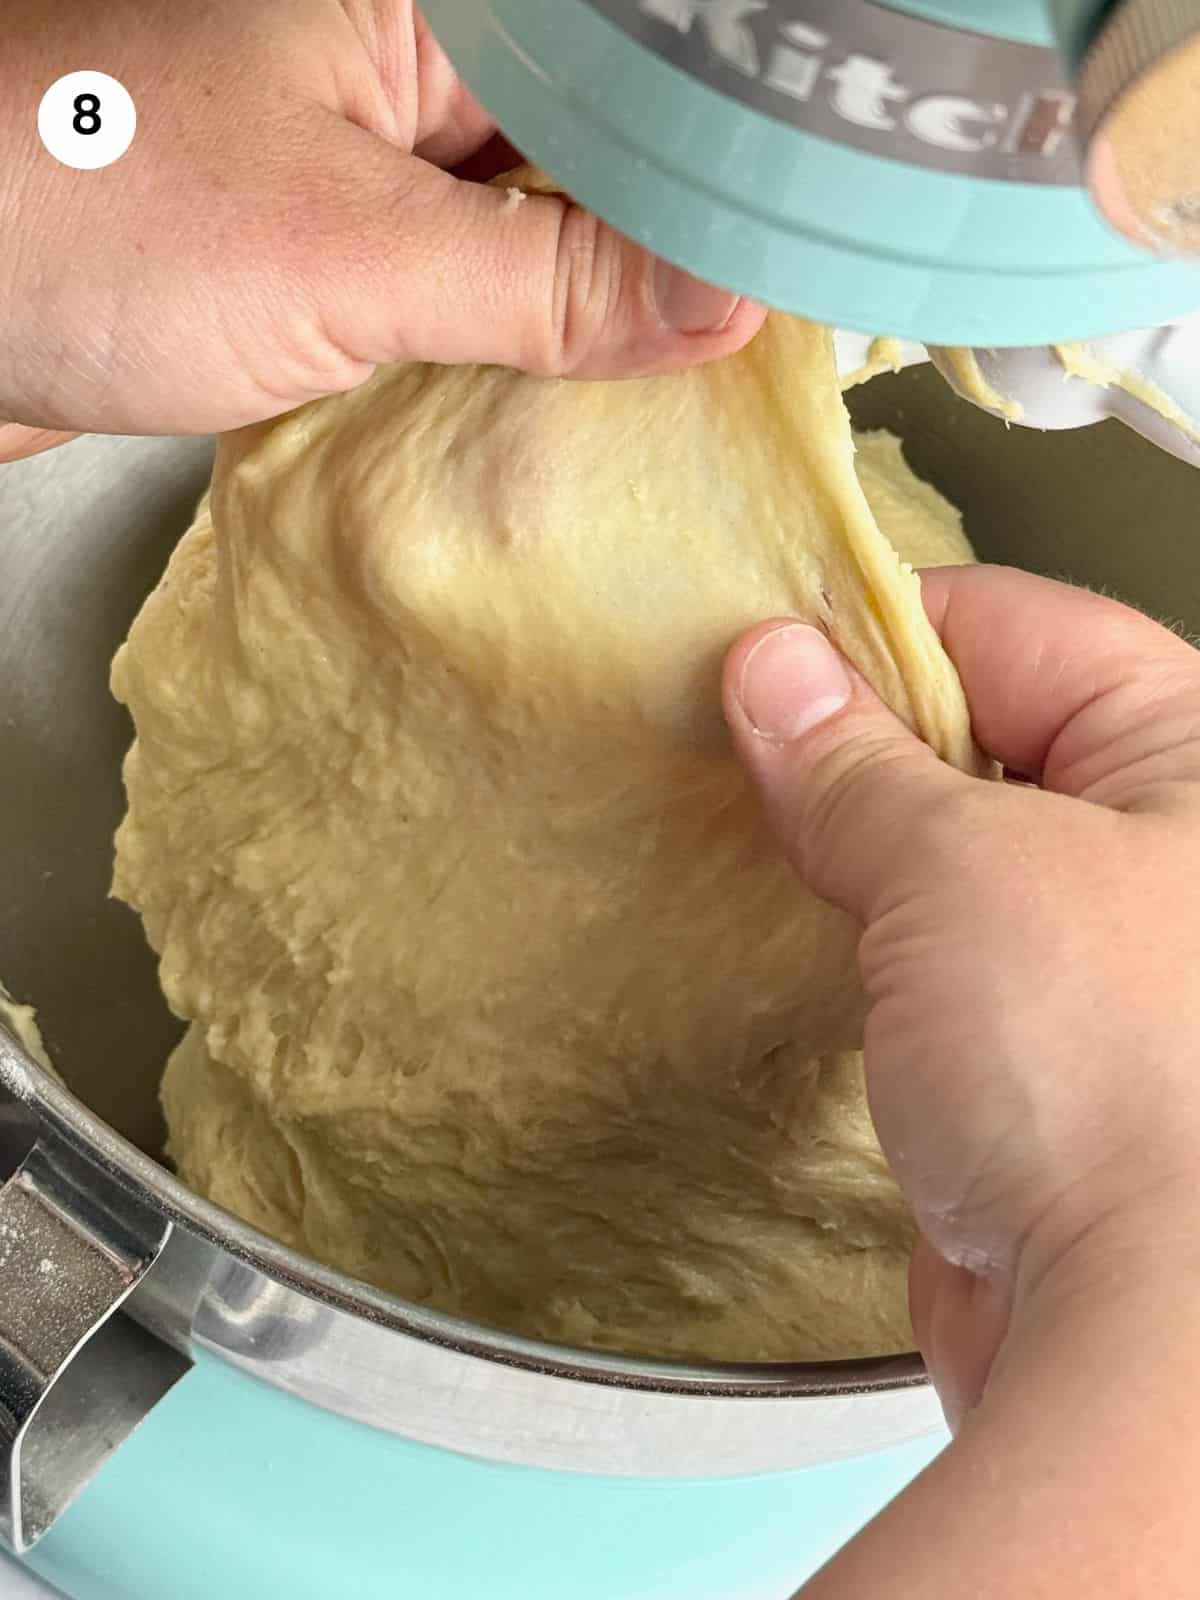
08. When all the butter is in, I turn the speed to medium-low and leave it to knead for 15-20 minutes. The dough will still be soft and playable when ready, but it will not be sticking to your fingers when you touch it. Occasionally, using a rubber spatula, I scrape up the sides and add them to the dough in the center.
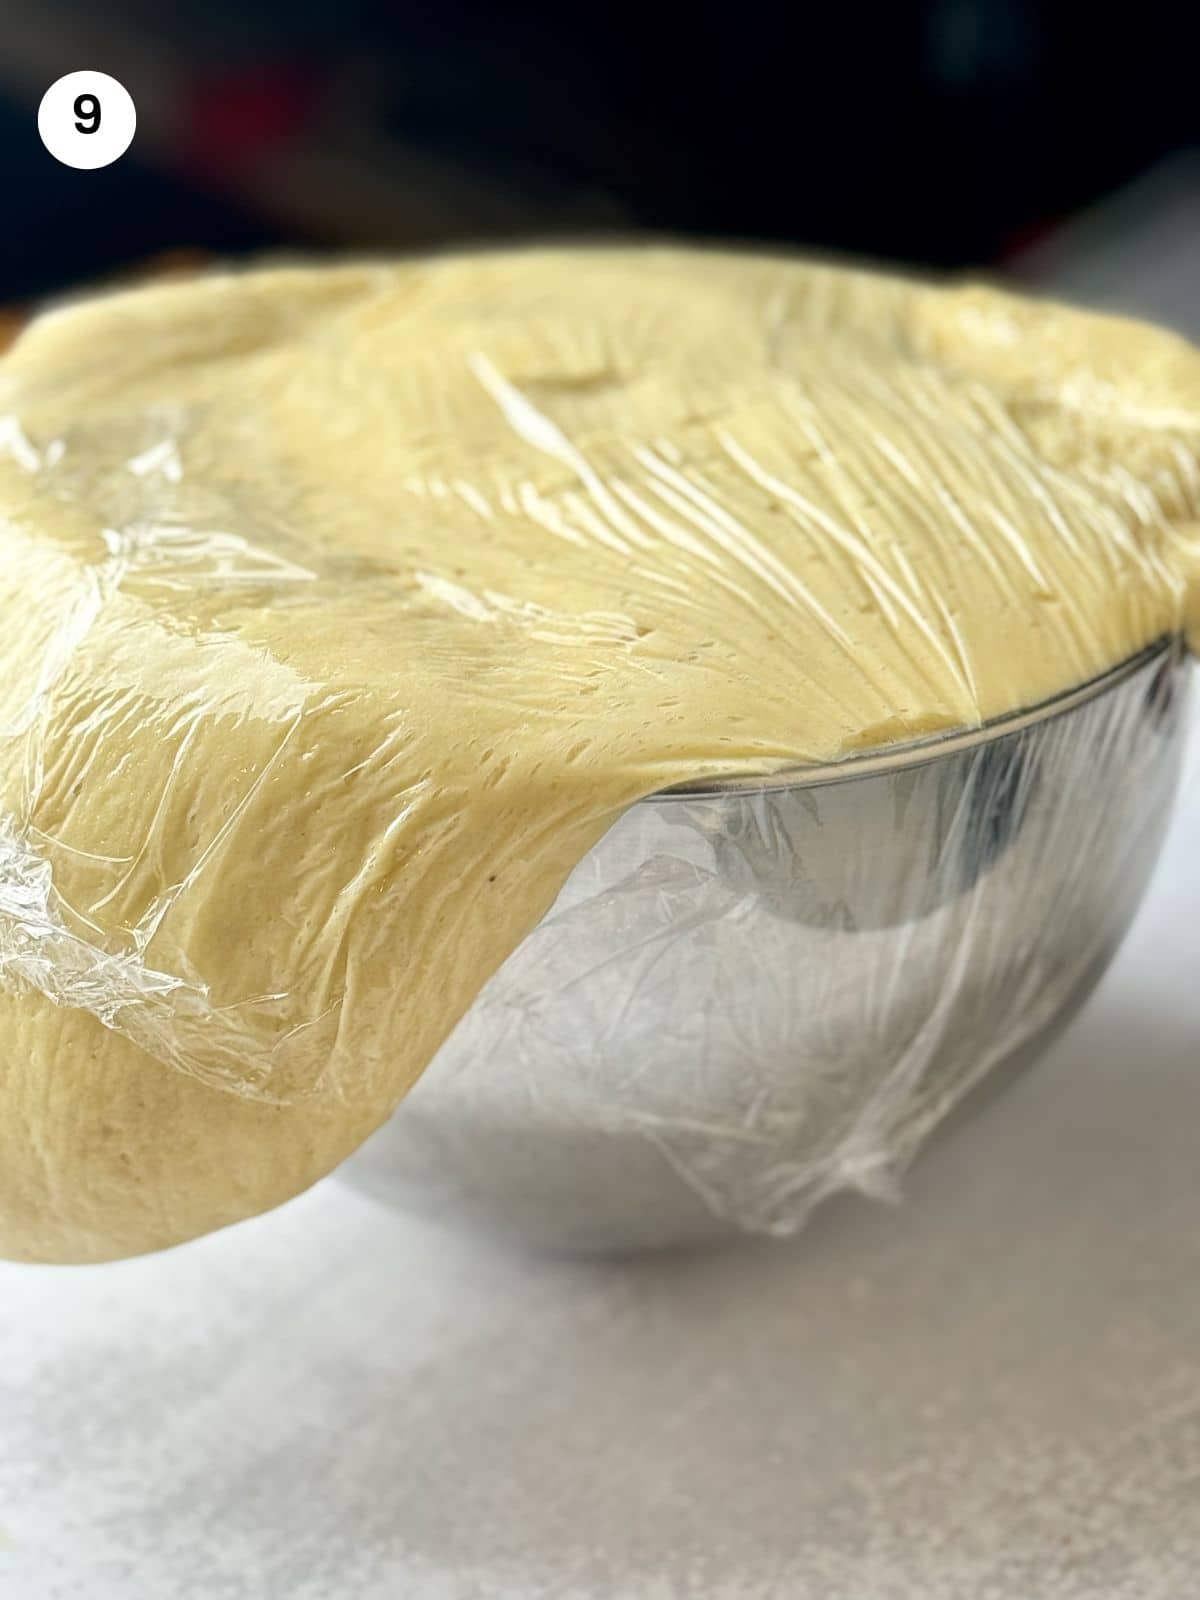
09. Now it’s time to leave the dough to proof. I cover the bowl with some cling film and wrap it with a couple of towels. I place the bowl in a warm corner of my kitchen, usually next to the stove, and leave for 2-2.5 hours until it’s double in size.
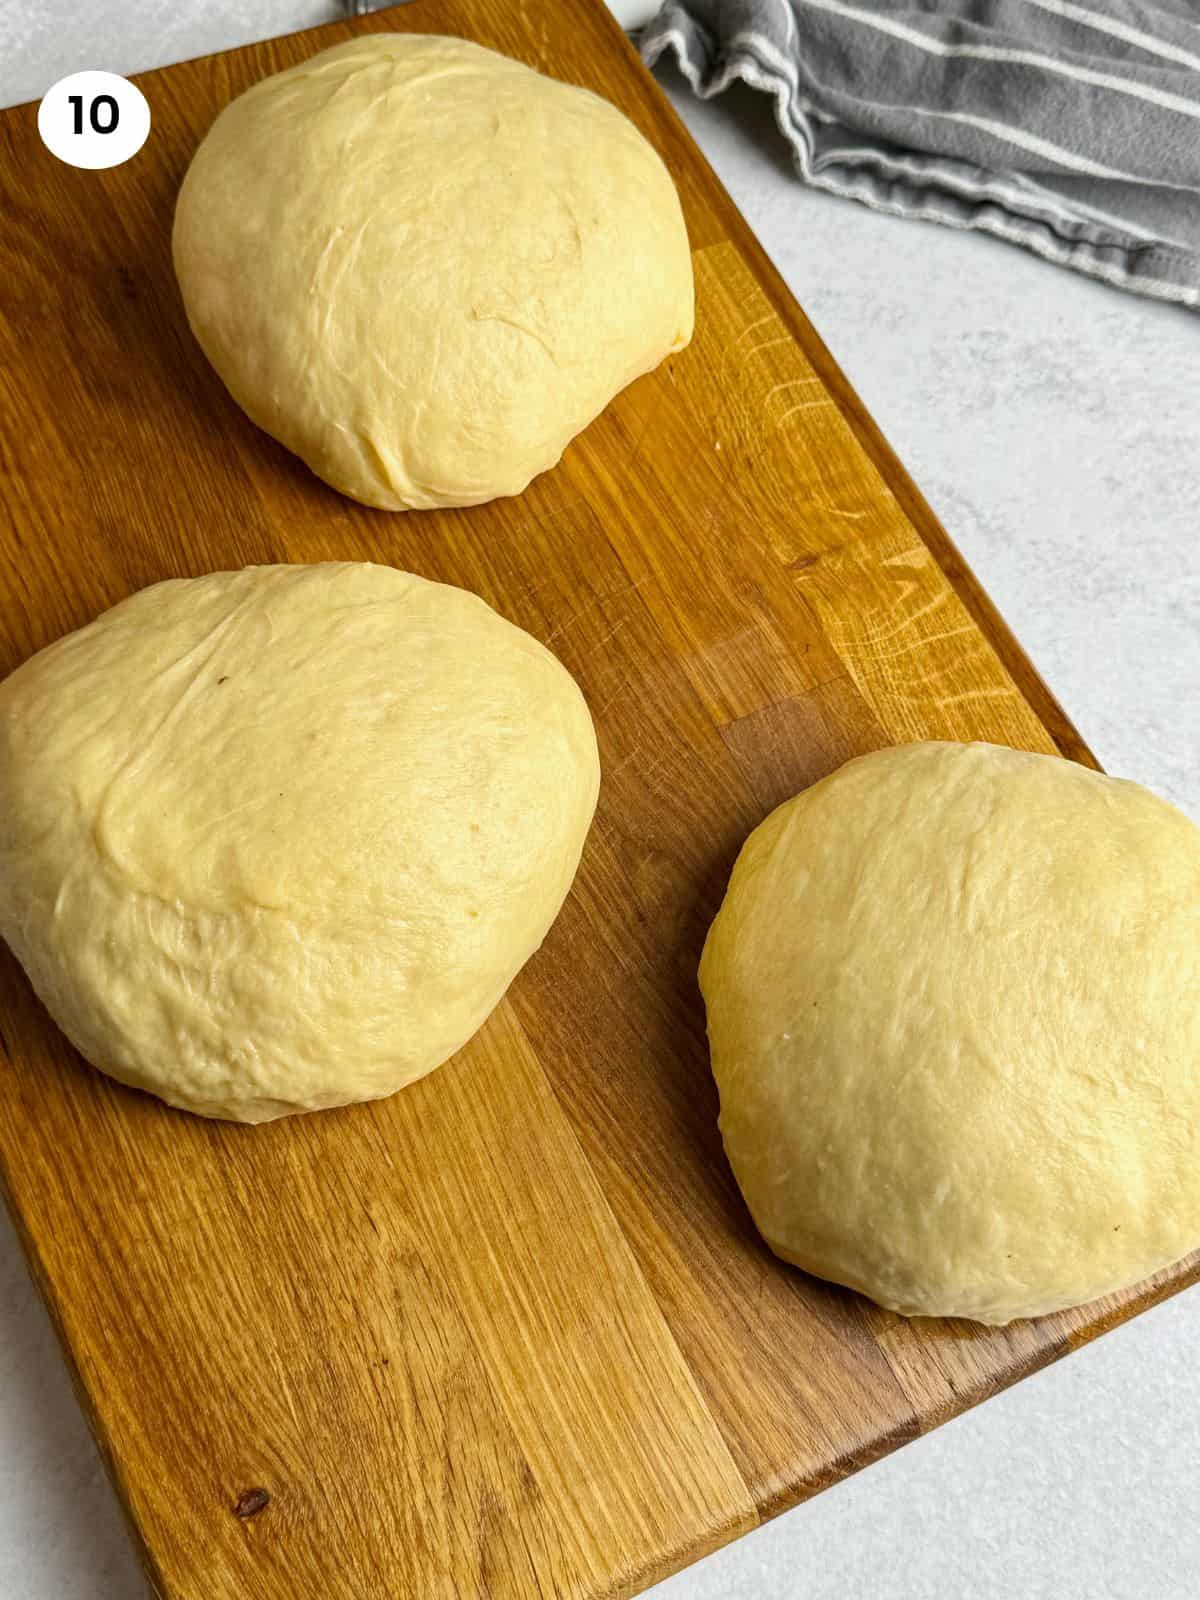
10. I deflate the dough by kneading by pressing it with my hand. Then I place it on my working area and split it into 3 pieces, one for each loaf. If you prefer bigger loaves then you could make 2 big ones. Do not use any flour to handle the dough, instead oil your hands and the surface to prevent sticking.
11. I take each dough ball and split it into 2 or 3 or 4 depending on the braid I’m going to make. I flatten each ball and then fold it by rolling it.
12. Using 3 dough ropes, I lay them side by side and pinch them together at one end. I then braid loosely and pinch the other end together.
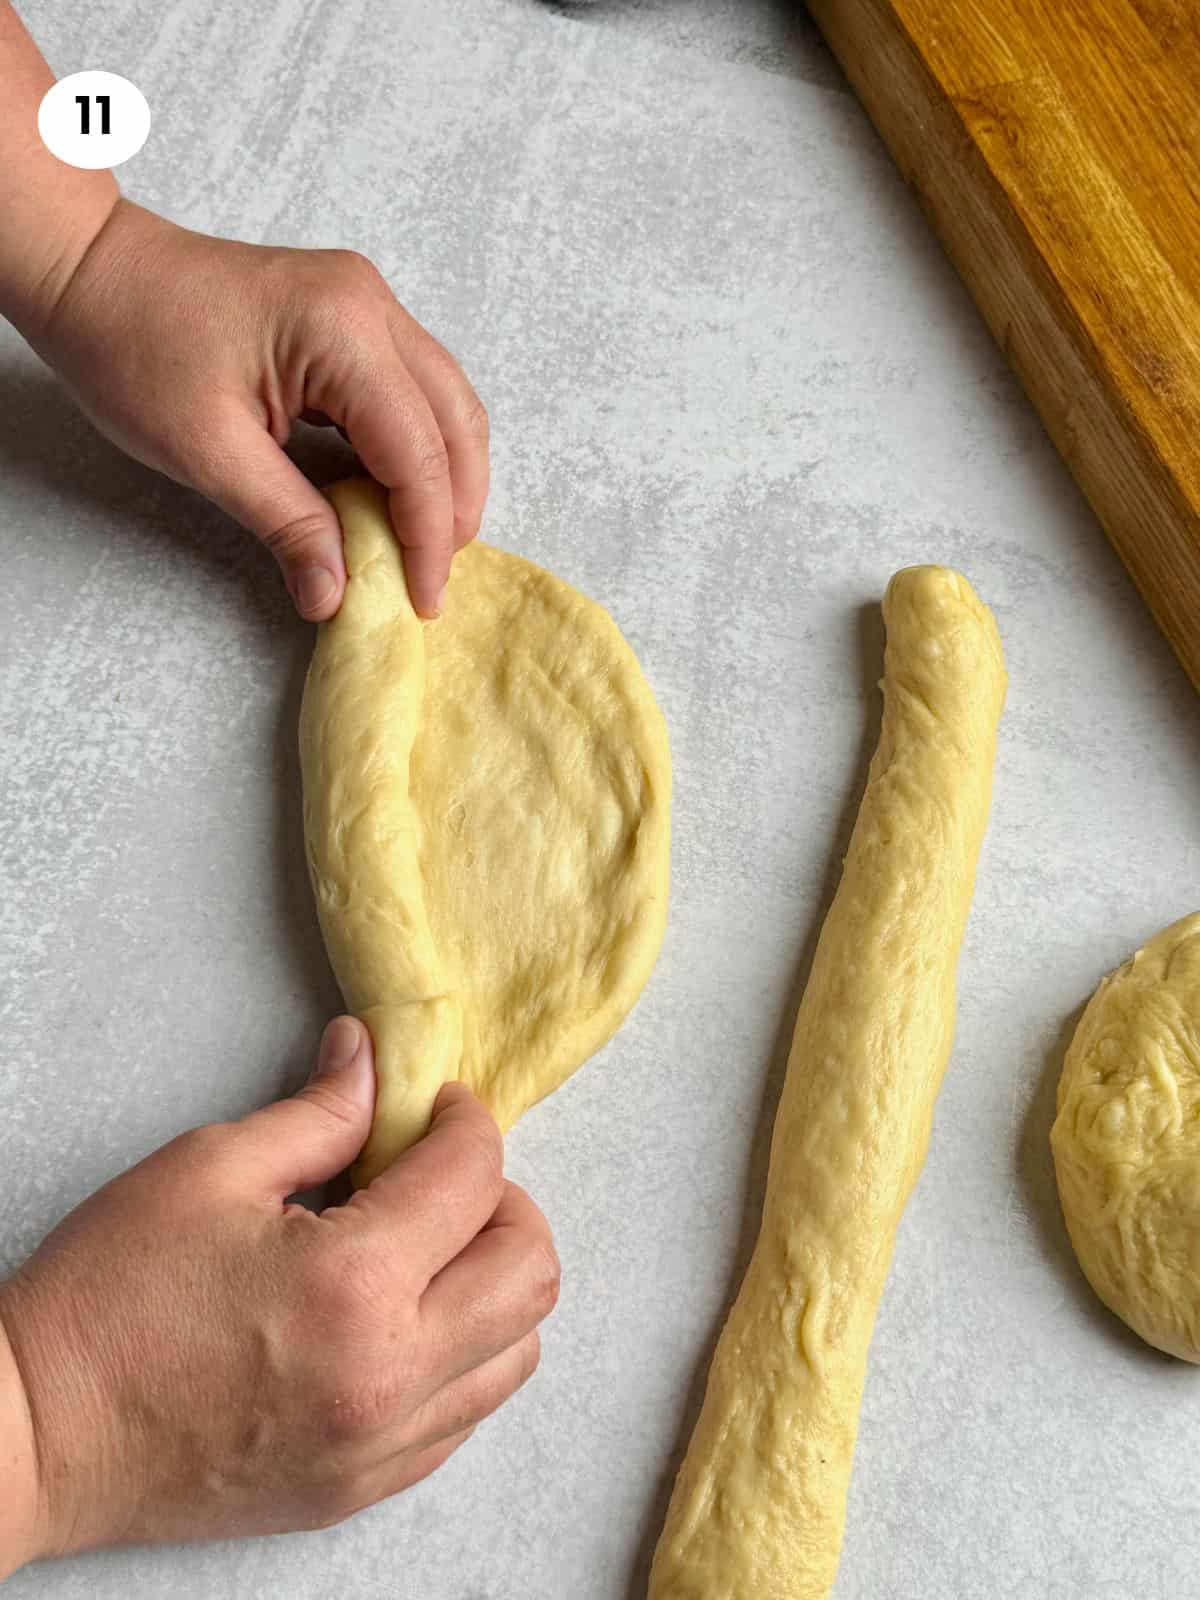
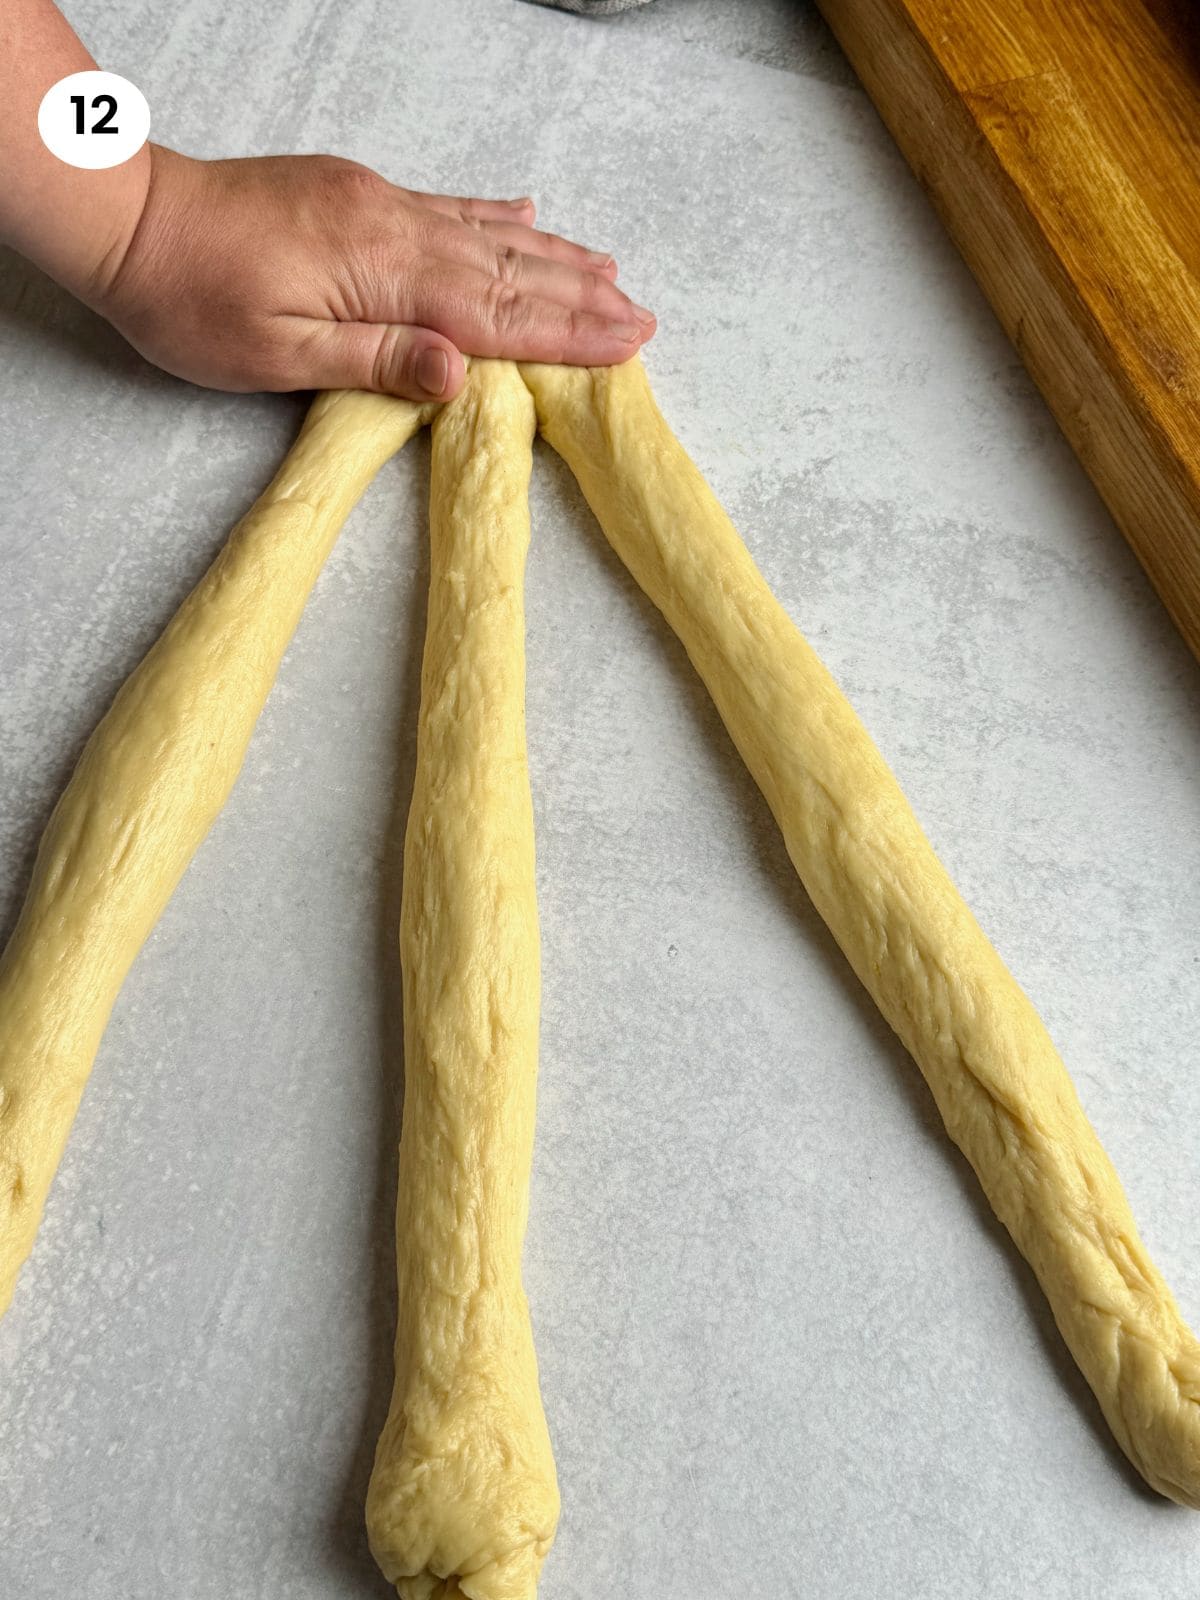
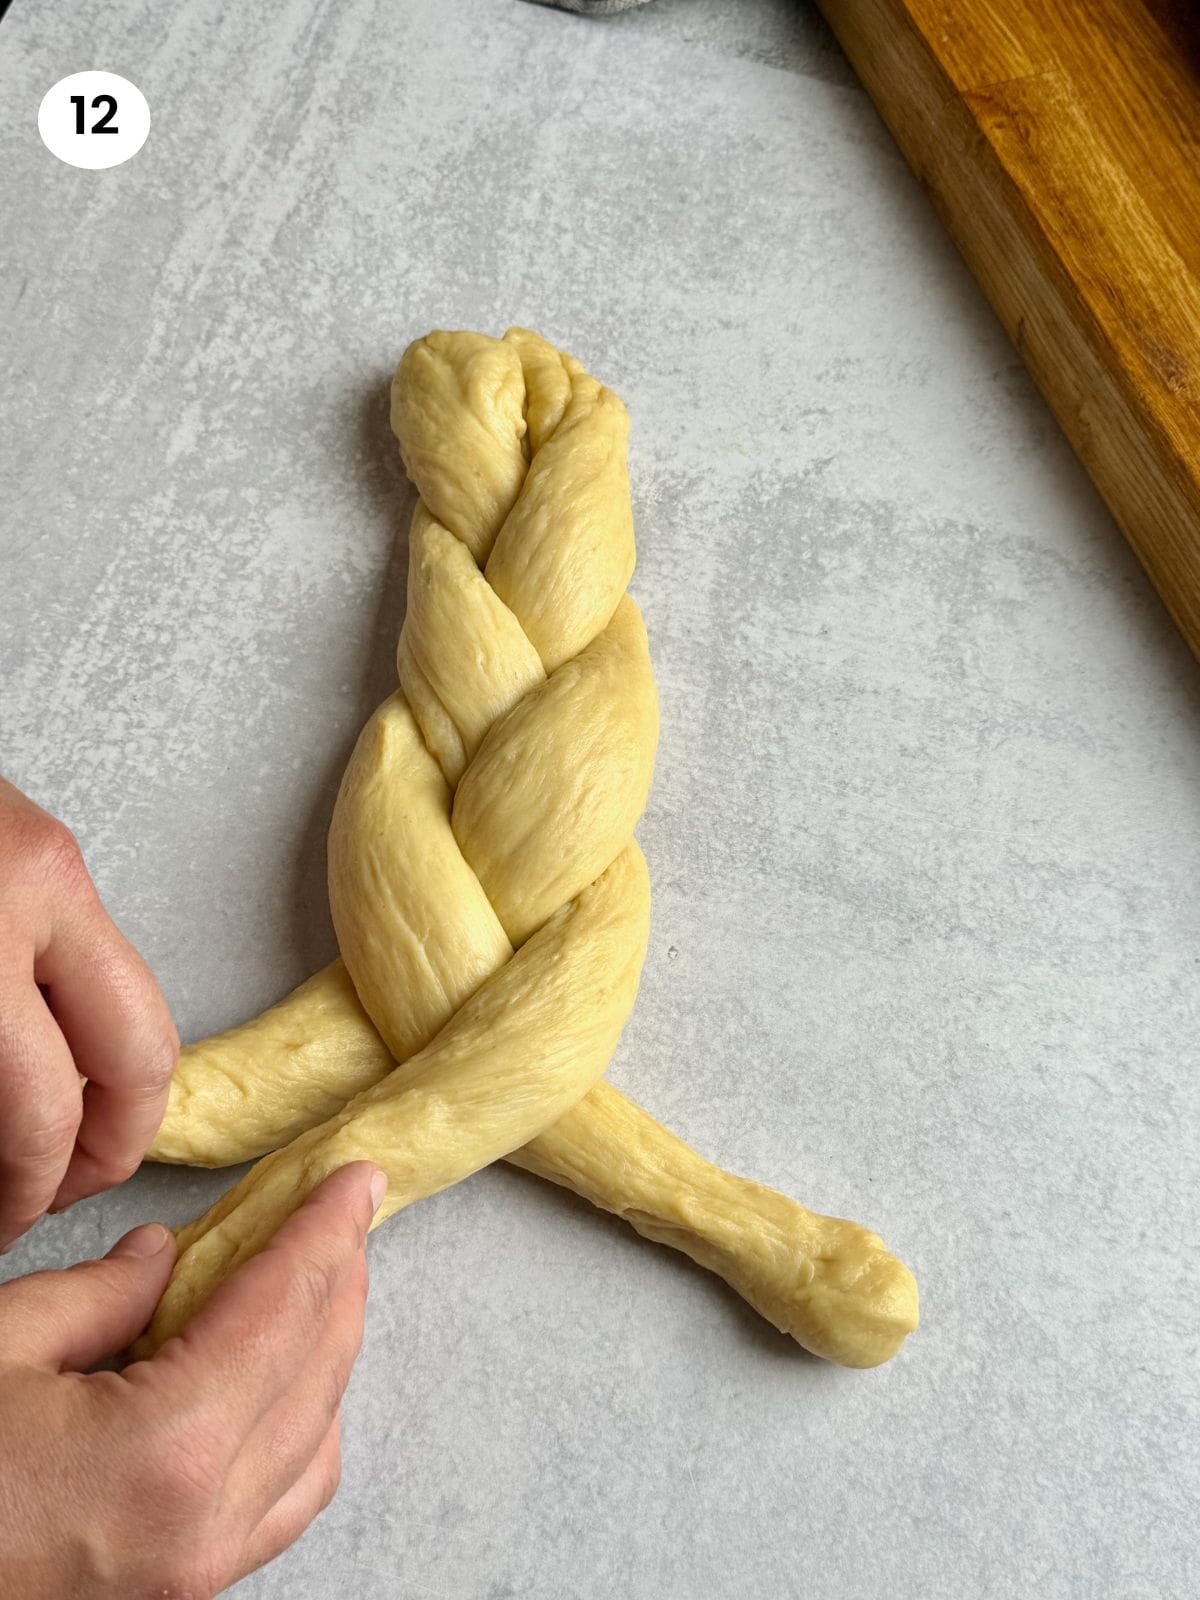
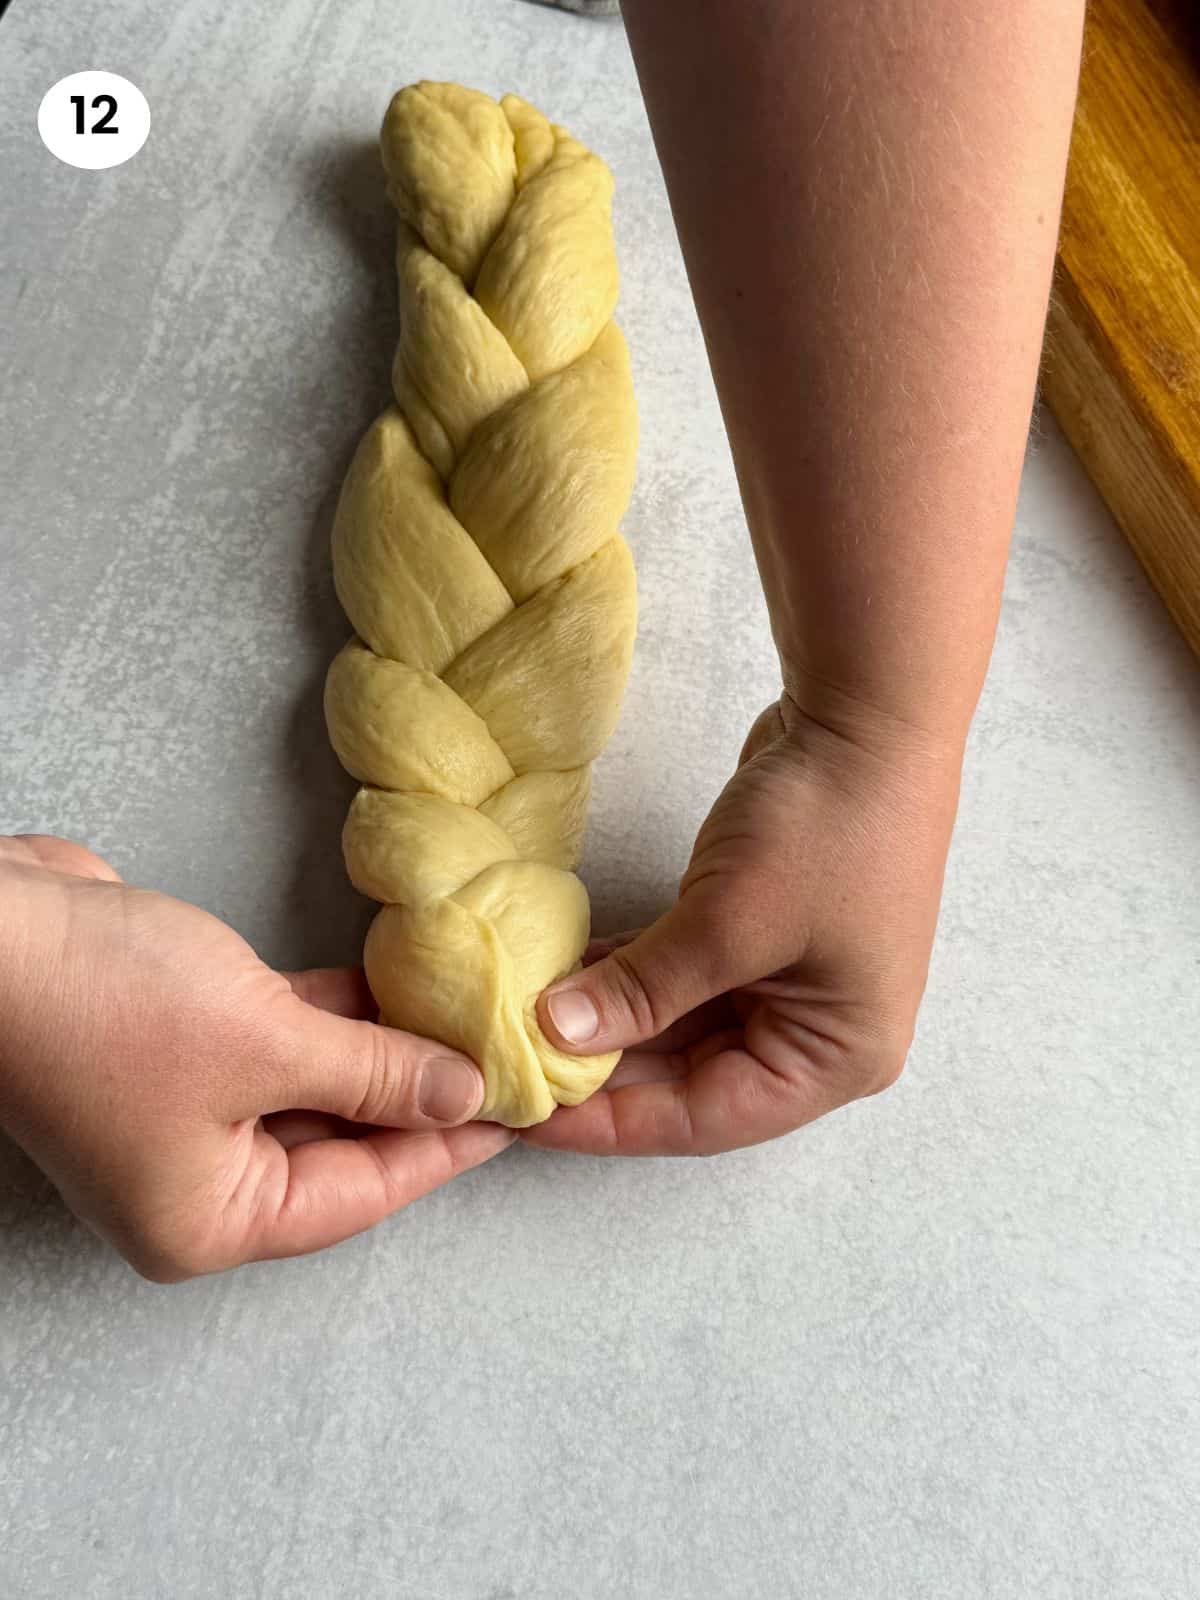
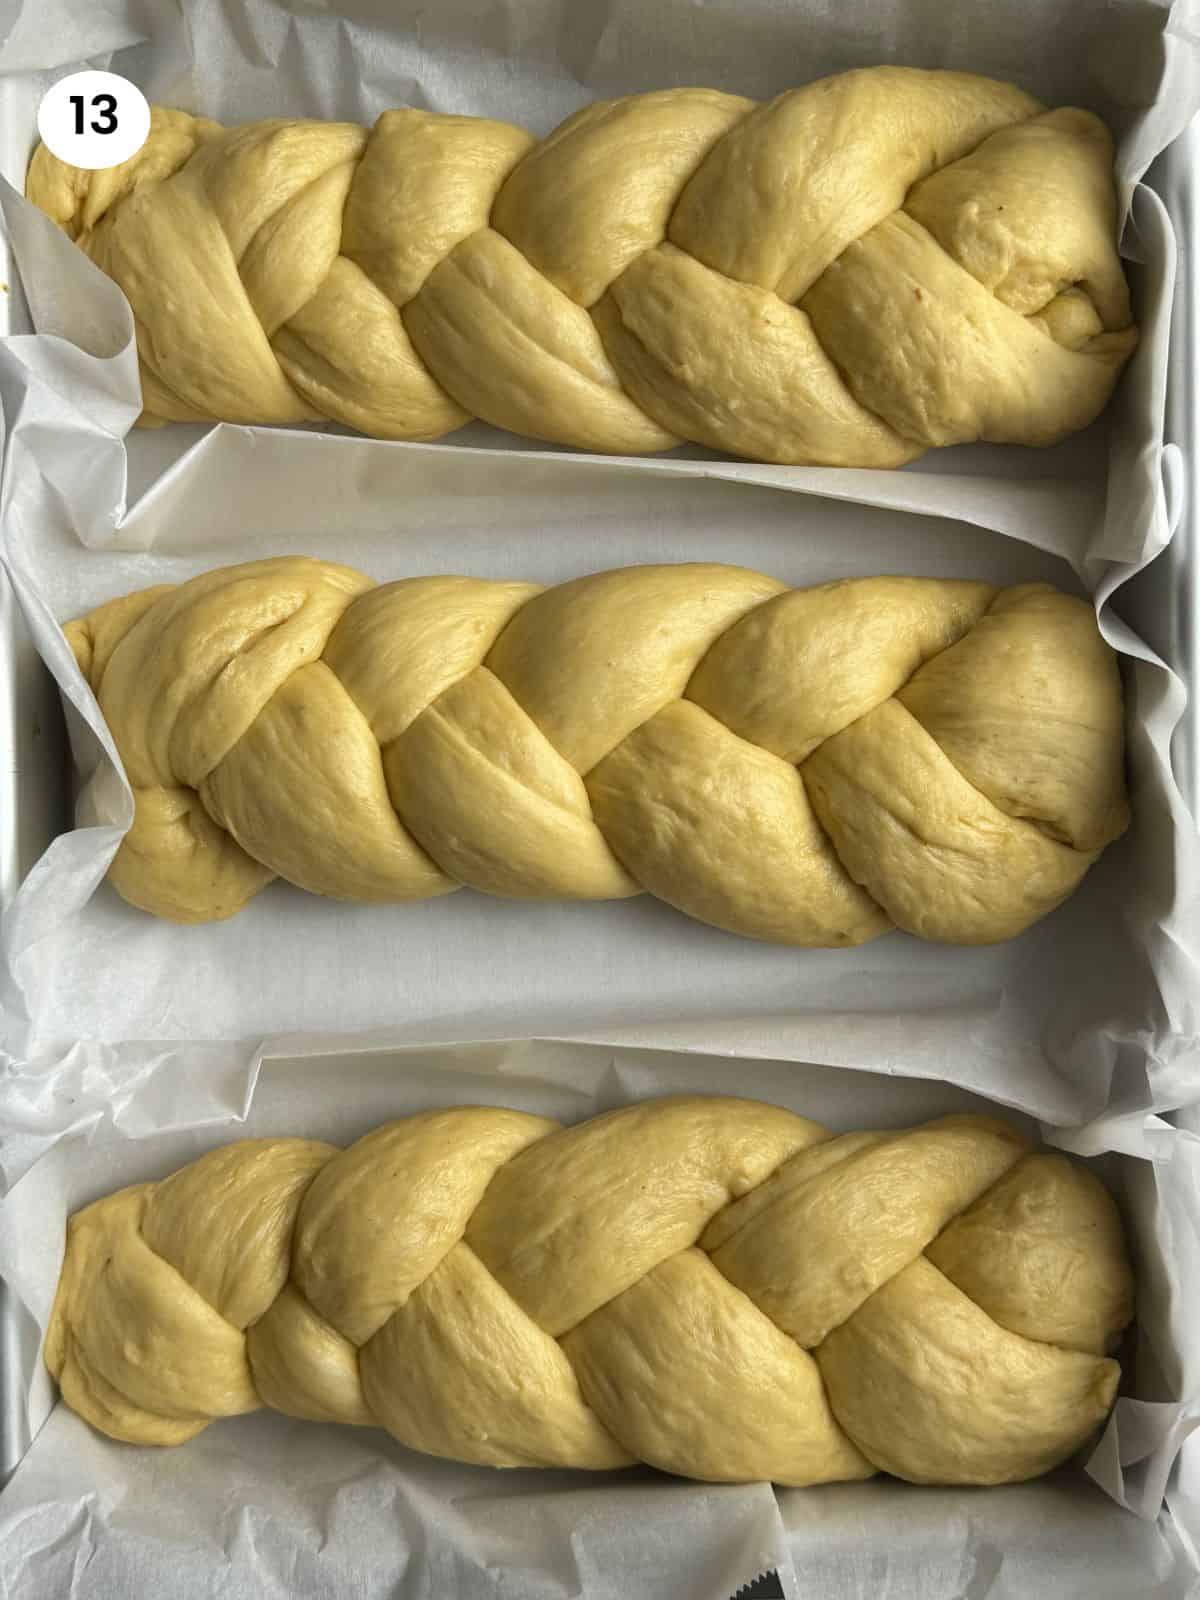
13. I place the sweet breads in a big tray lined with parchment paper or you could also use individual loaf trays if you have any. Now it’s time to rest again for the second time. I place them again in a warm corner of my kitchen for 20-30 minutes. We just want them to puff up a little bit.
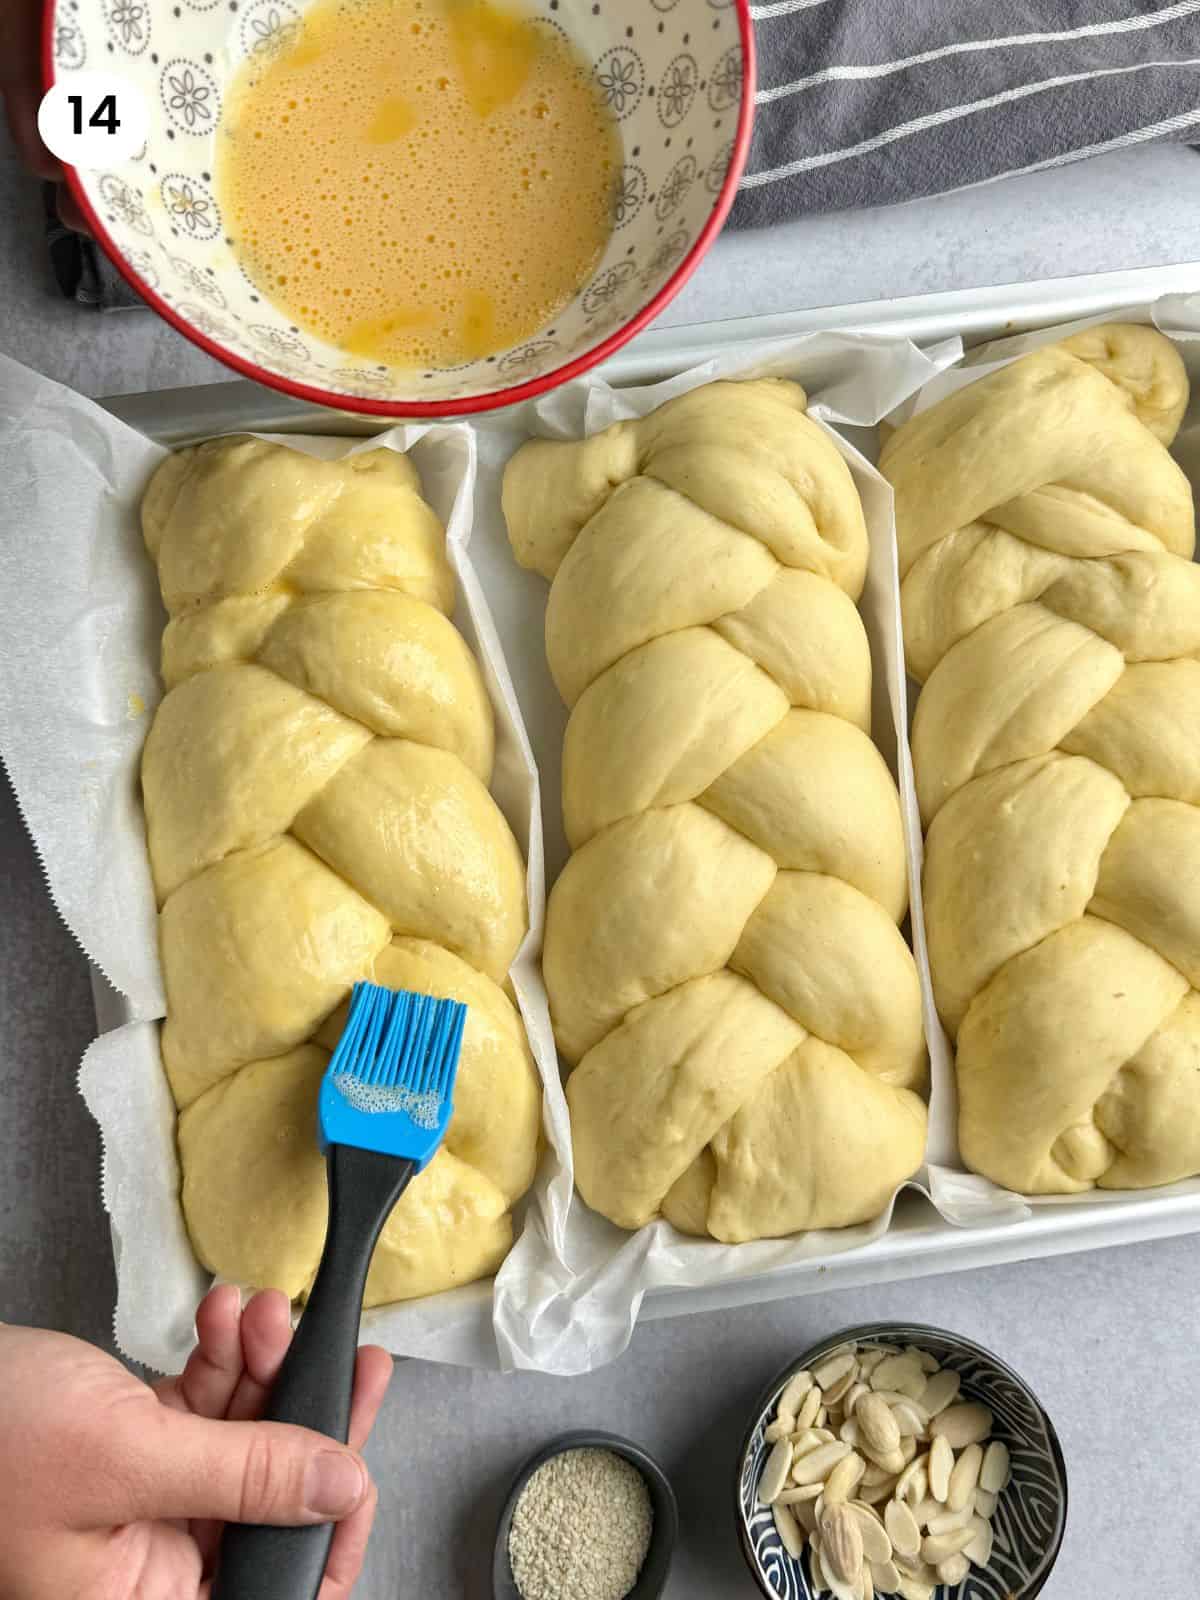
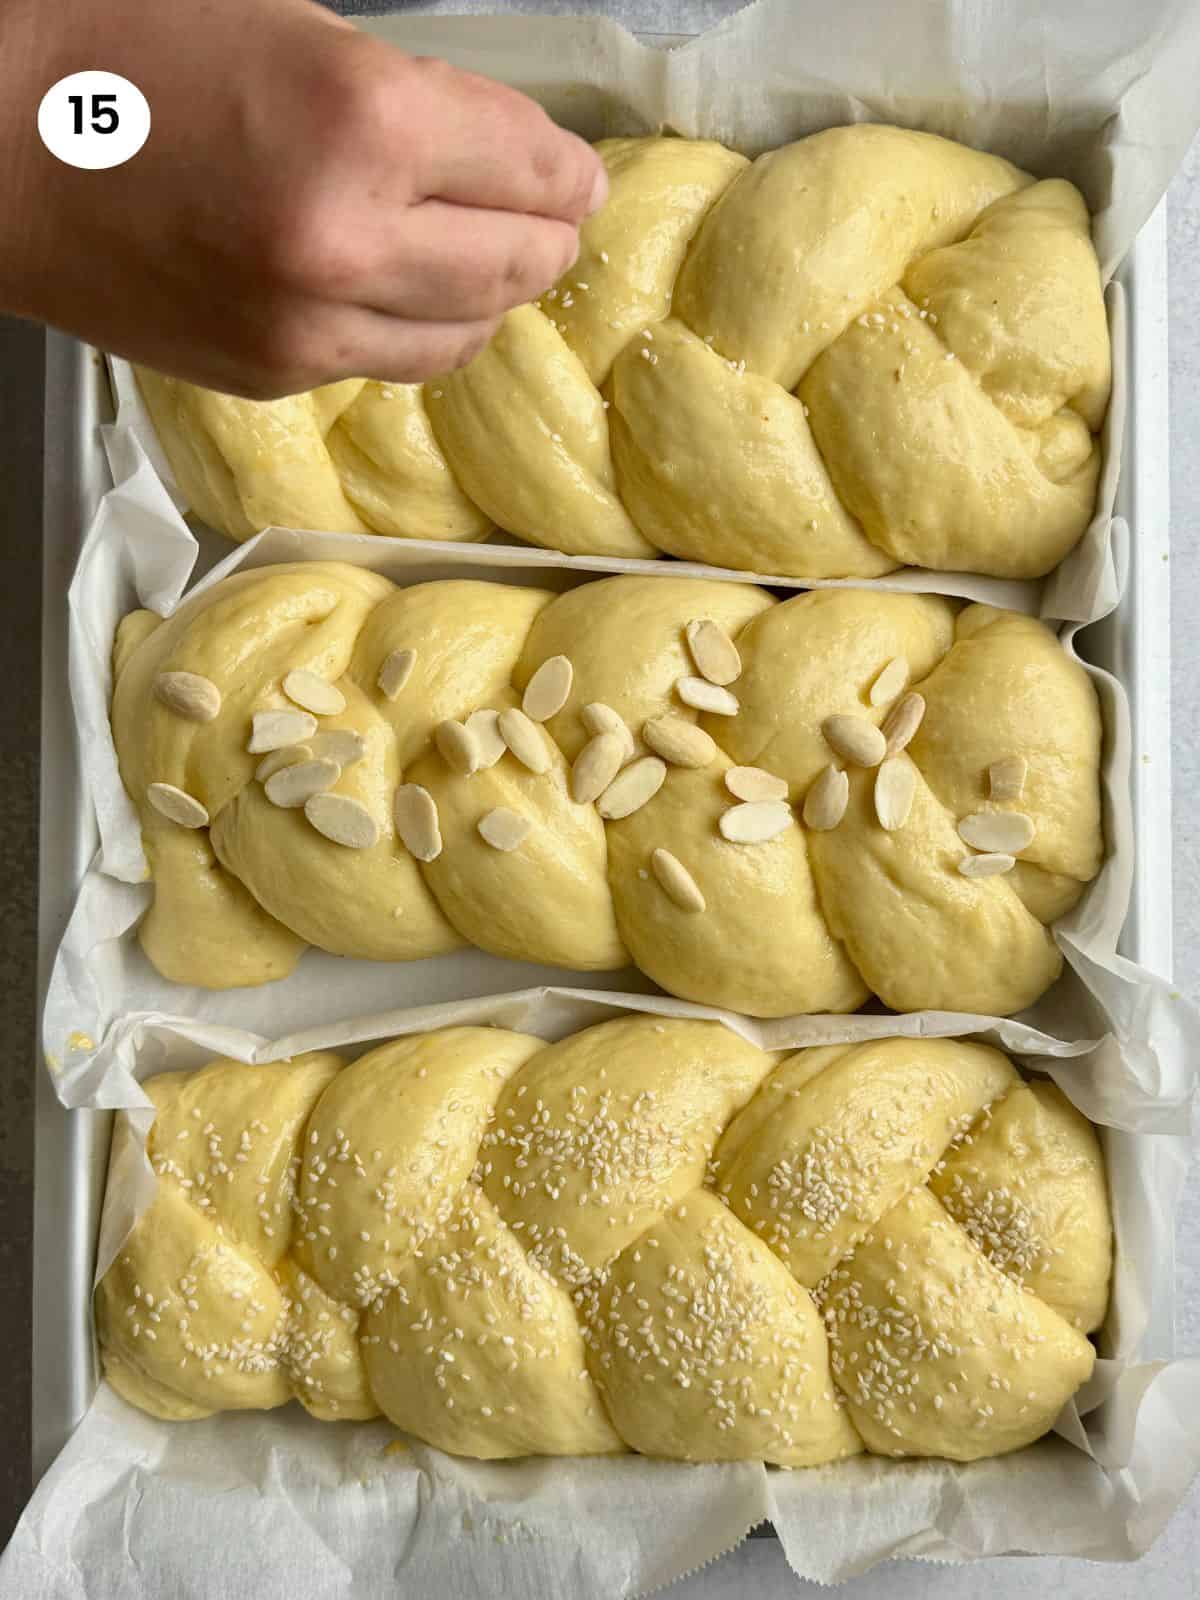
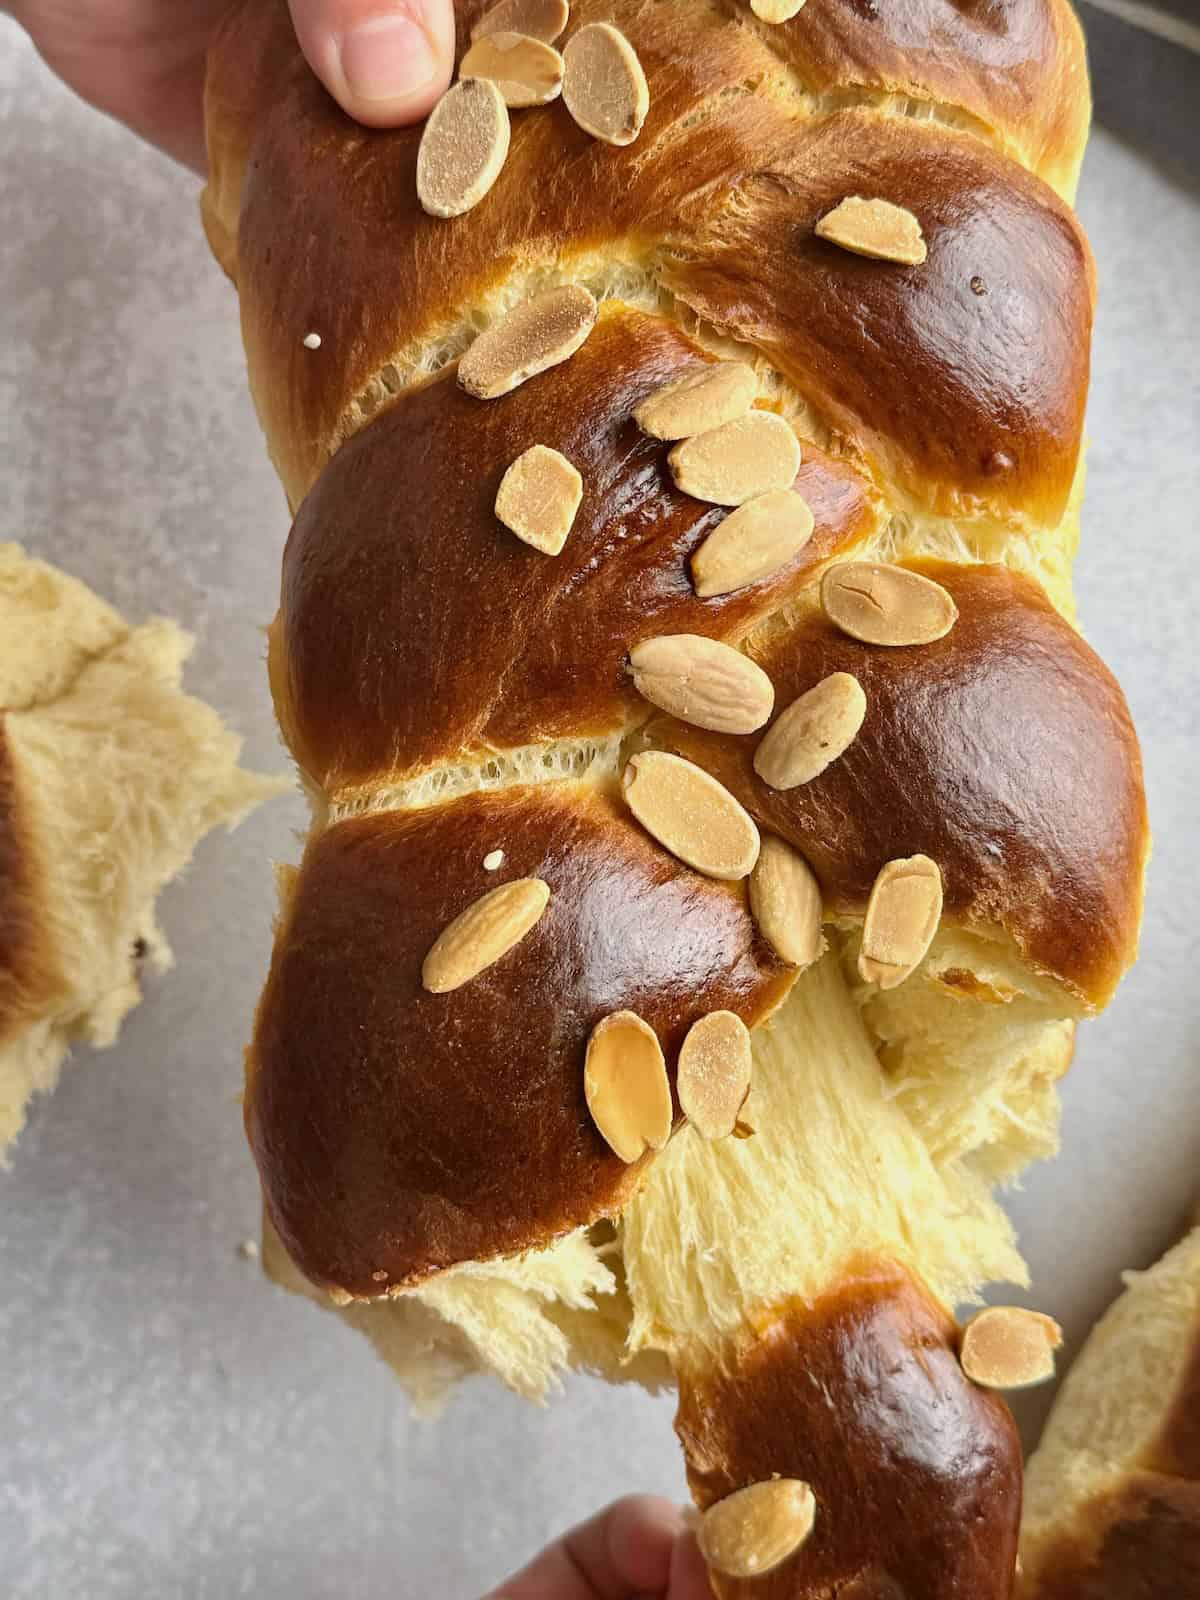
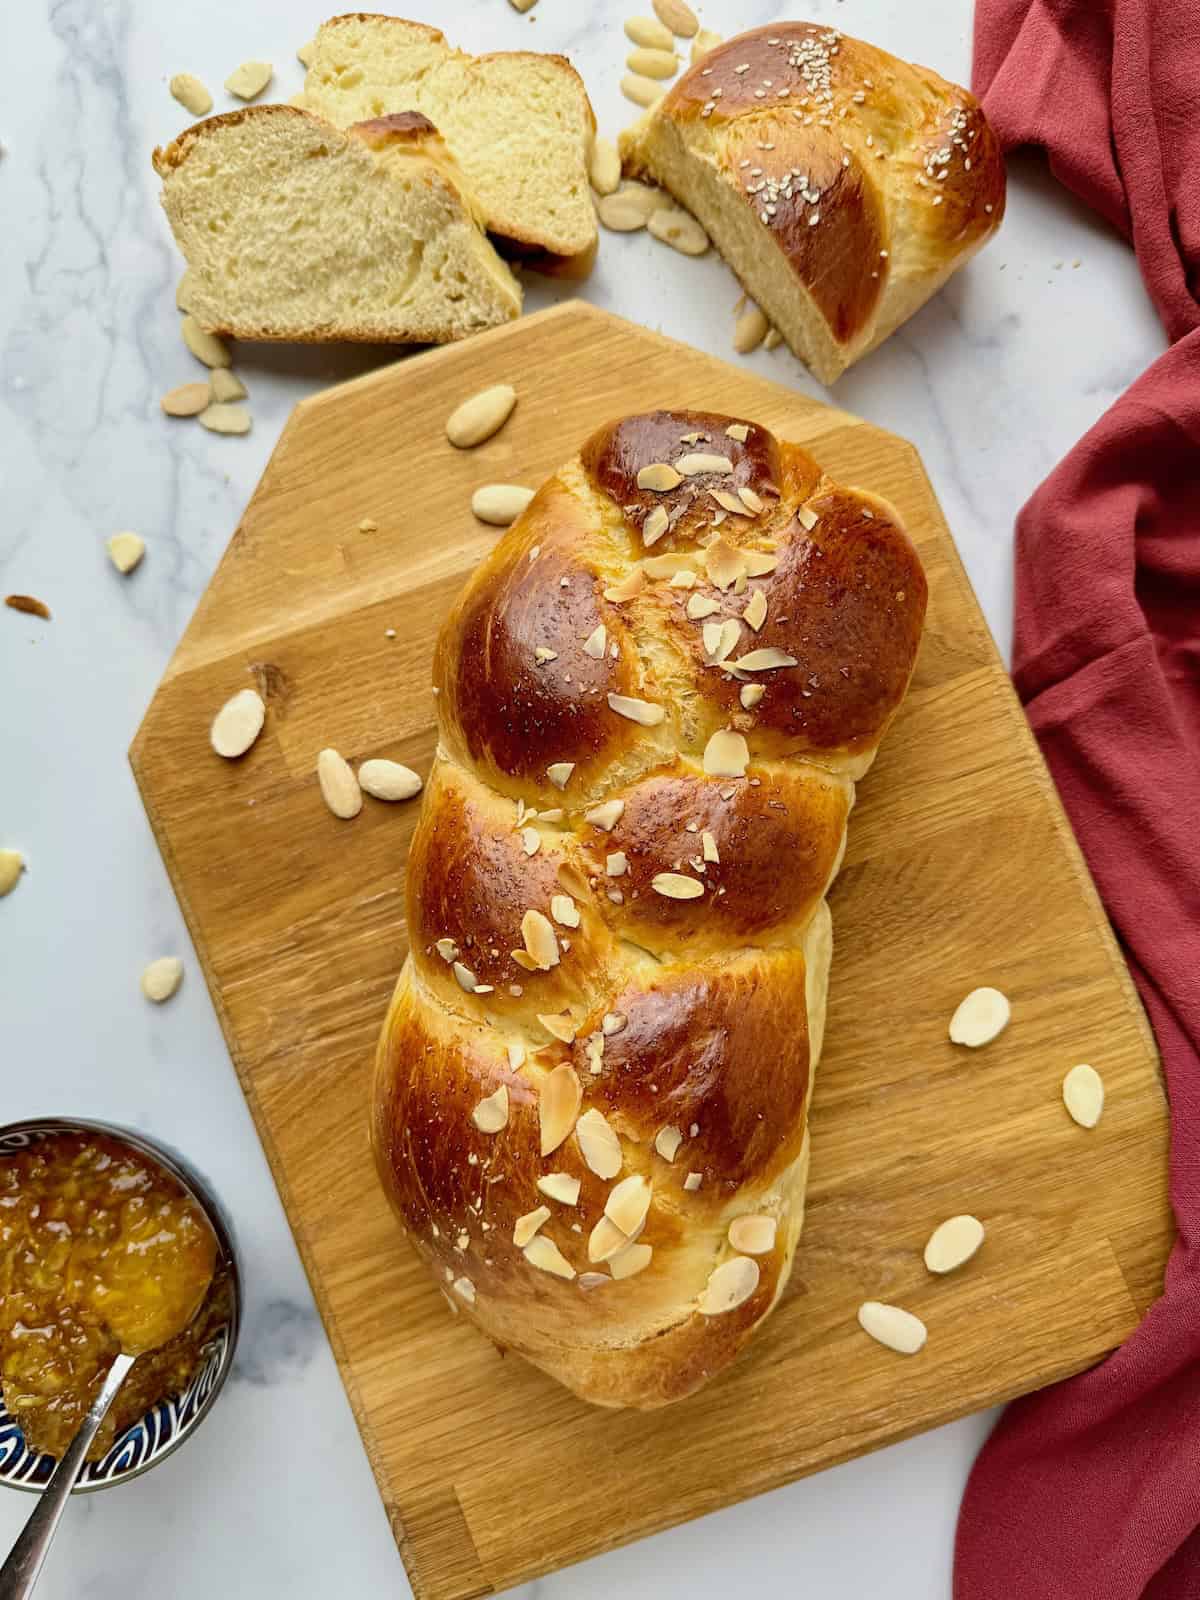
14. When the tsourekia have rested for the second time, I turn the oven to 350F / 180C. While the oven is preheating, it’s time to decorate the Greek sweet breads. I brush each tsoureki with a well beaten egg and then I spread on top some sesame seeds or almond flakes. For Easter tsourekia some people like to add a hardboiled red egg.
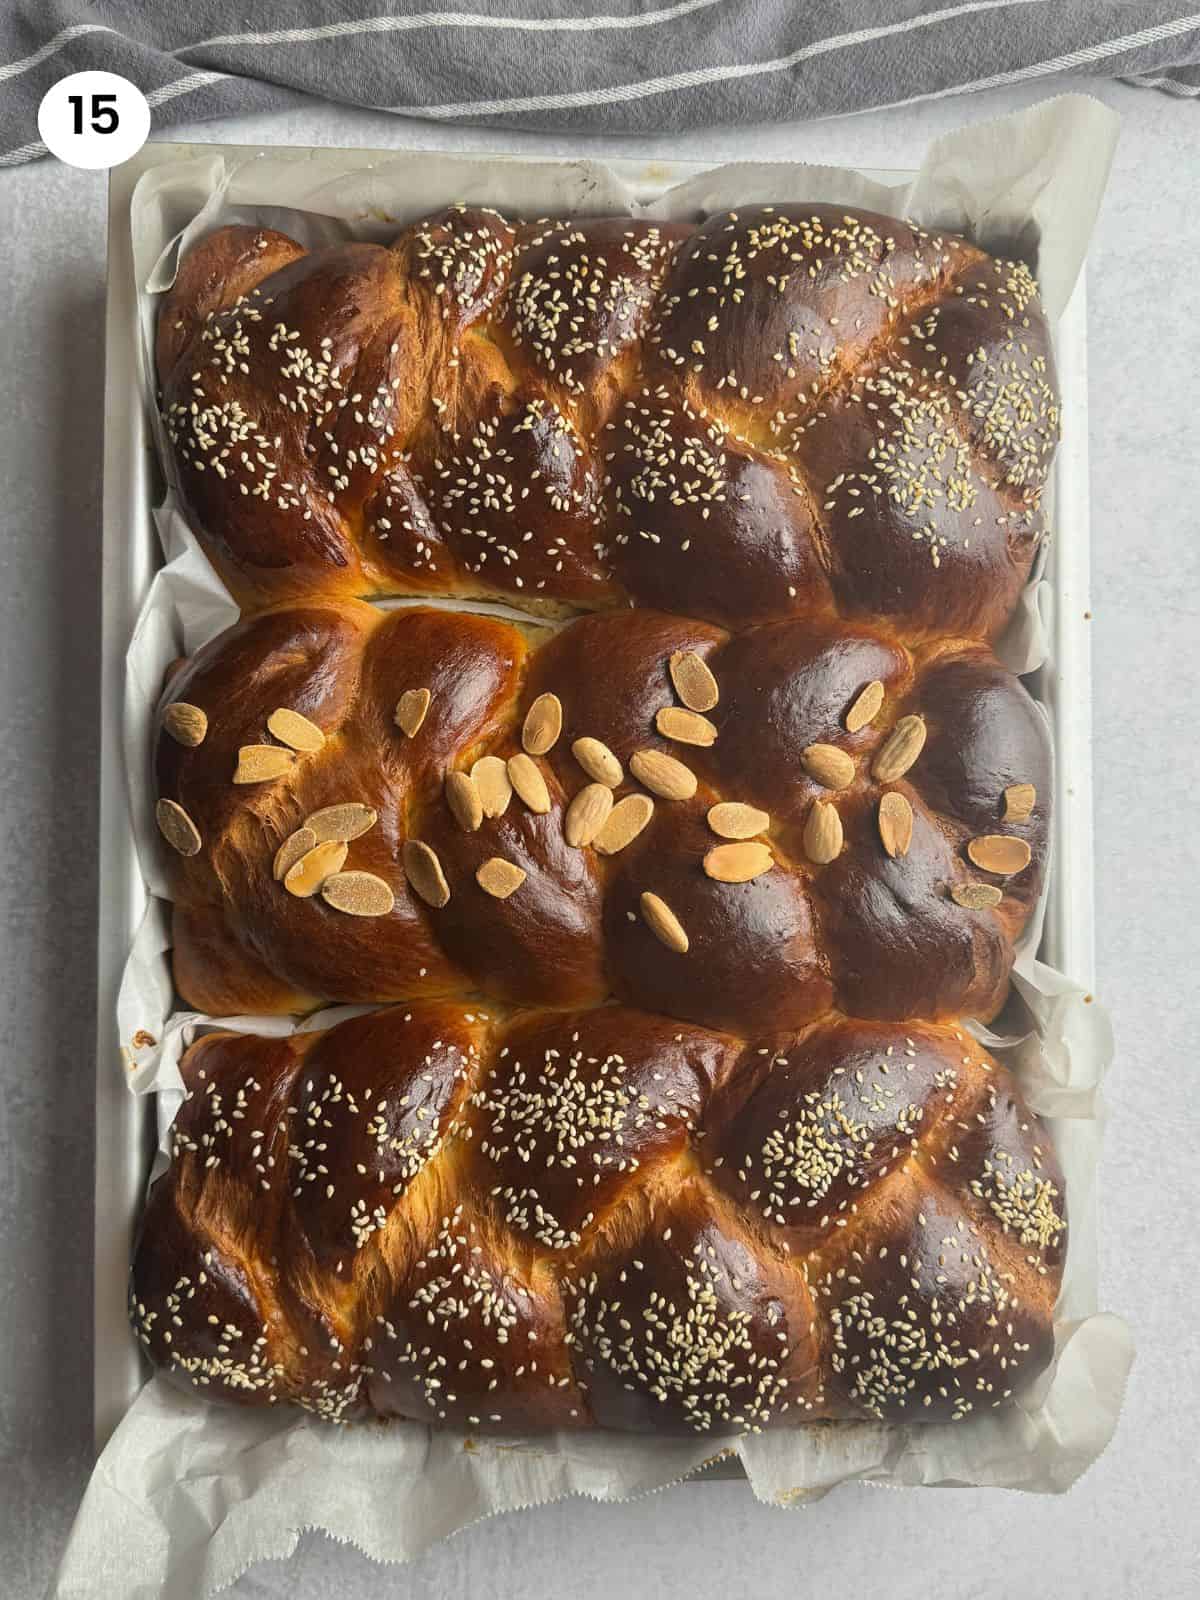
15. It doesn’t take long for the Greek sweet bread to bake, around 45-50 minutes. The top will have a dark brown color and should be hard.
Tips
- Make sure the ingredients are at room temperature.
- Slowly incorporate the butter, one tablespoon at a time.
- Proof the dough in a warm corner of your house covered with a towel.
- Don’t add any flour on your working surface but use oil instead.
- Knead the dough until it’s not sticking to your fingers.
Substitutions
- If the mahlepi flavor is too strong for you, you could use one teaspoon.
- You could use bread flour or a strong flour high in protein.
Serving suggestions
This Greek sweet tsoureki bread is great for breakfast with a cup of coffee on its own or with a spread on it. My kids love it and it’s easy to hold and not messy. You could also have it in the afternoon as a snack or pack a couple of tsoureki slices for taking with you at work or when out.
Greeks also like to pair it with some hard goats cheese. The sweet flavor of the bread and the salty, strong flavored cheese really complement each other. I know it might sound strange, but you should definitely try it!
Storage
The recipe yields 3 big loaves. You could store the tsourekia in a bread bin to prevent them from drying or wrap them with some cling film. They should be good for 3-4 days but after that, they might get a bit hard. If you don’t plan to consume them all within a couple of days, then you could store them in the freezer for up to 2 months. Thaw overnight and they should be as good as fresh the next morning.
FAQ
Tsoureki is at its best on the first day while it’s still warm. To keep it soft and fresh, you could wrap it with some cling film to preserve the moisture or keep it in an airtight container. You could also freeze the loaves and they will be as freshly baked when thawed.
Several reasons could make your sweet bread come out too hard. One is that your yeast might have expired or is off, resulting in poor dough rise and a hard sweet bread. Another thing that might cause it, is not enough kneading. After adding the butter in, you should knead it for at least 15 minutes until it’s not sticking to your fingers.
If you tried my Greek Sweet Bread - Tsoureki or any other recipe on my website, please leave a 🌟 star rating and let me know how it went in the 📝 comments below. I love hearing from you!
Recipe
Greek Sweet Bread - Tsoureki
An aromatic Greek sweet bread or tsoureki as it's called in Greek, with a light, fluffy texture and rich in flavor. Have it for breakfast with a cup of coffee or an afternoon snack on its own or with a spread. Kali orexi!3 loaves
45 minutes
Yeast Ingredients
- 3 sachets / 21gr / 0.75oz active dry yeast
- 1 tablespoon sugar
- ½ cup lukewarm water
- ½ cup / 65grbread flour
Dough Ingredients
- 3 eggs at room temperature
- 1 ½ cup / 300gr sugar plus ½ tablespoon
- 1 cup / 250ml milk at room temperature
- ½ cup / 125ml orange juice
- 1 teaspoon vanilla extract
- ¾ cup / 170gr butter at room temperature or softened
- 1 ½ teaspoons mahlepi
- 6-7 mastiha kernels
- 8 ½ cups / 1100gr bread or strong flour
Decoration
- 1 egg
- flaked almond slices or sesame seeds
Equipment
- stand mixer (paid link)
- dough scraper (paid link)
Instructions
- Mix the yeast ingredients: yeast, lukewarm water, sugar and flour in a bowl.
- Cover with a plastic wrap and a tea towel. Leave it in a warm corner of the kitchen for 15 minutes.
- Grind the mastiha tears with half a tablespoon of sugar using a spice grinder or pestle and mortar. In a bowl, mix the flour, mahlepi and mastiha powder.
- In the stand mixer bowl, add the sugar. Using the paddle attachment, start mixing in medium speed and add the eggs one at a time.
- Add the orange juice and vanilla extract. Change to the hook adaptor before adding the dry ingredients.
- Add half of the flour and the milk whilst continue mixing in medium speed.
- Add the yeast mixture and mix until it's incorporated.
- Lower the speed and start adding the remaining flour. Mix for 4-5 minutes.
- Start adding the melted butter, one tablespoon at a time. Wait until the butter is absorbed before adding the next tablespoon.
- When all butter is incorporated, leave the dough to knead for 15-20 minutes until it's not sticking to your fingers.
- Cover with plastic wrap and a tea towel and leave the dough to rise in a warm corner of your kitchen for 2-2.5 hours until double in size.
- Deflate the proofed dough and split into three pieces, one for each loaf.
- For a three plat sweet bread, split each dough ball into 3 little balls. Roll each ball to form a long rope. Use some oil on your hands and surface to prevent sticking.
- Lay the ropes side by side and pinch them together at one end. Braid loosely and pinch the other end together.
- Place some parchment paper on a baking tray and transfer each loaf. Leave some space between them as they will rise.
- Cover with a towel and set them aside in a warm corner to rise again for 30 minutes.
- Mix an egg with a tablespoon of milk until combined. Brush the top of each sweet bread.
- Decorate with the almond flakes. Bake for 45 minutes in a preheated oven to 180°C / 350°F.
- Leave them to cool down for 5-10 minutes before removing from tray.
Notes
- Make sure the ingredients are at the right temperature.
- You could use almond flakes or sesame seeds to decorate the tsourekia.
- Make sure the room is warm enough for the dough to rise.
Storage
Store the Greek sweet bread at room temperature for up to 3-4 days or in the freezer for up to 2 months.
Nutrition Info (per serving)
I am not a nutritionist. The nutrition information has been calculated using an on-line calculator, and is intended for information and guidance purposes only. If the nutrition information is important to you, you should consider calculating it yourself, using your preferred tool.














Comments