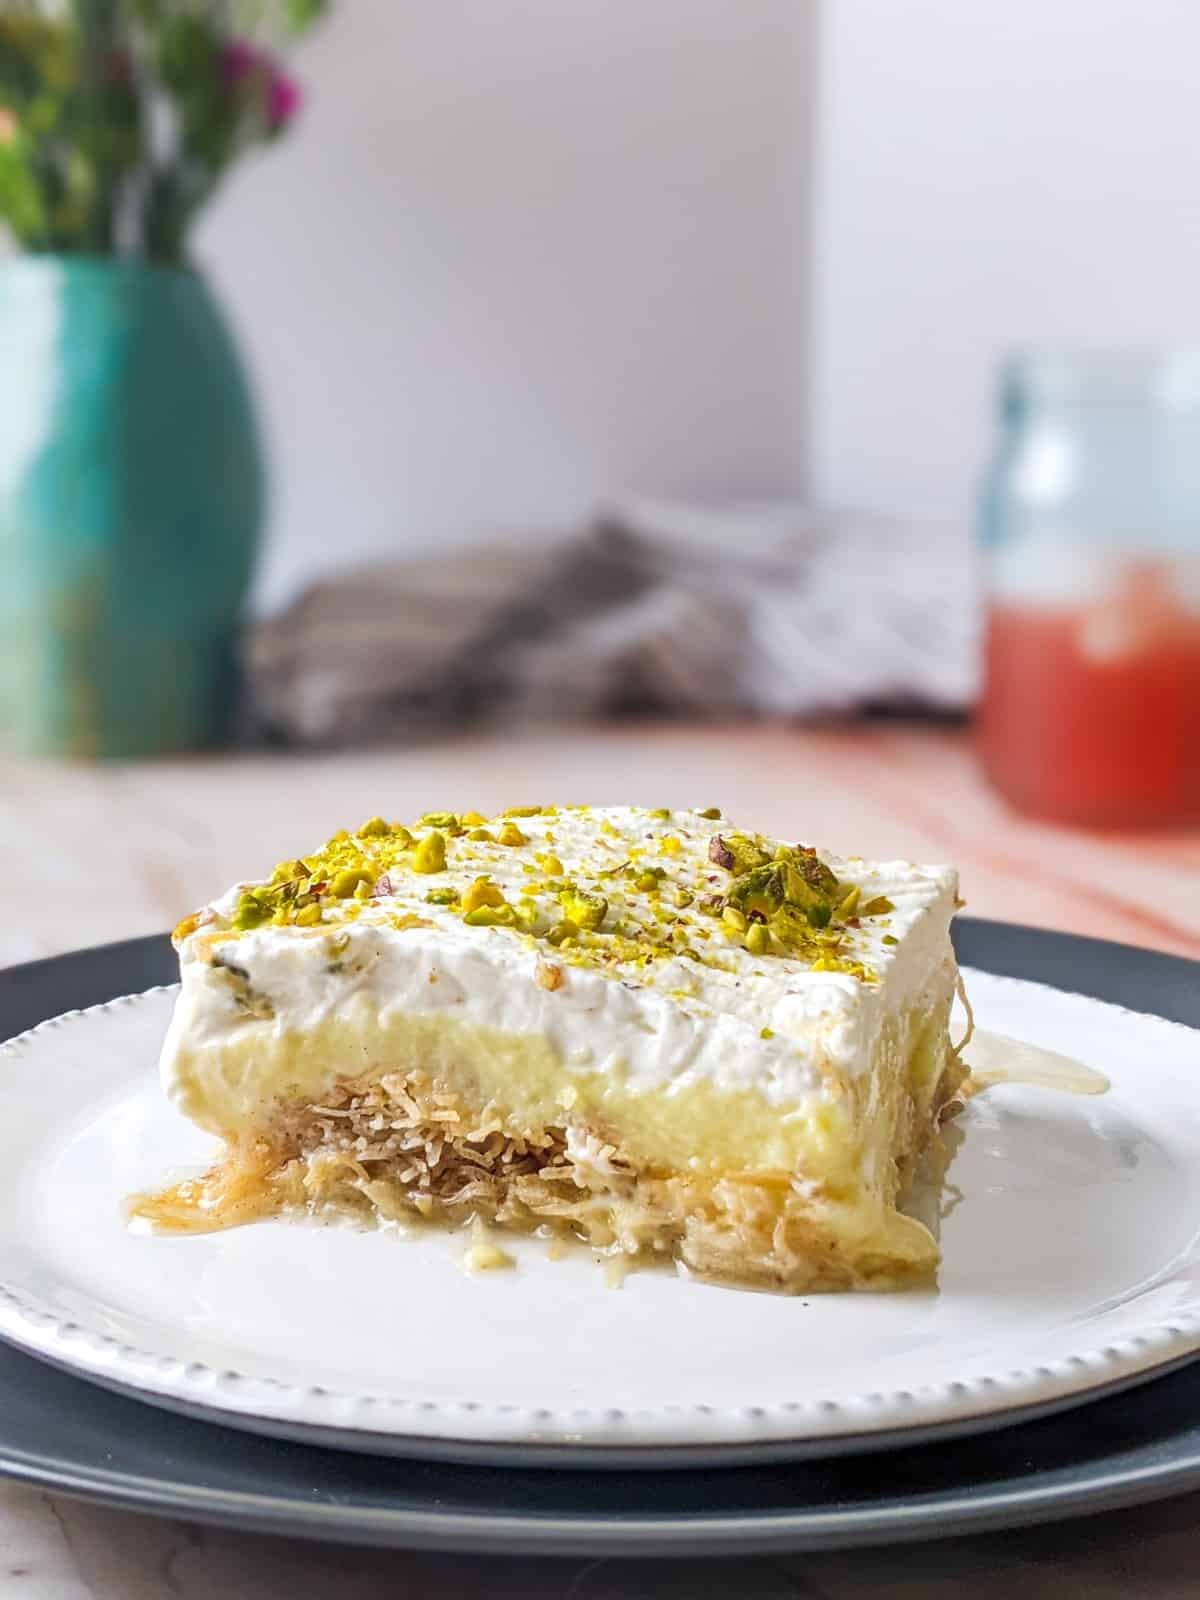
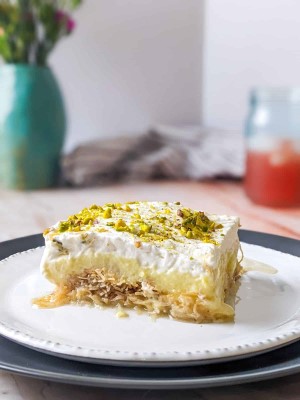
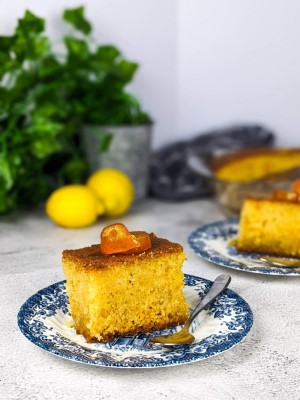
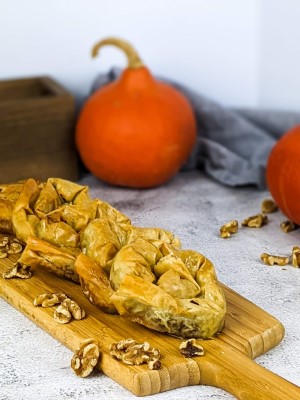
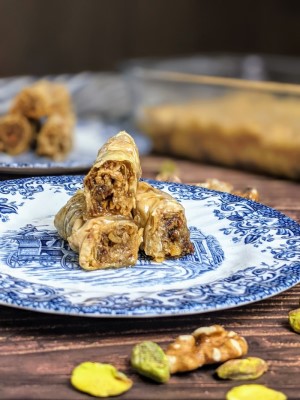
Ekmek kataifi and baklava are my top 2 favorite Greek desserts. Ekmek kataifi or kadayifi, pronounced ka-dah-ee-fee, is a creamy and refreshing dessert enjoyed cold, straight out of the fridge, whereas baklava doesn’t need to be refrigerated and it’s more dense and nutty, like my rolled baklava bites. Ekmek is a three layered dessert where at the base we have the syrupy and crunchy kataifi, in the middle a velvety custard and at the top the light and fluffy whipped cream.
I know it sounds intimidating, too many layers, too many things to go wrong, BUT believe me it’s not. It’s quite easy as long as you follow my instructions and do the in an order. The only thing is that you need to restrict yourself from is eating it while it’s cooling down in the fridge for a couple of hours.
Another thing, I like about ekmek kataifi is that it’s a crowd pleaser and can easily impress friends and family. The recipe yields at least 16 big pieces making it a great option for big gatherings. It’s the perfect dessert to offer after a meal on its own or with a cup of coffee.
What is kataifi
Kataifi is a dough made mainly from wheat flour and water. It’s very popular in the Mediterranean, Eastern Europe and Arabic countries. This shredded phyllo dough is very very thin resembling angel hair pasta and it is traditionally made using a rotating hot plate and pouring the dough liquid in very thin streams. The kataifi dough is used both for sweet and savory dishes ekmek kataifi, kataifi dessert or kataifi cheese pie.
Jump to:
Why you should try my recipe
- Super creamy, syrupy and full of aromas.
- Tips & tricks for perfect layers.
- Base that is syrupy but also crunchy.
- Great summer dessert for friends and gatherings.
- Stores well in the fridge for up to 5 days.
Ingredients & How-to
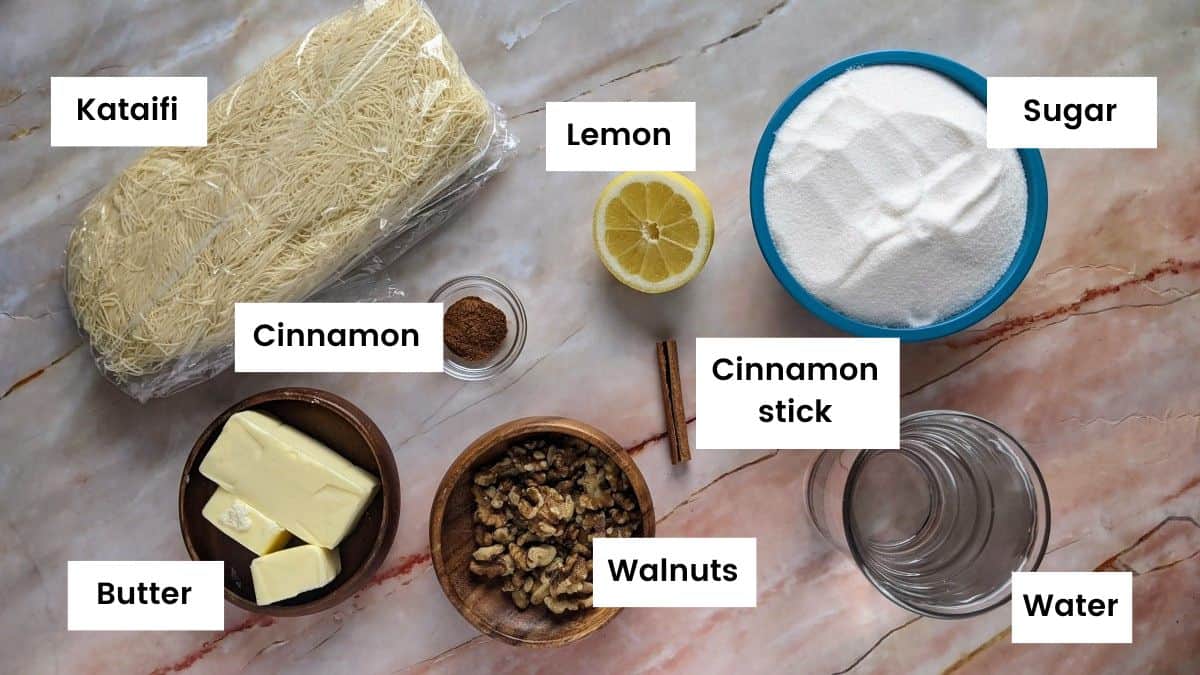
The main ingredients for the base of this ekmek kataifi dessert are kataifi or shredded phyllo dough, butter, walnuts, cinnamon and for the syrup sugar, water, lemon and a cinnamon stick.
1. Preparing the syrup
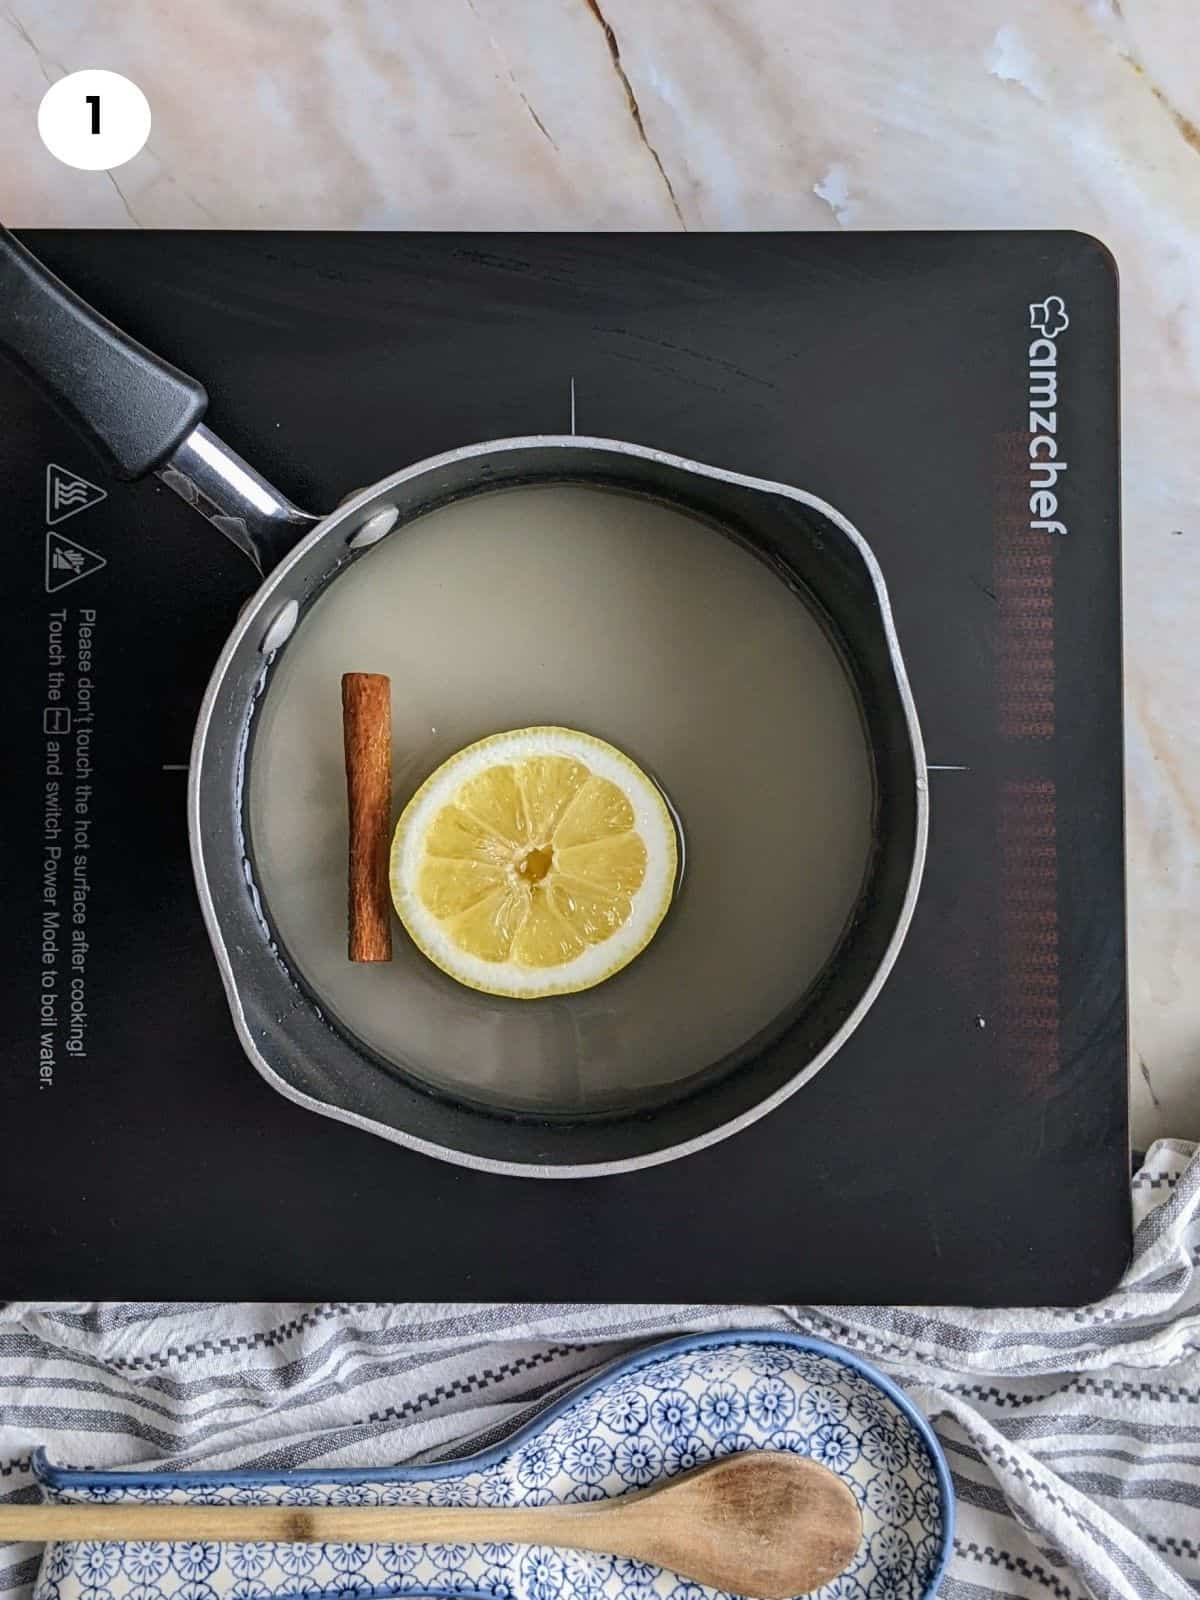
01. I first like to prepare the syrup to give it enough time to cool down completely before I add it on top of the baked kataifi base. To make the syrup, I’m adding to a pot the water, sugar, a cinnamon stick, half a lemon and some of its juice.
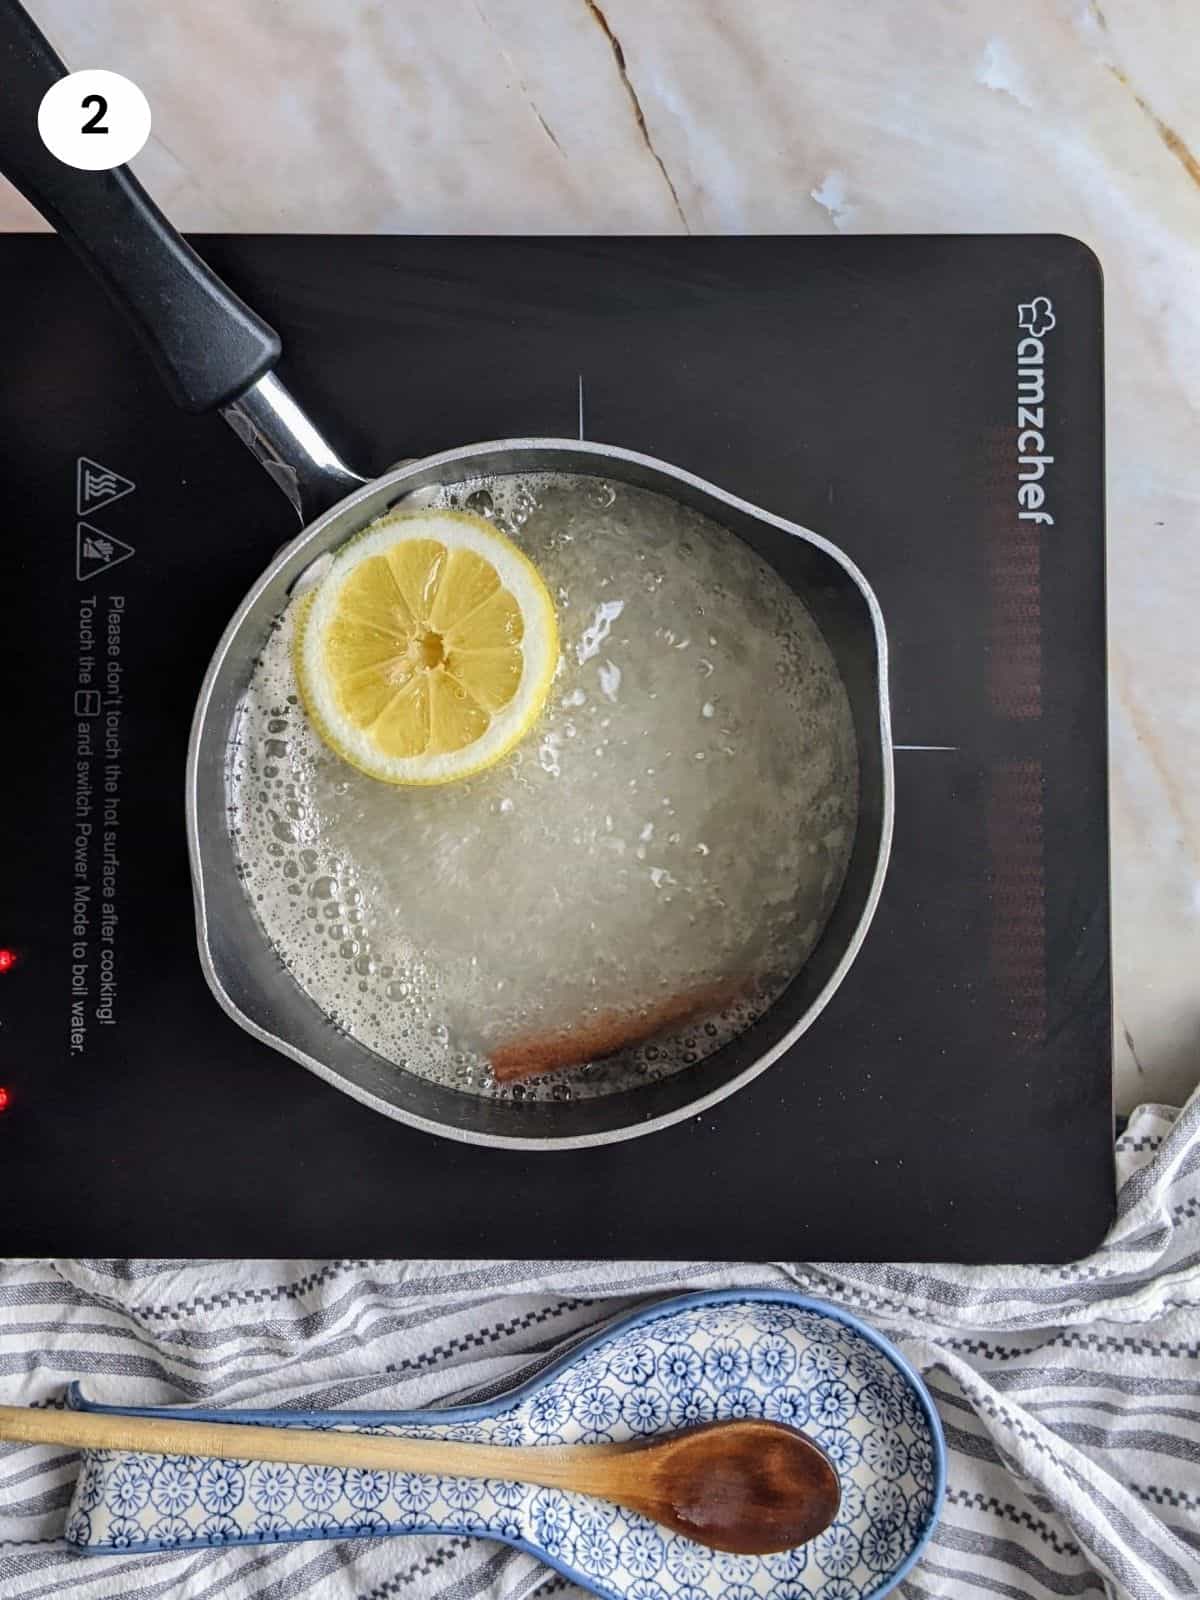
02. I turn on the heat to medium. It will take about 5 minutes to start boiling. When it starts bubbling, I leave it for a minute to boil and then turn off the heat and remove the pot. I leave the syrup in the pot to cool down while I’m preparing the kataifi base.
2. Preparing the kataifi base
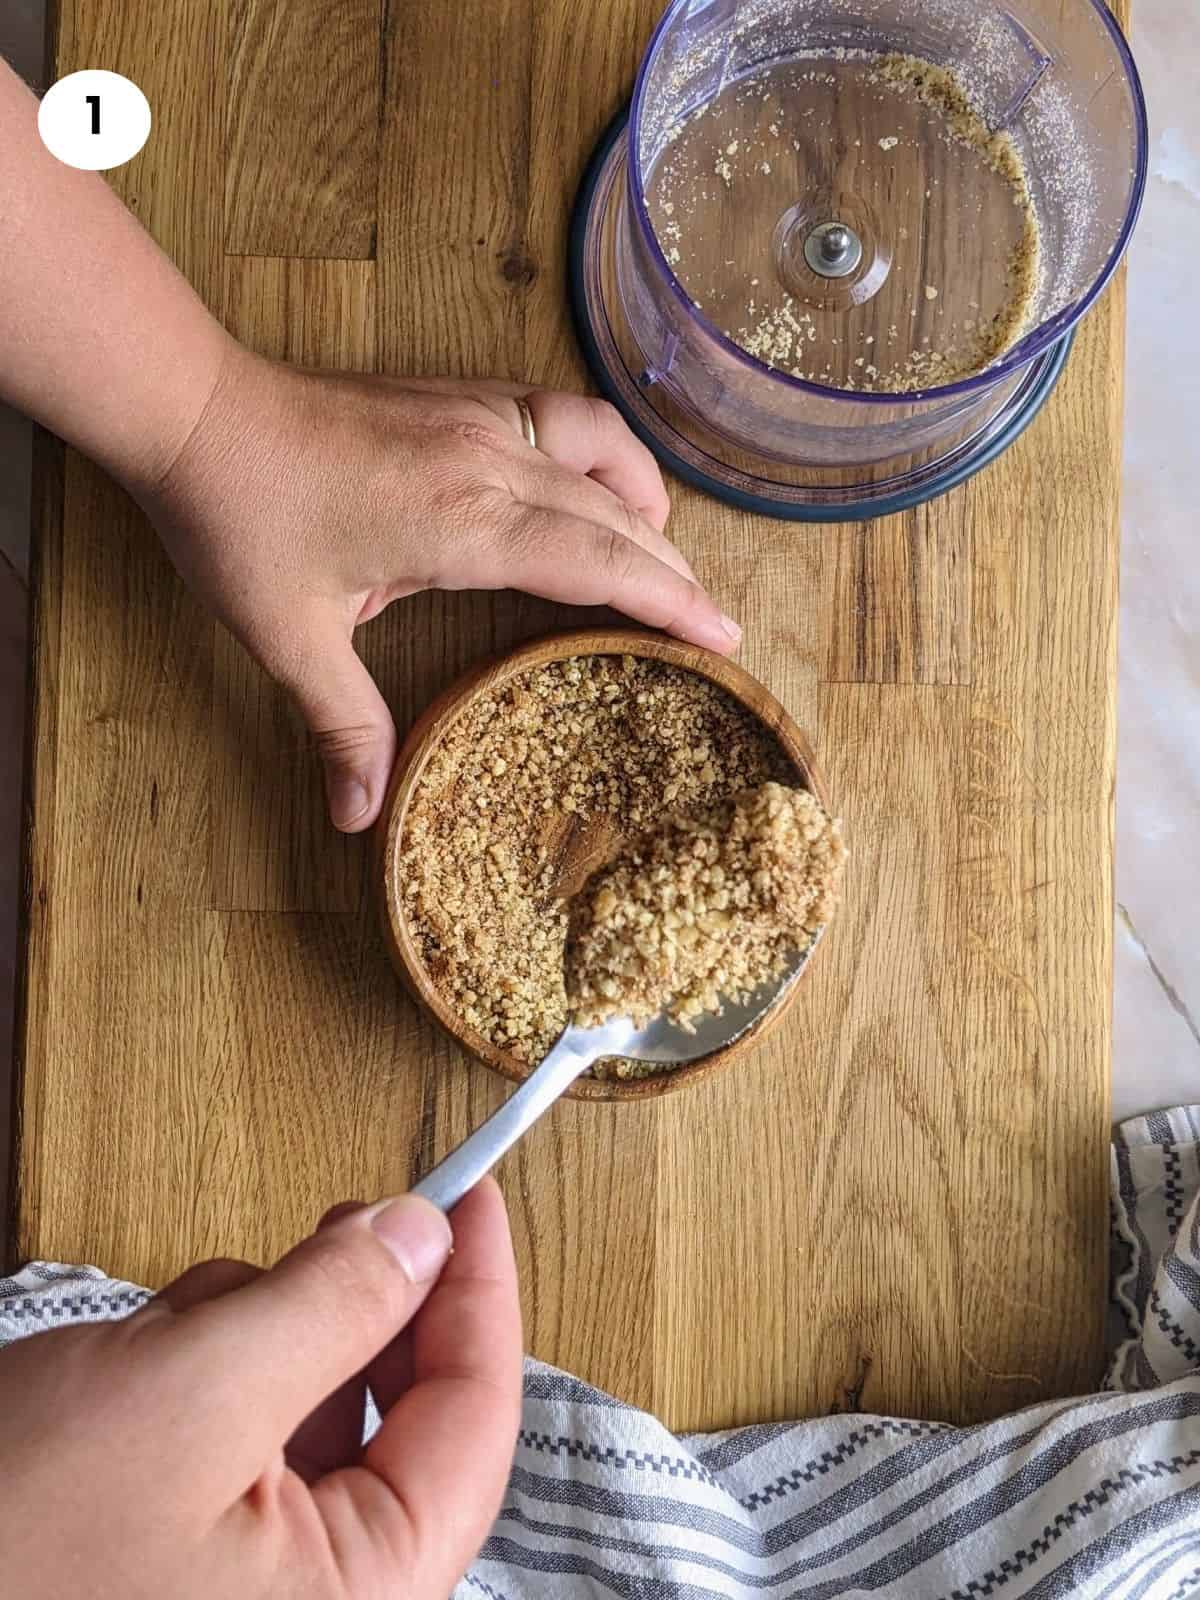
01. To prepare the base, I start by chopping the walnuts. I’m adding them to a small chopper until they are coarsely chopped. Then I add them to a bowl with the ground cinnamon and set aside. The walnuts are to be used with the kataifi for the base and add a bit of texture and a nutty flavor to the base. If you like to make the ekmek kataifi nut-free, then you could leave them out.
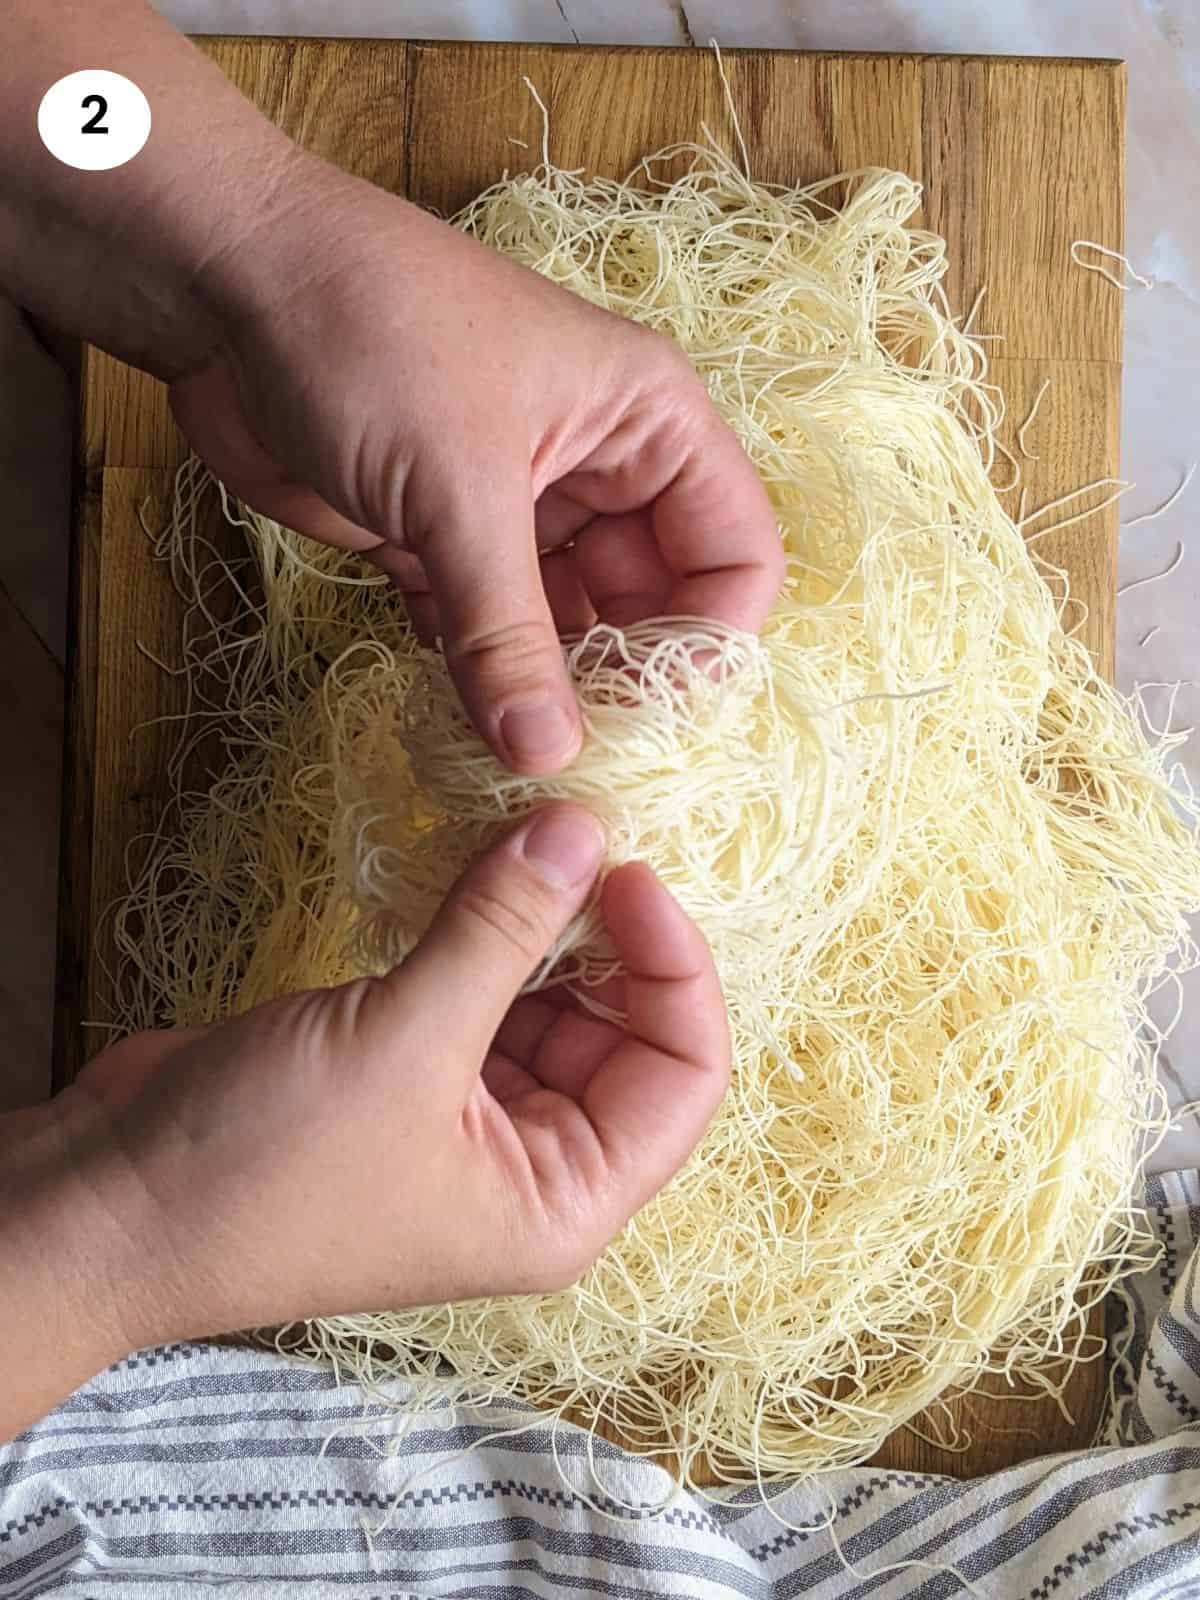
02. My kataifi dough is already thawed from the night before and ready to be used. Using my hands, I start pulling apart the kataifi. In the package, it’s quite compact like a block, so what we want is to pull it apart until it triples its size. In the end, it will be more airy and light.
Mamazilla's Product Recommendations
A multifunctional immersion blender that doesn't take much space and can be used for cooking, baking and even frothing milk for coffees.
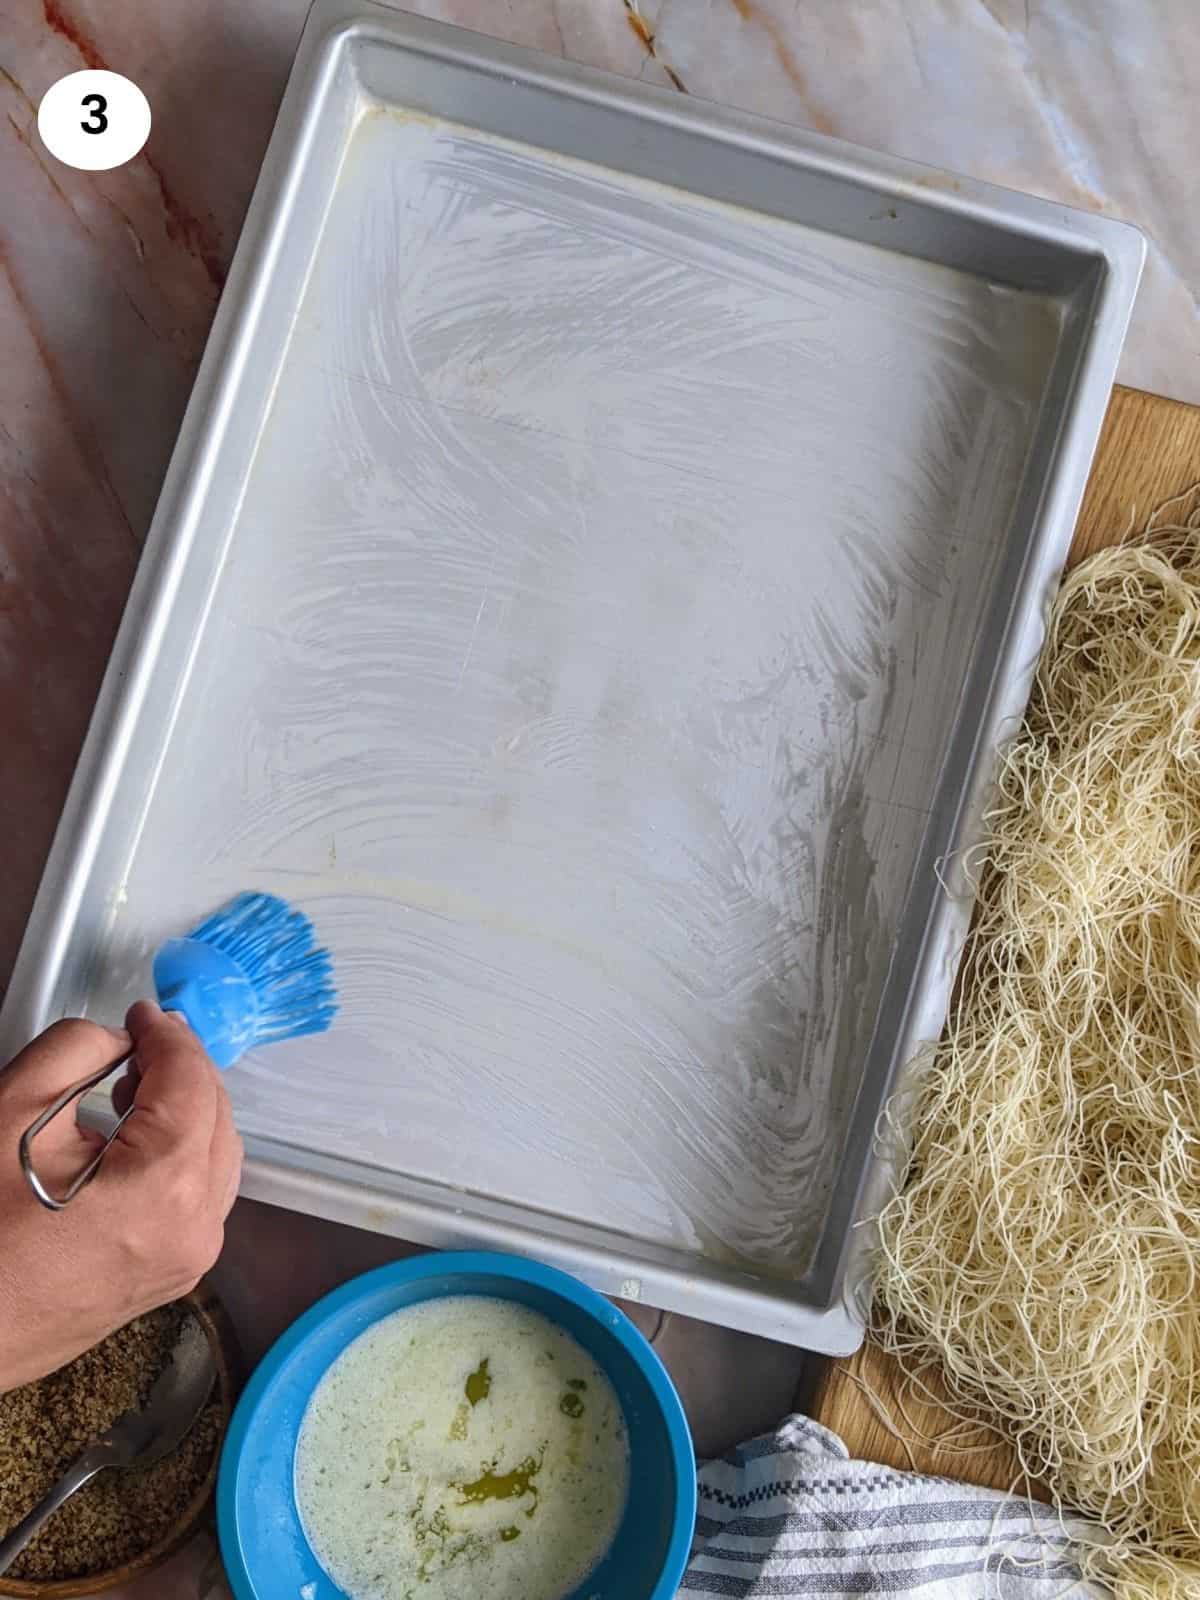
Buy On Amazon03. I’m using a big rectangular tray 15x11 inches, you could also use a rectangular pyrex tray, just make sure that it’s deep enough for all the layers, at least 2 inches. Before layering the kataifi, I’m brushing the bottom of the tray with some melted butter. You need some good quality butter to elevate the taste of the kataifi base.
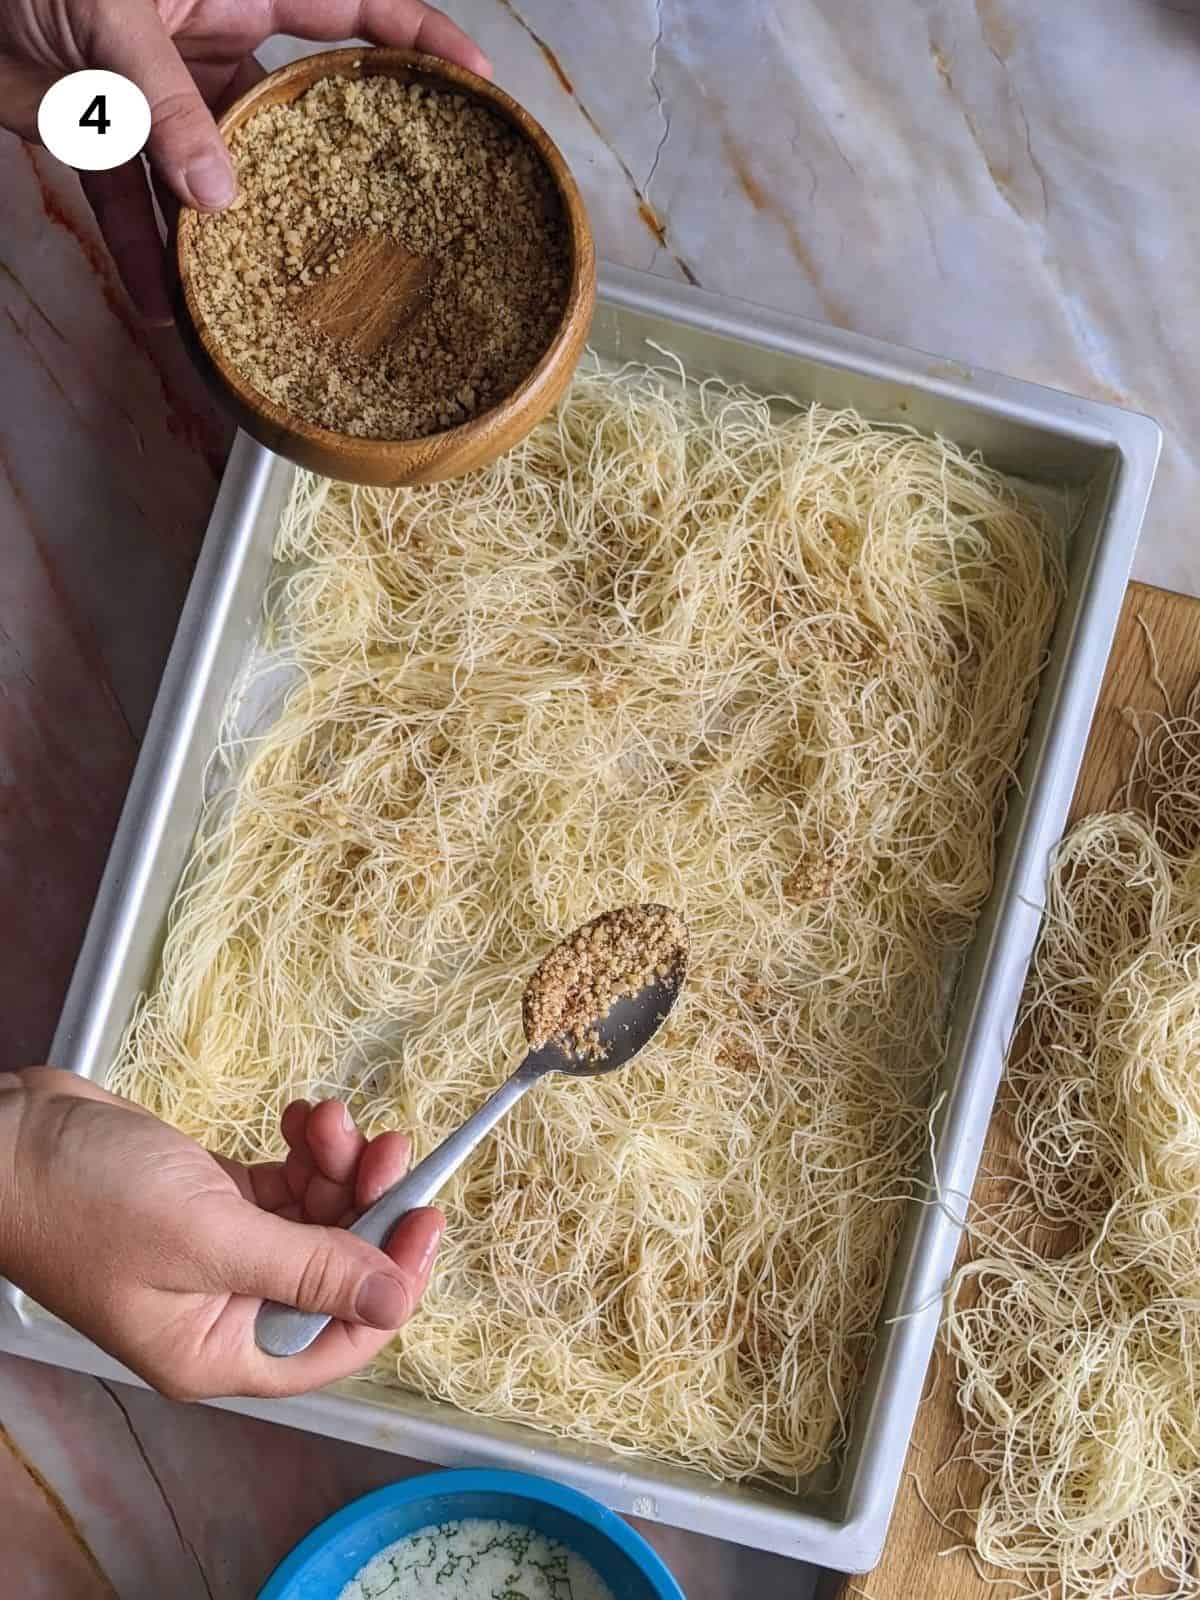
04. I split the kataifi into three big chunks. I add the first layer and then spread 2-3 tablespoons of the chopped walnuts around. Don’t worry if there are any gaps as you will add the next two layers on top.
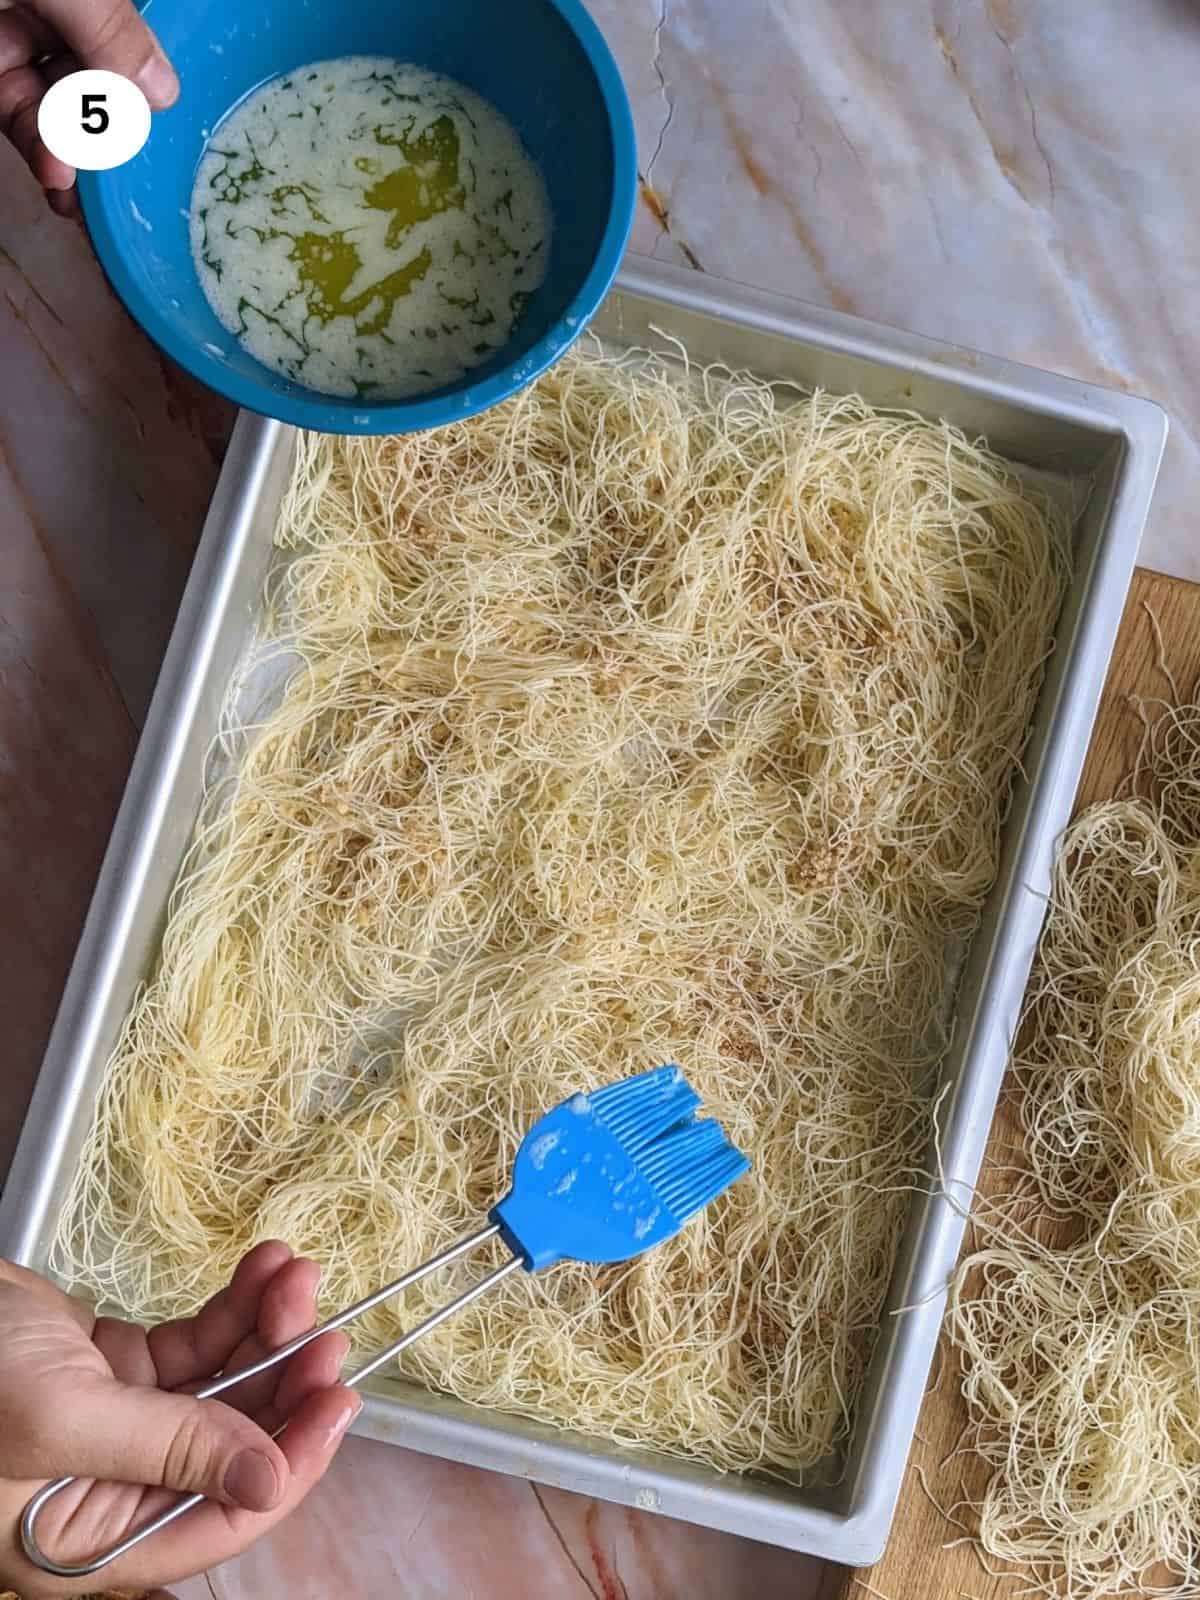
05. Then I’m drizzling some butter using a little brush. I’m not touching the kataifi, I just dip it in the bowl with the melted butter and drizzling it around. I repeat two more times, spreading the kataifi, chopped walnuts and melted butter.
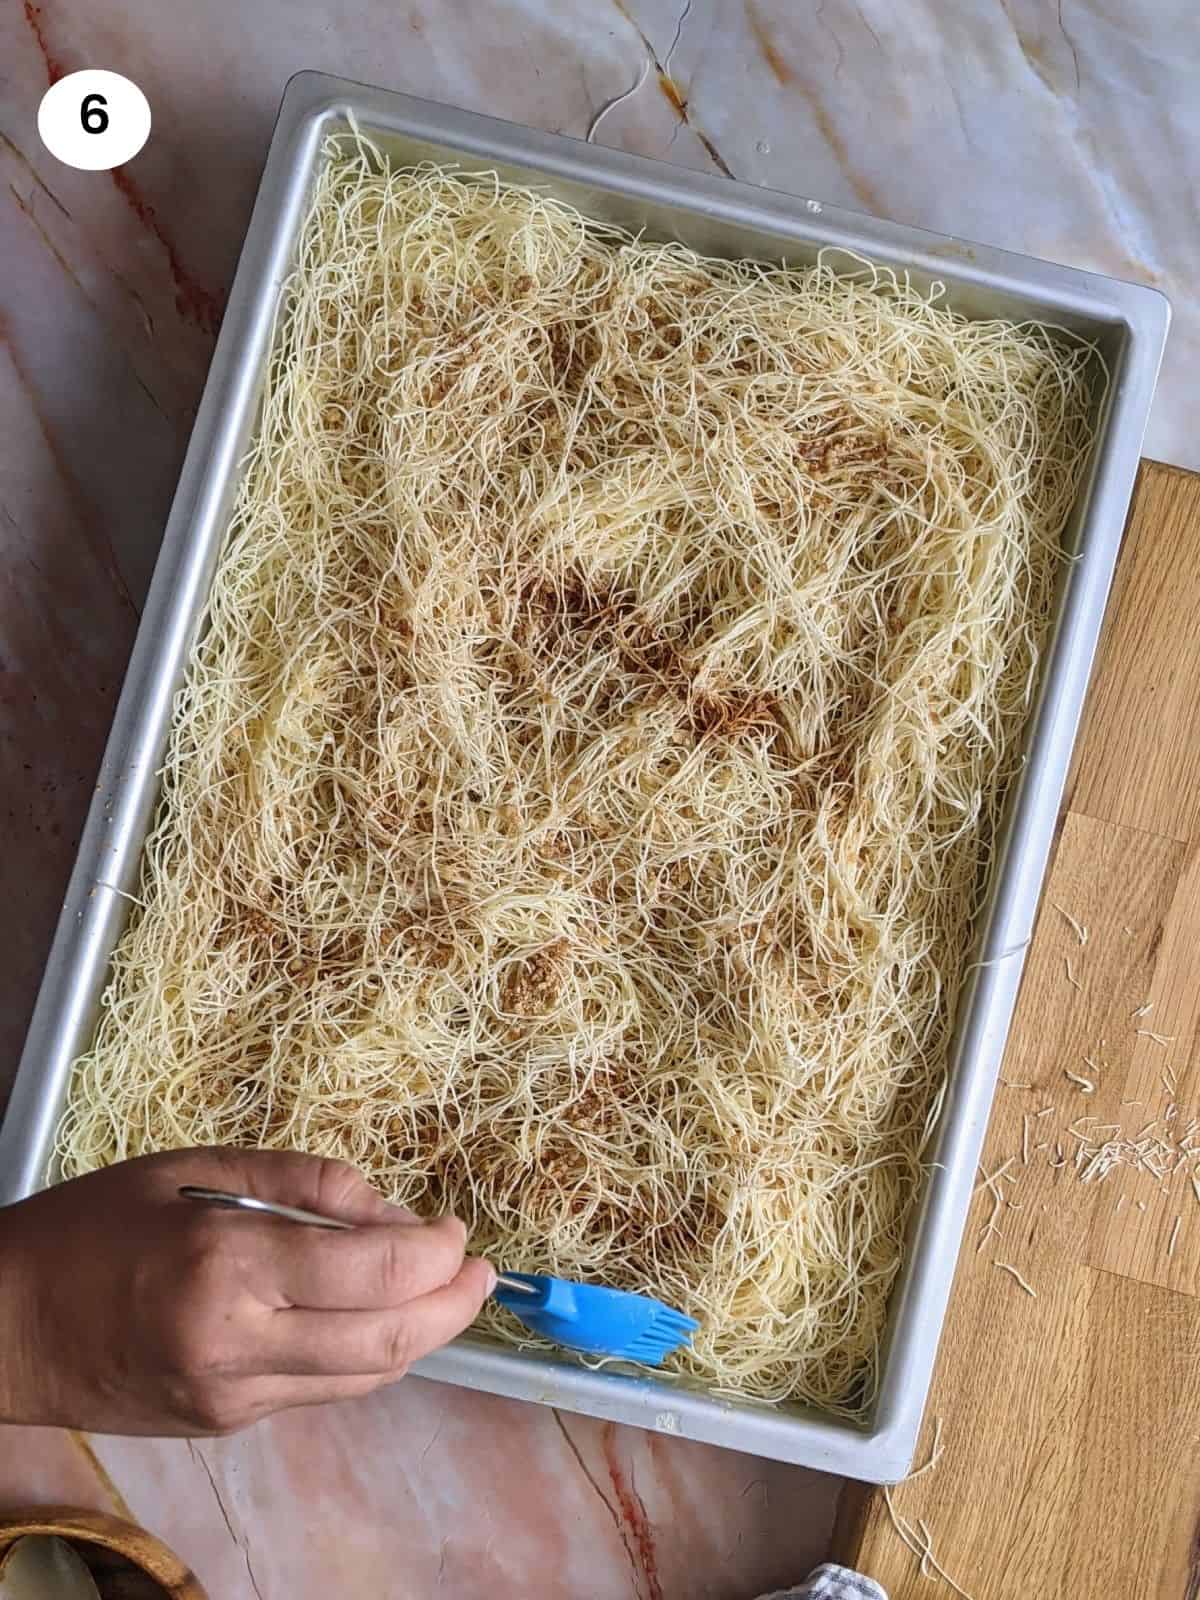
06. On top of the third and final layer, I’m drizzling with the remaining butter and make sure there is no kataifi ‘hair’ hanging out by pressing the edges with my brush. Then, I place it in a preheated oven for 30-35 minutes until it gets a nice golden brown color. You want the base to be well cooked to remain crispy after you add the syrup.
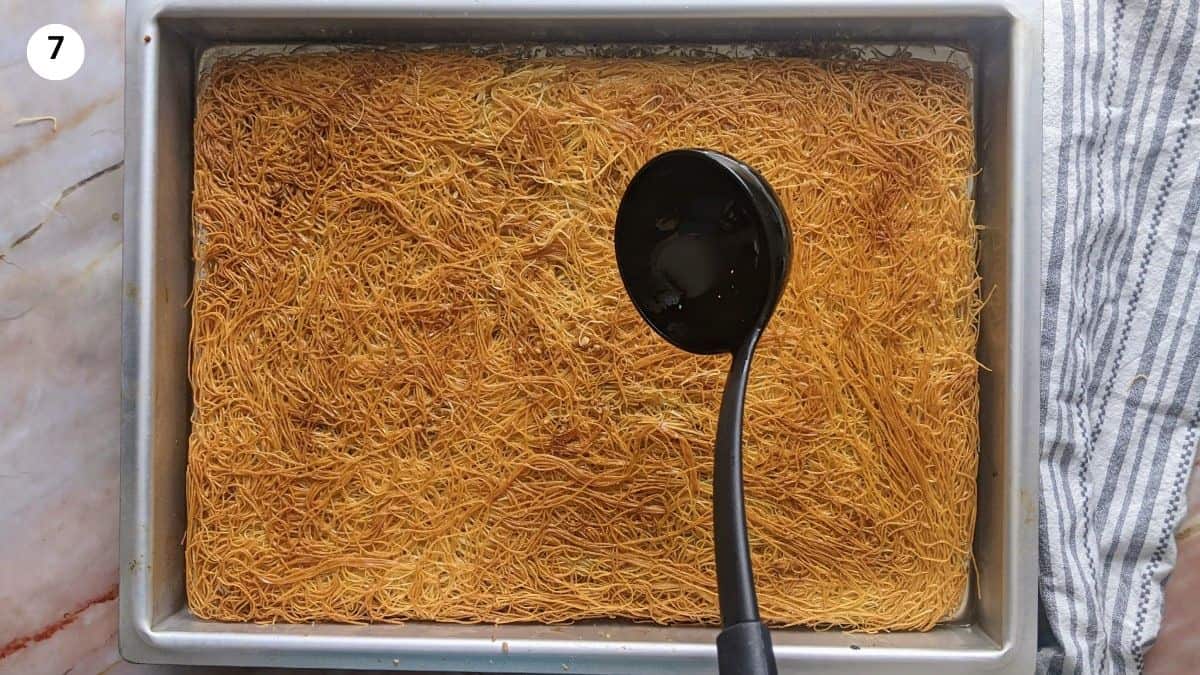
07. Now that the kataifi base is baked, I take it out of the oven and flip it carefully. I’m doing this for two reasons. One is that the bottom of the base is going to be flat and by flipping it and having it on top, it helps to spread the custard evenly later on. The second reason is that the top of the kataifi is uneven and by flipping it and placing it to the bottom it’s going to get more syrup and soften up resulting in a perfectly syrupy ekmek base.
Then, I add the cold syrup using a ladle, spreading it slowly all over the base. I leave it to rest aside to absorb the syrup while I’m preparing the custard for the next layer.
3. Preparing the custard
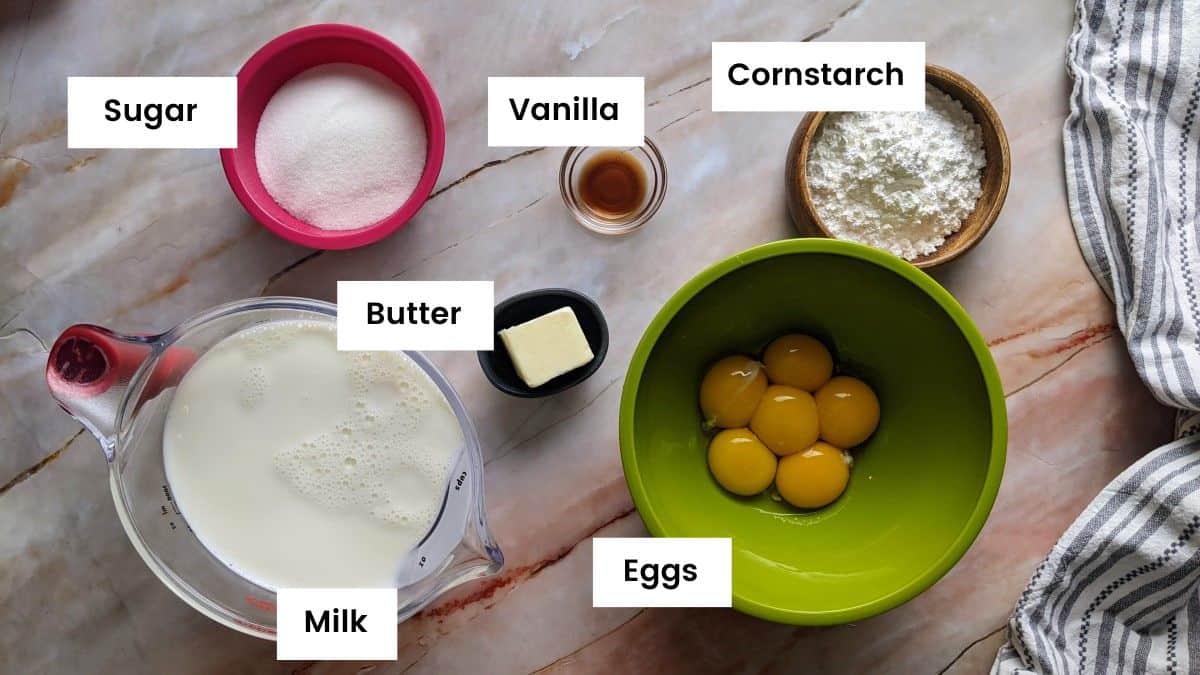
The ingredients we are going to need for making the custard are milk, sugar, egg yolks, cornstarch, butter and vanilla extract.
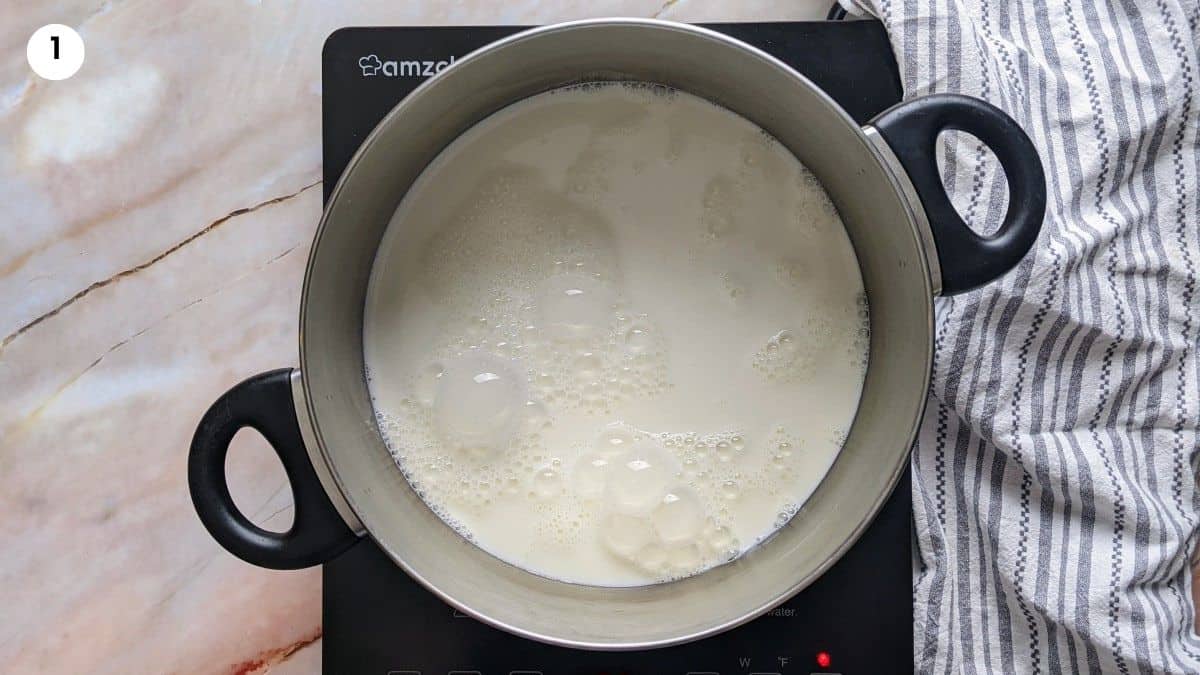
01. The first step for making the custard is to add the milk to a pot and heat it up just before it starts boiling. We want it hot enough to raise the temperature of the eggs when we pour it in.
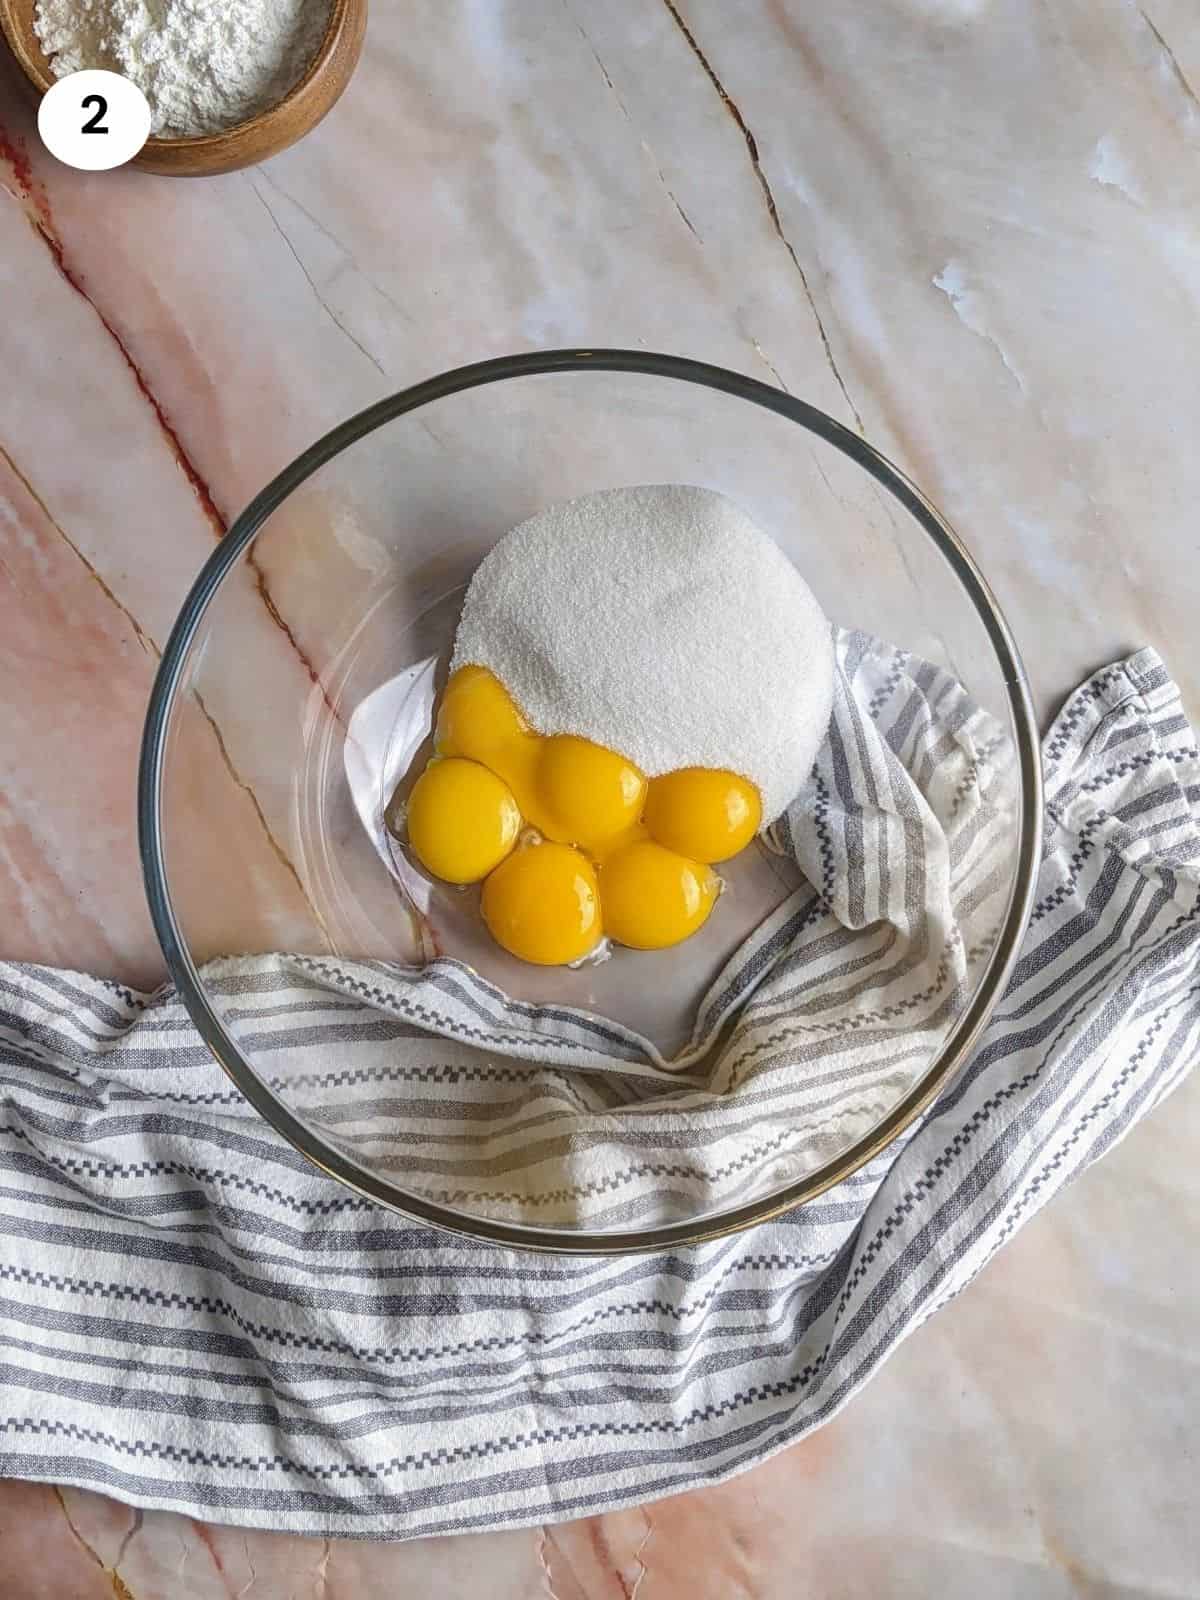
02. In a bowl, I’m adding the egg yolks and sugar and start mixing them with a whisk until they get creamy and the sugar has dissolved.
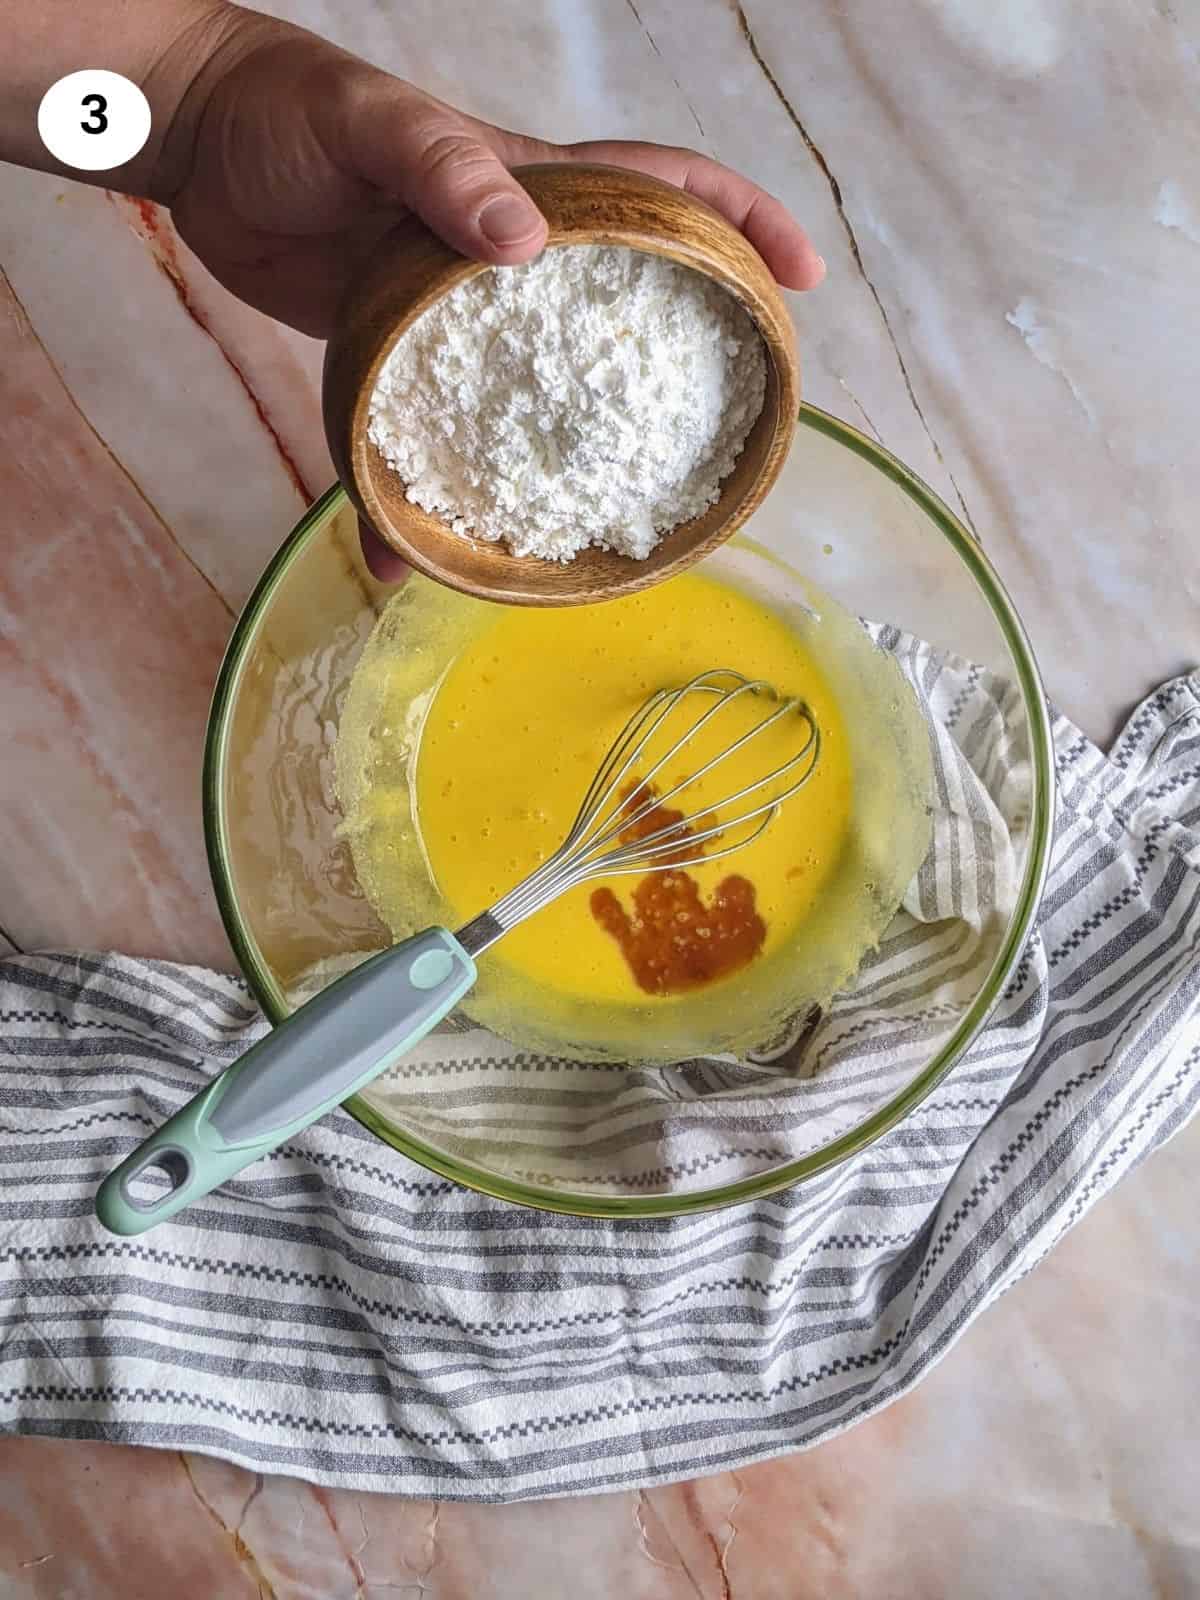
03. Then, I add the cornstarch and vanilla extract and continue mixing until incorporated. The cornstarch is going to act as a thickening agent making a perfectly velvet custard.
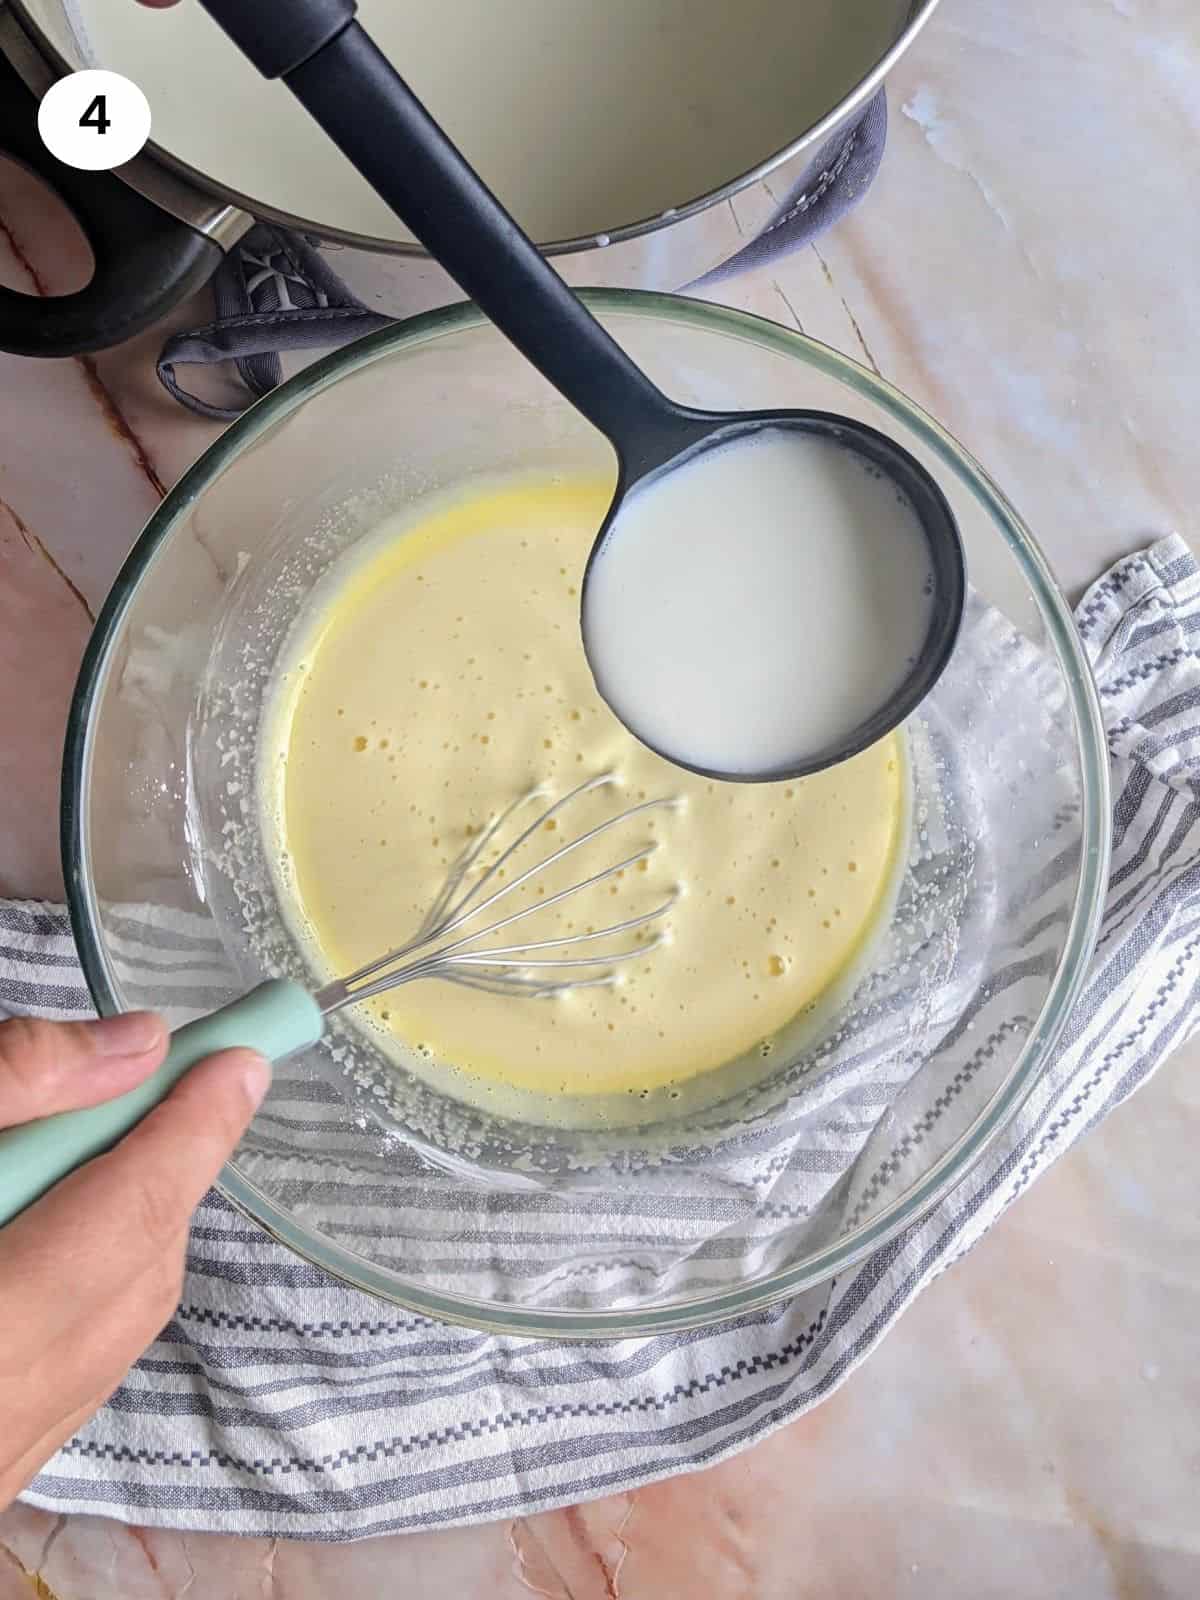
04. Now using a ladle, I start pouring the hot milk in the eggs sugar batter in a thin stream. We want to slowly raise the temperature as it contains the egg yolks.
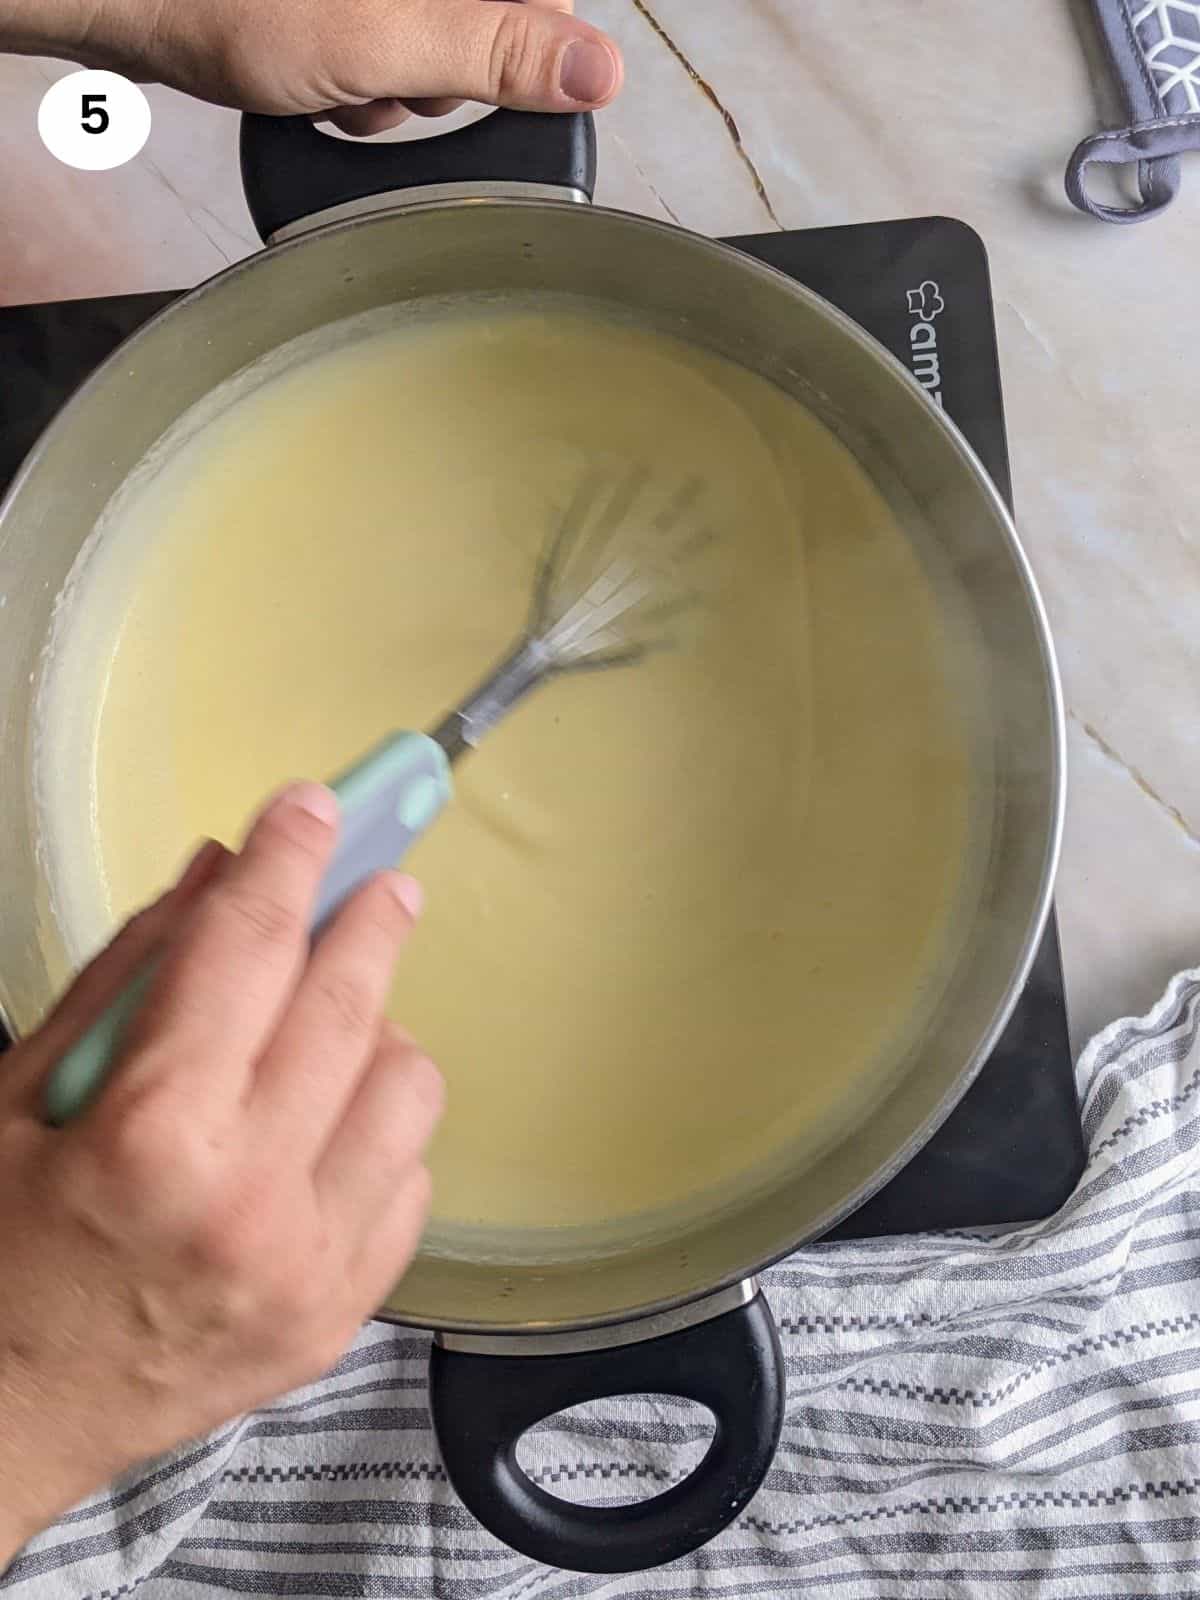
05. I return the mixture back to the pot and turn on the heat to medium. I keep stirring with the whisk while it gradually thickens and becomes a custard. At that point you will see little bubbles forming at the top and popping. Now the custard is ready.
4. Assembling
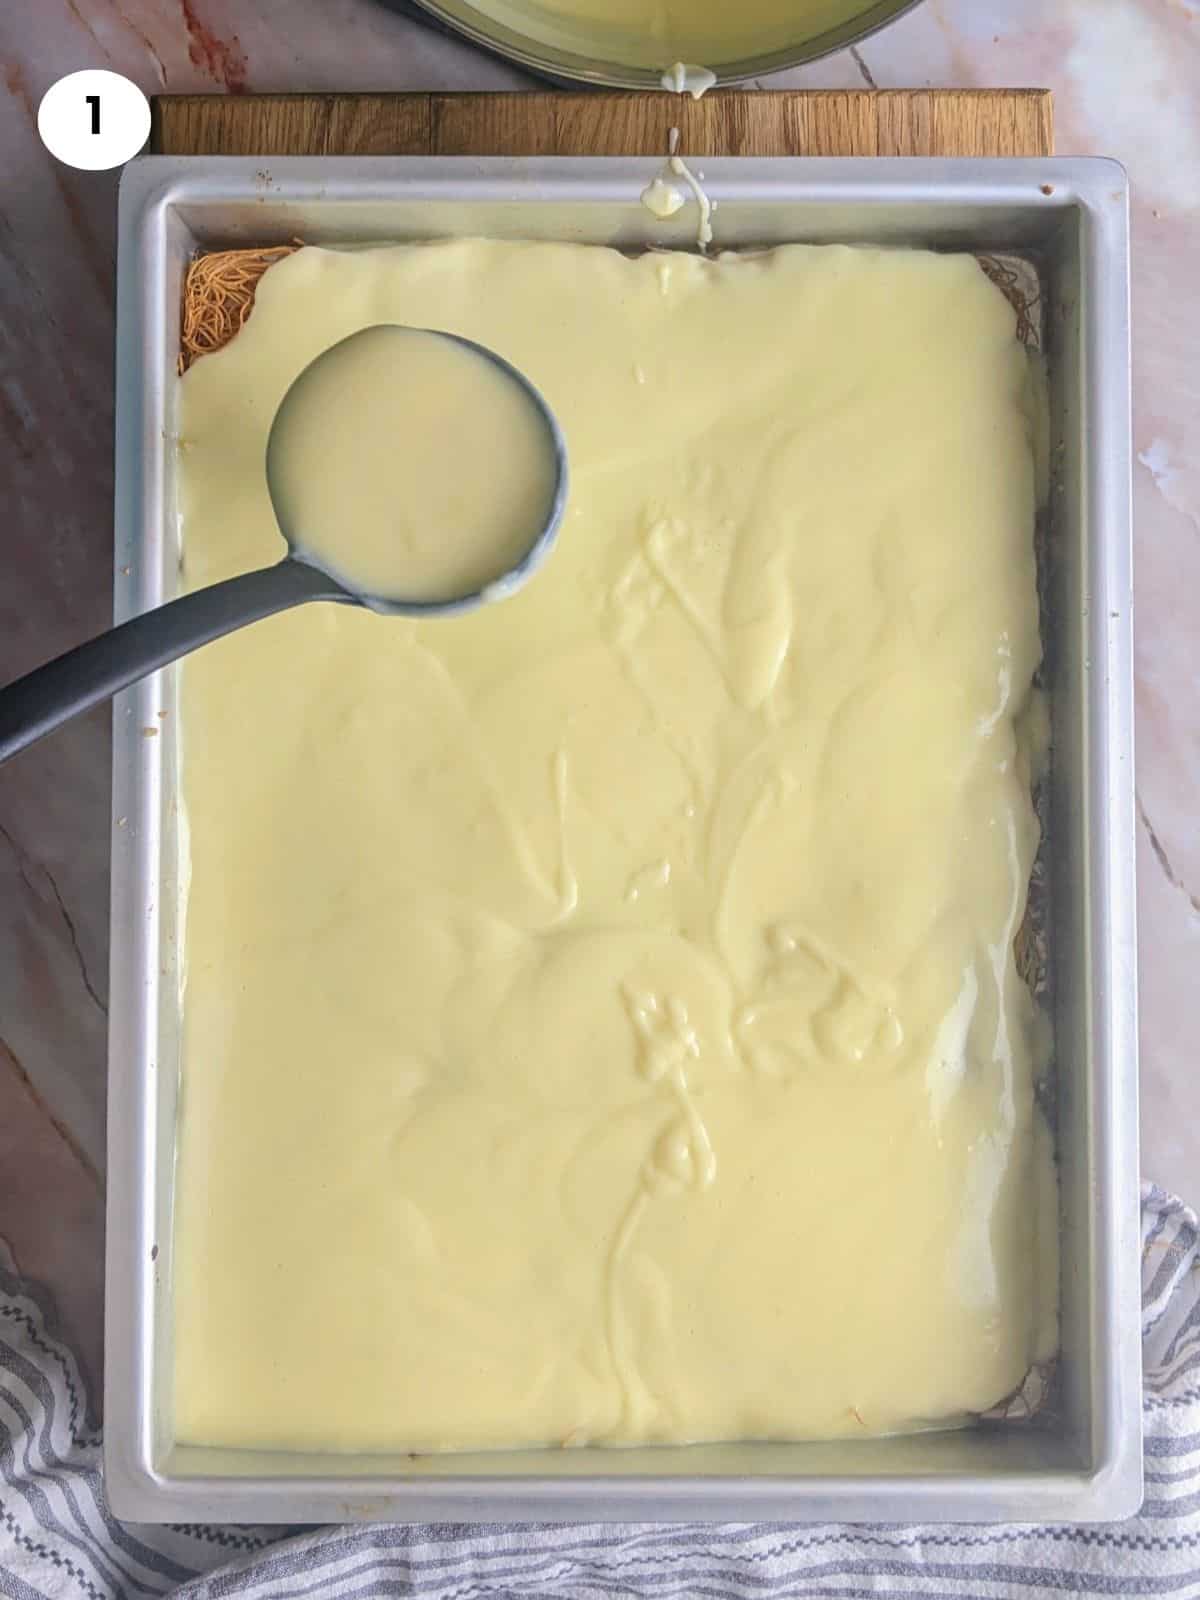
01. To assemble, I’m pouring the custard on top of the kataifi base slowly with a ladle. Using a spatula, I spread it to cover all the base and touch the edges.
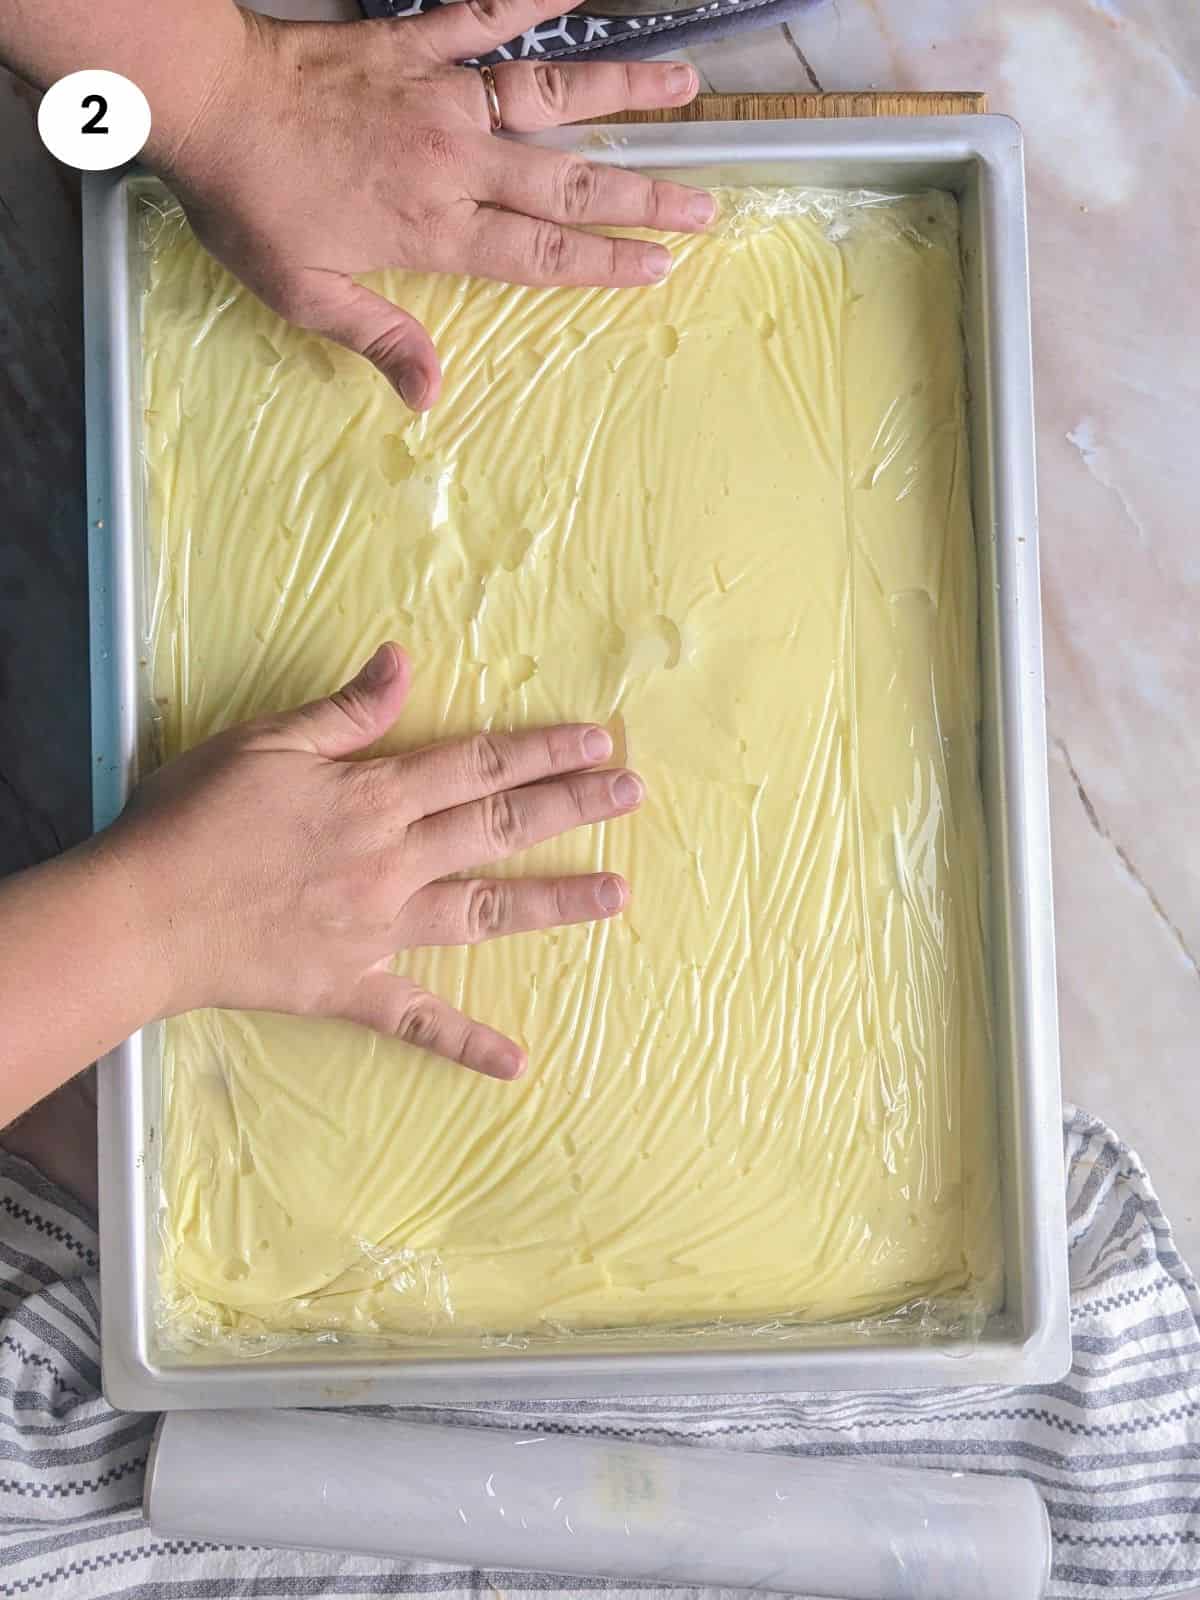
02. Before I place the tray in the fridge to cool down, I cover the custard with cling film. Make sure the cling film touches the custard and there aren’t many air pockets. This is to prevent forming a crust which usually happens when the custard cools down. I leave the ekmek in the fridge for at least 2 hours to cool down before I add the whipped cream on top.
4. Whipped cream
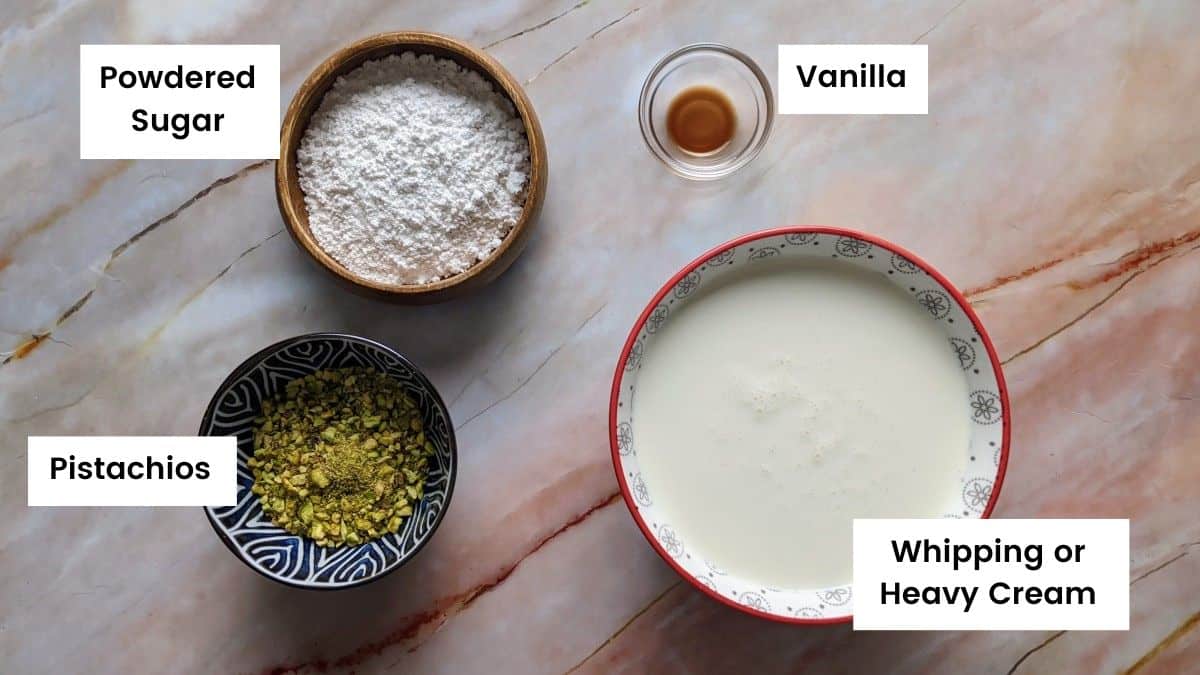
The ingredients we are going to need for making the whipped cream are heavy cream or whipping cream, powdered sugar and vanilla extract and some pistachios for decorating on top.
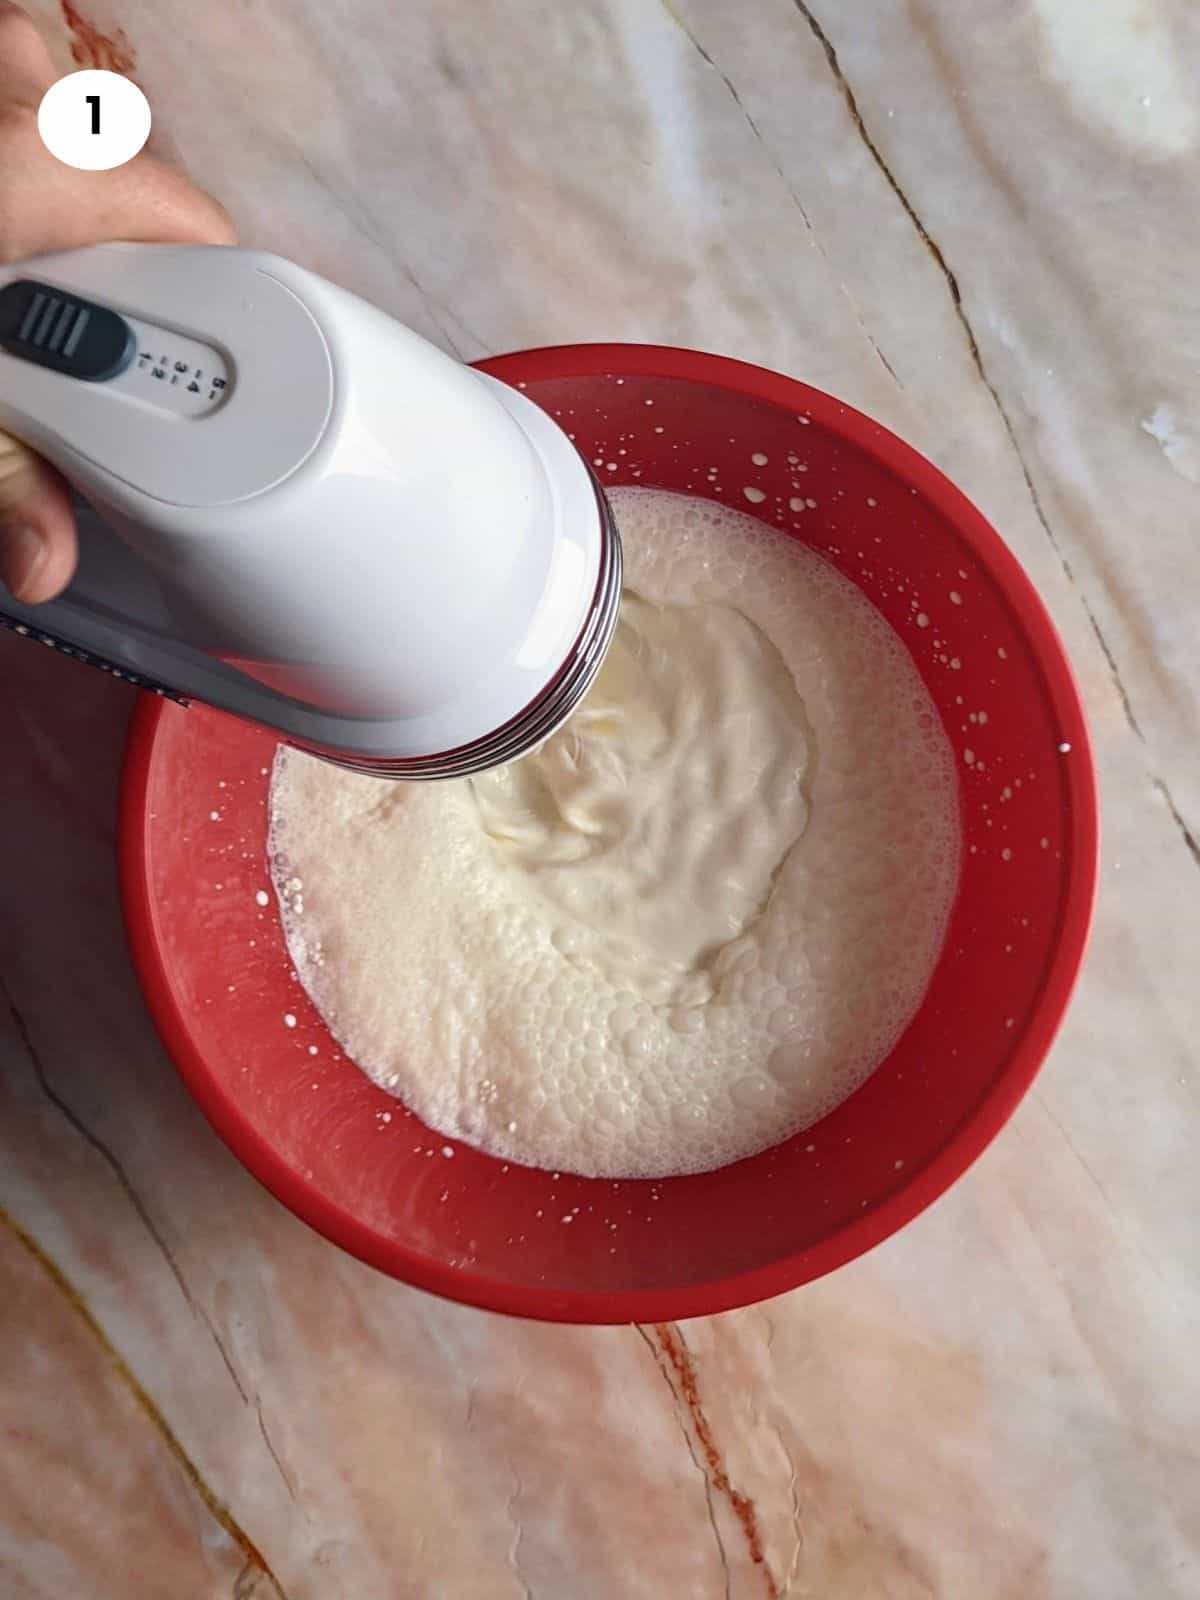
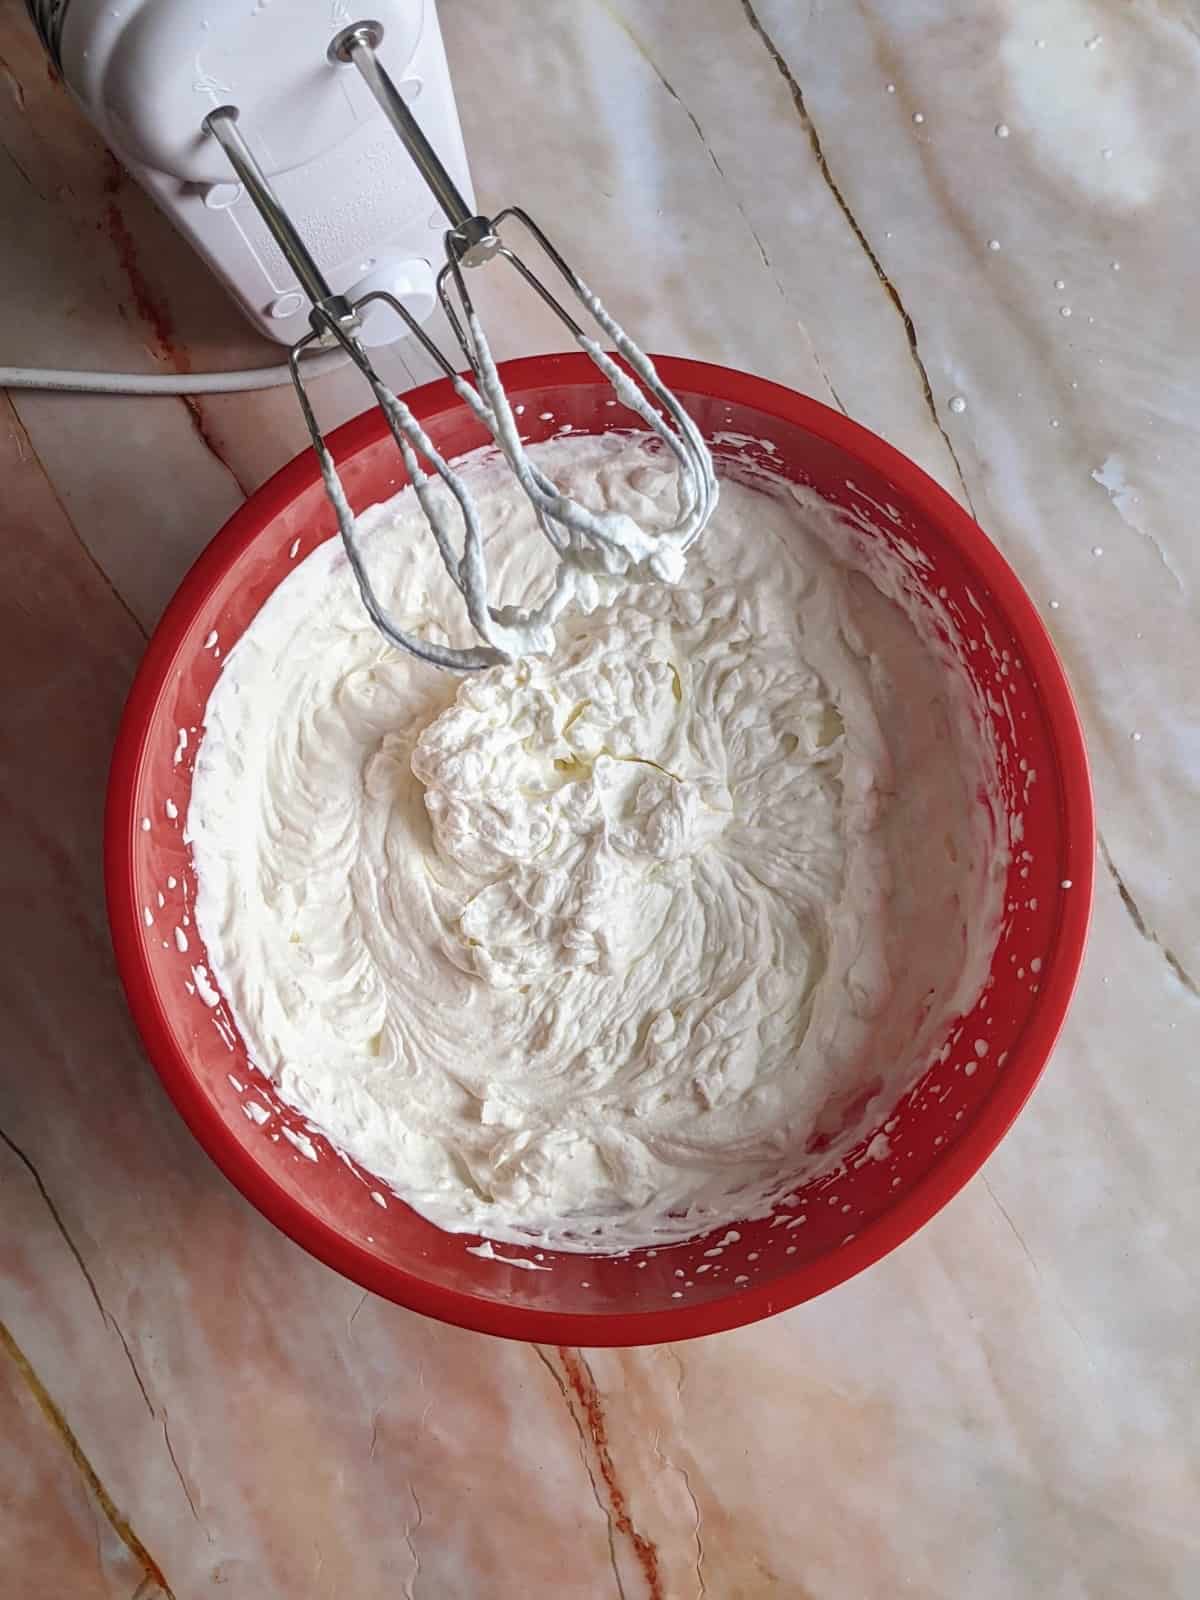
01. I’m adding all the ingredients to a bowl, the cream, sugar and vanilla. Then using a electric hand mixer or a stand mixer, we start mixing everything together until we get a cream with soft picks. Don’t overwork the cream as it can easily turn into butter, just enough to stand and have soft picks when you turn off the mixer.
Mamazilla's Product Recommendations
This is a great hand mixer if you are on a low budget and can't afford or don't have space for a standing mixer. It has a whisk, beaters and dough hook to cover different needs.
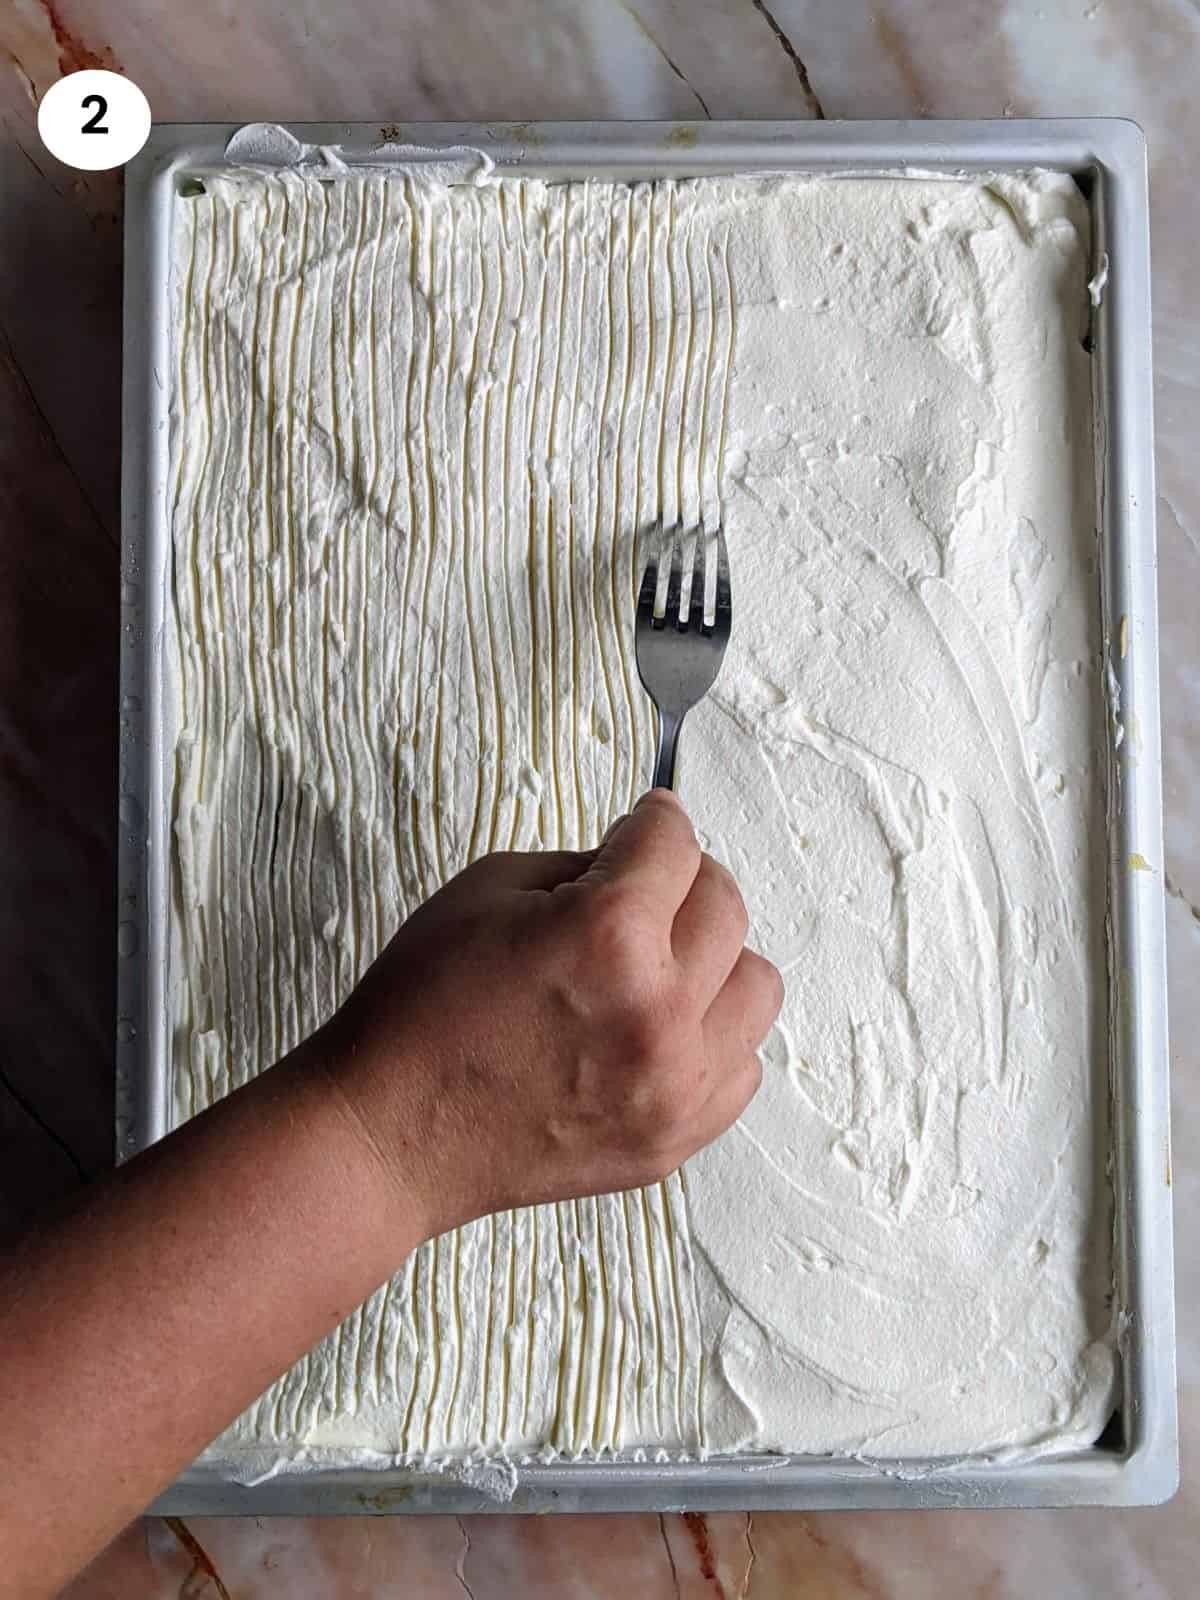
Buy On Amazon02. Now that the whipped cream is ready, I’m taking out the ekmek from the fridge and we are ready for the third and final layer. I remove the cling film from the custard and using a spatula, I’m spreading the whipped cream to completely cover it. Then using a fork, I ‘score’ the cream gently for decoration.
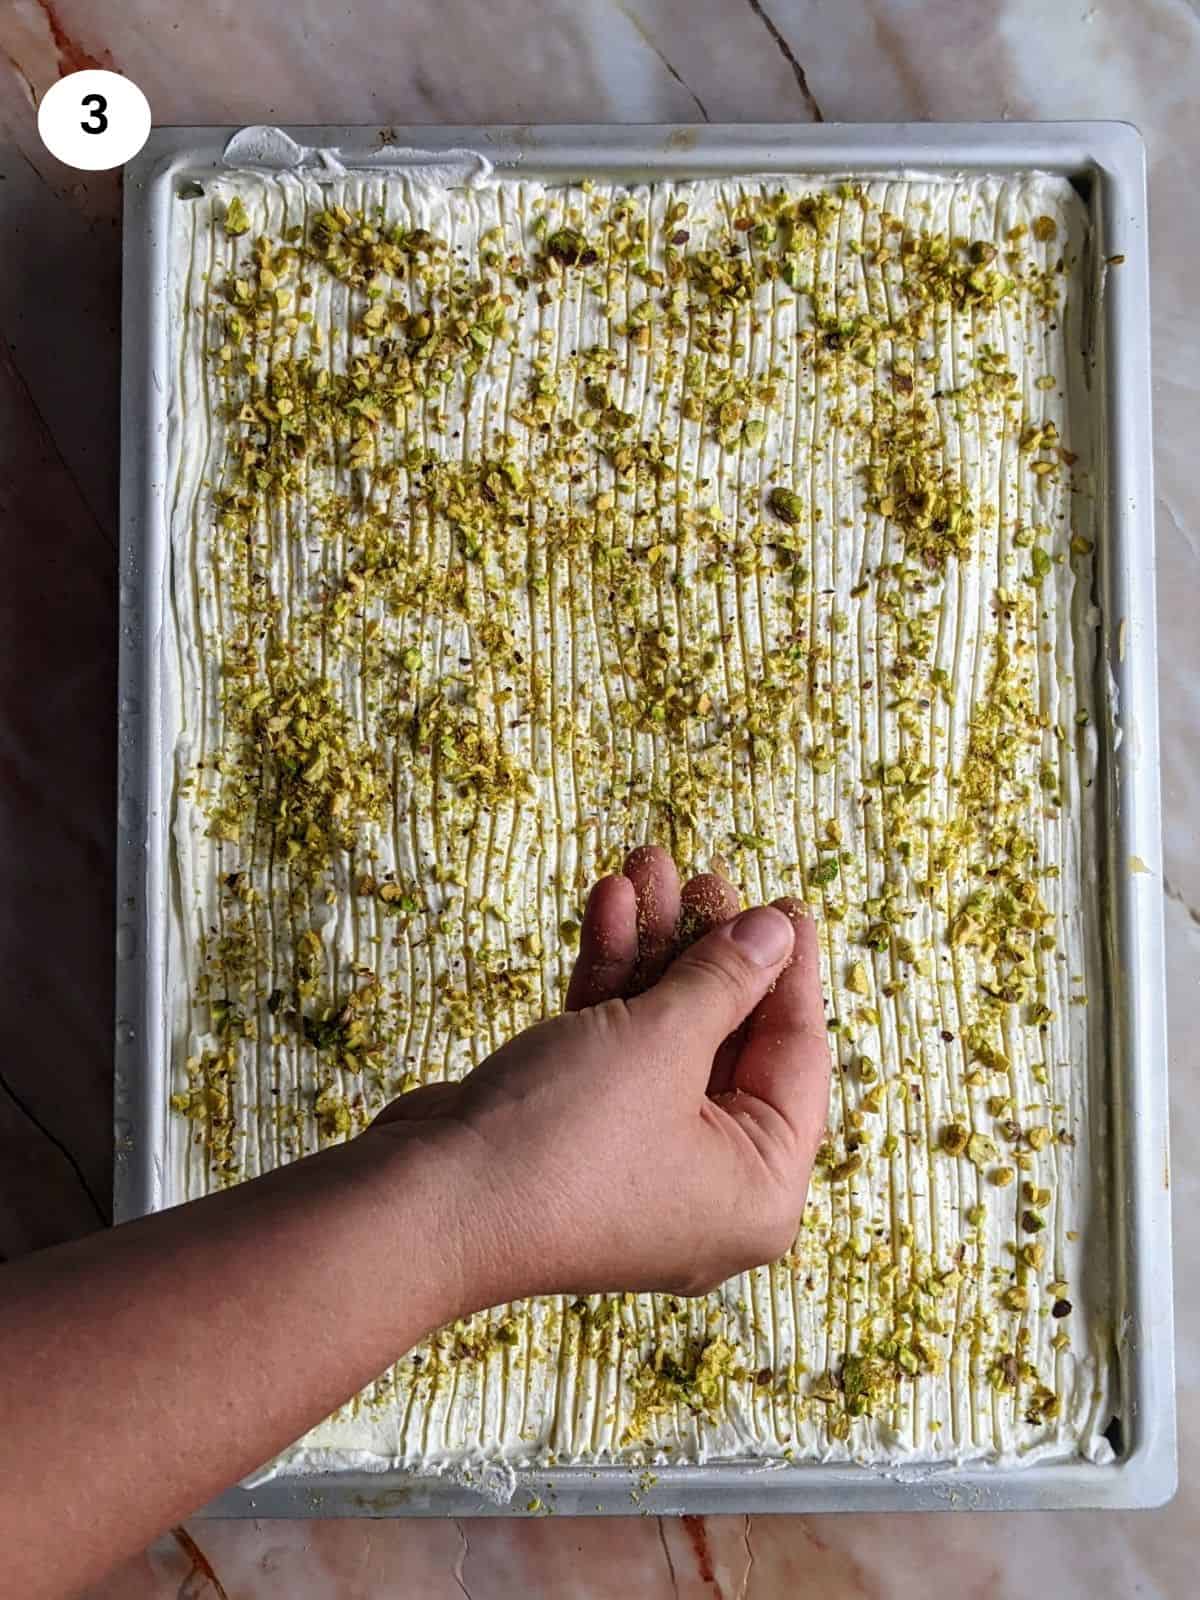
03. As a final touch, I like to spread some chopped pistachios on top of the whipped cream. This is optional, but I find the crunchy and sweet pistachios really complement the flavors. If you don’t have any pistachios you could replace them with walnuts or almonds.
Tips
- Thaw the kataifi overnight to be easier to pull apart and work with.
- Use good quality butter for the base.
- When you mix the sugar and eggs, start whisking quickly to avoid getting any hard egg bits.
- The cling film should touch the custard and have minimum amount of air pockets to prevent forming a crust at the top.
- Don’t over mix the whipping cream as it can easily turn into butter.
Substitutions
- Instead of walnuts for the base, you could use almonds or pistachios.
- You could use an orange instead of lemon for the syrup.
Serving suggestions
This ekmek kataifi dessert really has it all, the syrupy crunchy base, the velvety custard in the middle and the light cream on top. It’s a great dessert after a nice meal but we also love serving it to friends and family when they are just visiting for coffee.
Storage
Ekmek kataifi is one of those Greek desserts that needs to be stored in the fridge as it has the custard and the whipped cream on top. Just leave it in the tray where you prepared it, cut out a square piece to serve and store it back in the fridge. It can stay fresh and good for up to 5 days, after that the whipped cream might start getting a bit watery.
FAQ
Ekmek kataifi is a dessert consisting of three layers, a base made of kataifi dough soaked in an aromatic syrup, a middle layer with a velvety and creamy custard and a top layer of airy whipped cream and chopped pistachios on top.
Baklava is a dessert made with layers of phyllo dough and chopped nuts whereas kataifi is made with shredded phyllo dough.
You can store the ekmek kataifi in the fridge for up to 5 days.
If you tried my Greek Ekmek Kataifi - Custard With Shredded Phyllo Dough or any other recipe on my website, please leave a 🌟 star rating and let me know how it went in the 📝 comments below. I love hearing from you!
Recipe
Greek Ekmek Kataifi - Custard With Shredded Phyllo Dough
Ekmek kataifi is a popular Greek dessert that combines layers of a golden, crispy shredded phyllo dough base soaked in an aromatic syrup with a velvety custard and light and airy whipped cream on top. An irresistible combination of textures and flavors that is going to please everyone and leave you craving more. Enjoy!16 pieces
30 minutes
Base & Syrup Ingredients
- 1 packet (450gr) kataifi (shredded phyllo dough)
- 150gr / 1 stick + 2 tablespoons butter
- ½ cup walnuts
- 1 teaspoon cinnamon
- 3 cups sugar
- 2 cups water
- 1 cinnamon stick
- 1 lemon
Custard Ingredients
- 6 cups milk
- ½ cup cornstarch
- 6 egg yolks
- 1 teaspoon vanilla
- 3 tablespoons butter (cold)
- 1 cup sugar
Cream Ingredients
- 2 cups whipping cream (heavy)
- ½ cup powdered sugar
- ½ teaspoon vanilla
- ⅓ cup pistachios (decoration)
Equipment
- chopper (paid link)
- electric hand mixer (paid link)
- stand mixer (paid link)
Instructions
- To prepare the syrup, add all syrup ingredients to a pot, the water, sugar, cinnamon stick, half a lemon and a bit of its juices.
- Give it a bit of a stir and then leave it over medium heat. When it starts boiling and you see lots of bubbles on the surface, leave it to boil for one more minute and then take the pot off and leave it on the side to cool down.
- For the base, thaw the kataifi overnight. Pull apart the kataifi until it triples its size and becomes airy and light.
- Brush the bottom of a tray, 15x11 inches, with butter. Add ⅓ of the kataifi, spreading all over the tray.
- Mix the chopped walnuts and cinnamon powder and spread 3-4 spoons on top of the kataifi.
- Drizzle some butter with a brush without touching the kataifi.
- Repeat two more times with the remaining kataifi, spreading the kataifi, walnuts and drizzling with butter.
- Bake for 30-35 minutes in a preheated oven to 180°C/350°F until it's golden brown.
- Take the tray out and flip the kataifi base over carefully. Pour the cold syrup over the hot kataifi base and let it rest.
- For the custard, add the milk to a pot and warm it up over medium heat just before boiling point.
- In a bowl, mix the egg yolks and sugar with a whisk until the sugar has dissolved.
- Add the cornstarch and vanilla and mix until incorporated.
- With a ladle, slowly pour the hot milk into the mixture while you keep whisking. Then transfer the mixture back to the pot and turn the heat on to medium.
- Keep whisking for 10-15 minutes until the custard thickens and you see bubbles on top. Turn off the heat and add the cold butter. Mix until the butter is melted.
- Spread the custard on top of the kataifi base. Cover with cling film and place in the fridge for at least 2 hours.
- For the cream, add to a bowl the heavy or whipping cream, powdered sugar and vanilla. Using a hand or stand mixer, mix the ingredients until the cream thickens and you get soft picks.
- Spread the whipped cream on top of the custard. Using a fork, score the top of the cream by gently touching the surface of the cream. Spread the chopped pistachios on top of the cream.
Notes
- You could leave out the walnuts from the base or substitute them with almonds or pistachios. Instead of lemon for the syrup, you could also use an orange.
Storage
Stores well in the fridge for up to 5 days.
Nutrition Info (per serving)
I am not a nutritionist. The nutrition information has been calculated using an on-line calculator, and is intended for information and guidance purposes only. If the nutrition information is important to you, you should consider calculating it yourself, using your preferred tool.







Yani A.
Thank you so much for sharing this delicious recipe. Love the video. Very clear directions. 👌
Julia
Thank you for your kind words, Yani! This is definitely one of our favorite desserts.
Julia
I really loved creating this recipe and post for you; I hope you make it and enjoy it as much as I do. Please leave me a comment here and share your feedback with a star rating as well