What I love about this no-bake cream and biscuit cake is that it requires minimal effort and no oven time. The cream is ready in just 15 minutes and comes out so light and velvety that you’ll have to stop yourself from eating it all with a spoon. Whether you’re short on time or just craving something sweet without the fuss, this no-bake biscuit cake is the perfect solution. So let’s get started!
Jump to:
Why you should try my recipe
- An easy dessert that requires no special baking skills.
- You could keep it in the fridge for up to 5-6 days.
- You only need a few simple ingredients to prepare it.
- Both kids and adults are going to love it!
Ingredients & How-to
The main ingredients for this no-bake cream and biscuit cake are sugar, milk, cornstarch, eggs, butter, vanilla extract, biscuits and optionally some ground cinnamon and chopped walnuts to decorate. I’m using petit beurre biscuits that are thin and hard. If you can’t find them then you could use tea biscuits or malted milk biscuits or biscoff instead.

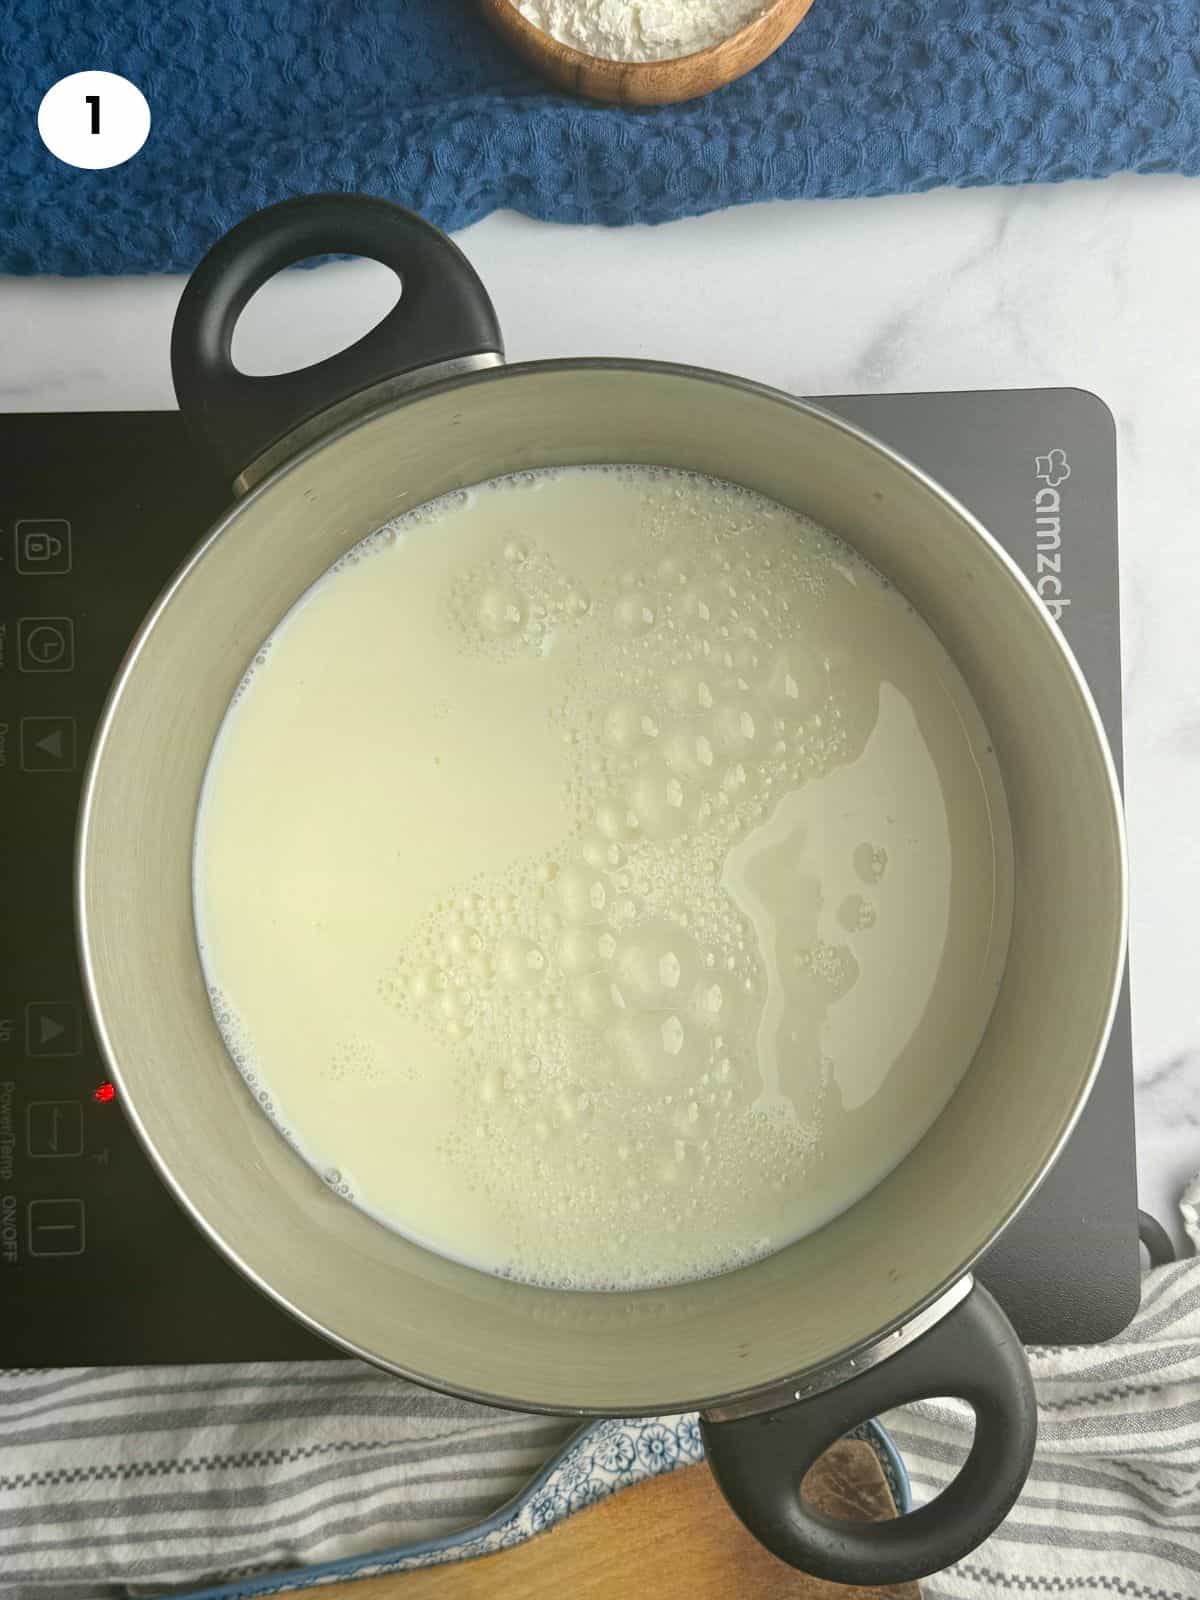
01. I start with preparing the cream. I add the milk to a big pot and turn the heat to medium.
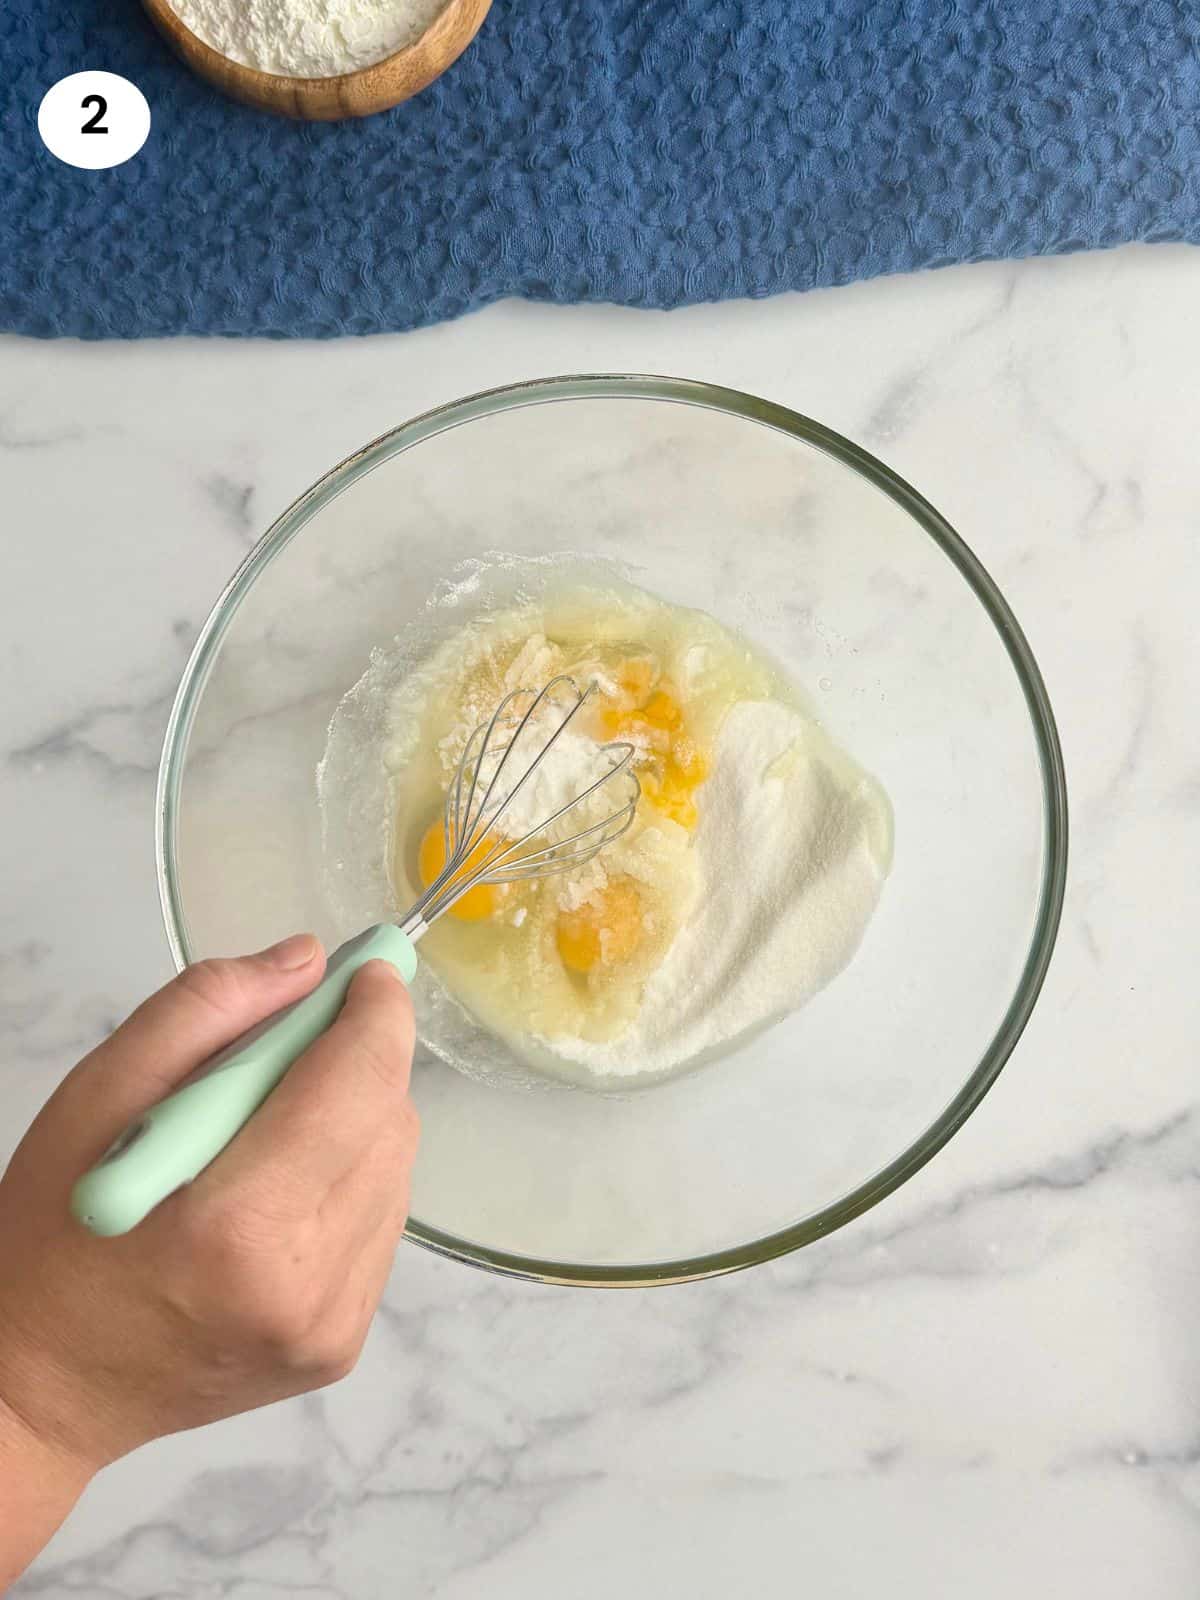
02. While the milk is heating up, I add the eggs and sugar to a bowl. Using a whisk, I start mixing until the sugar has dissolved.
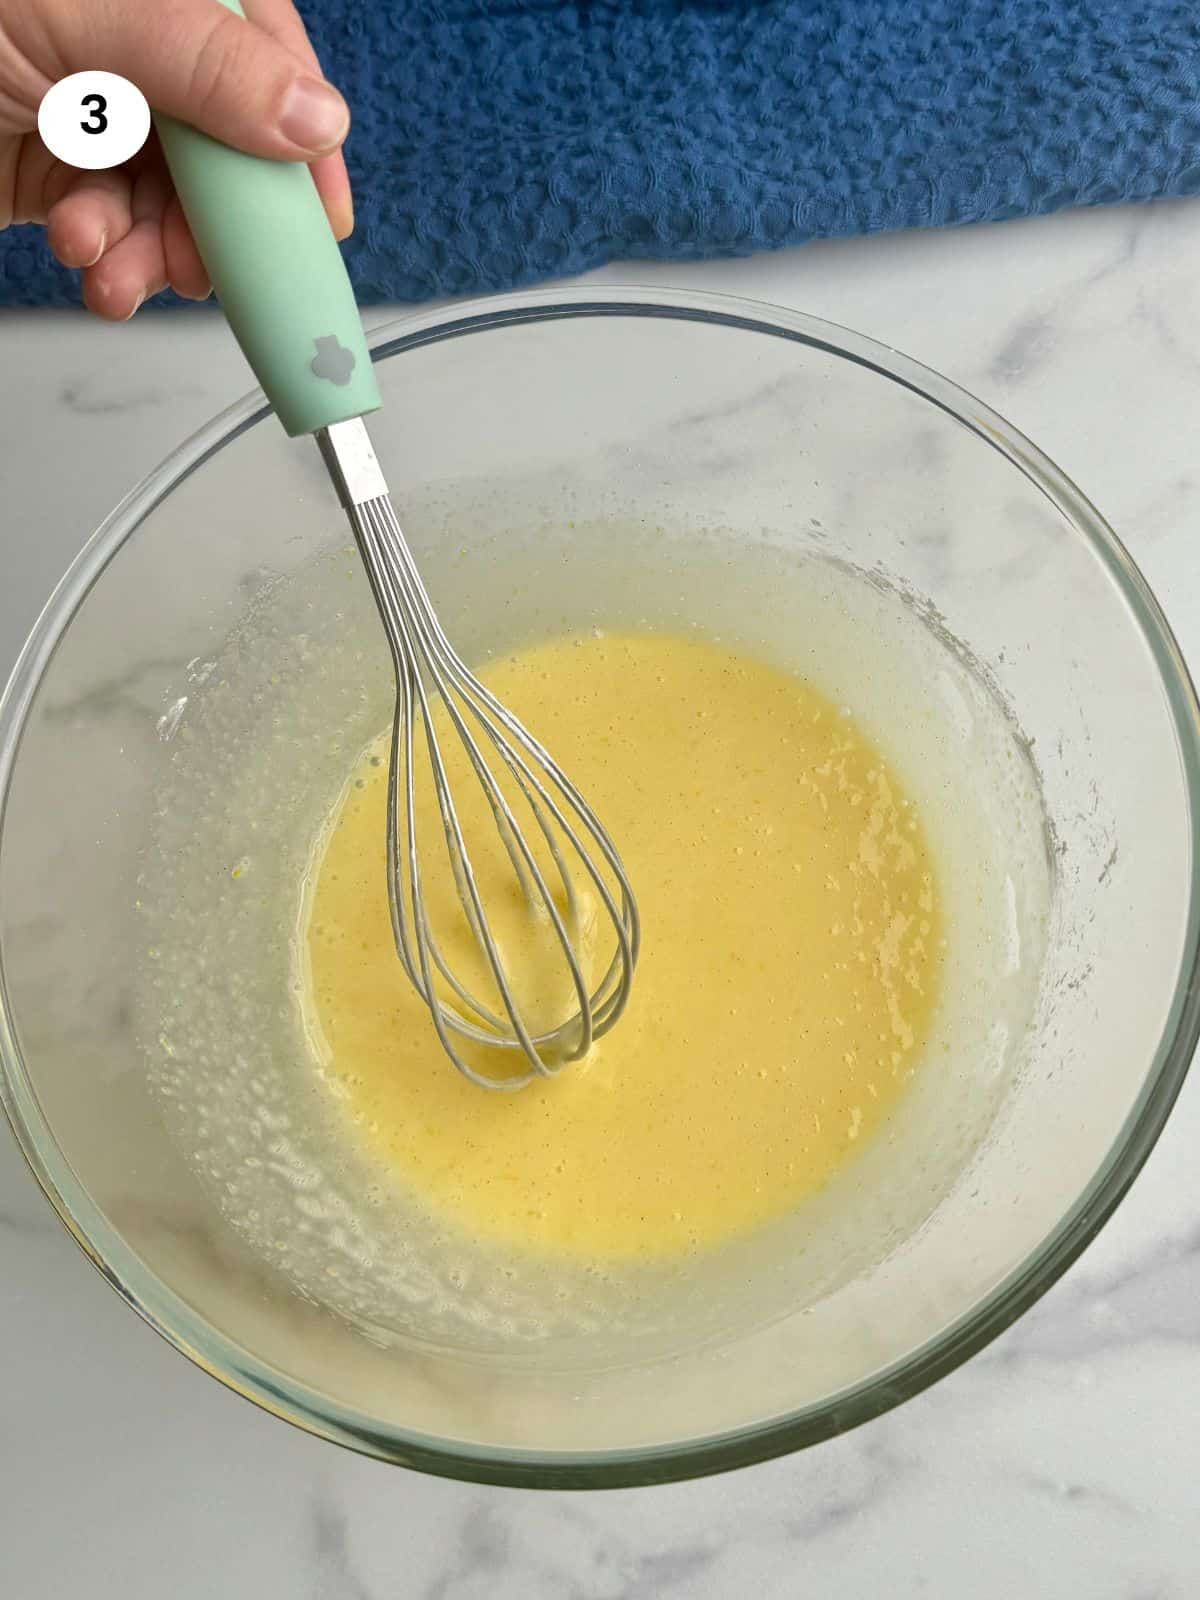
03. Then, I add the cornstarch and vanilla extract to the bowl and keep stirring until incorporated. The mixture should look creamy and shouldn’t have any lumps.
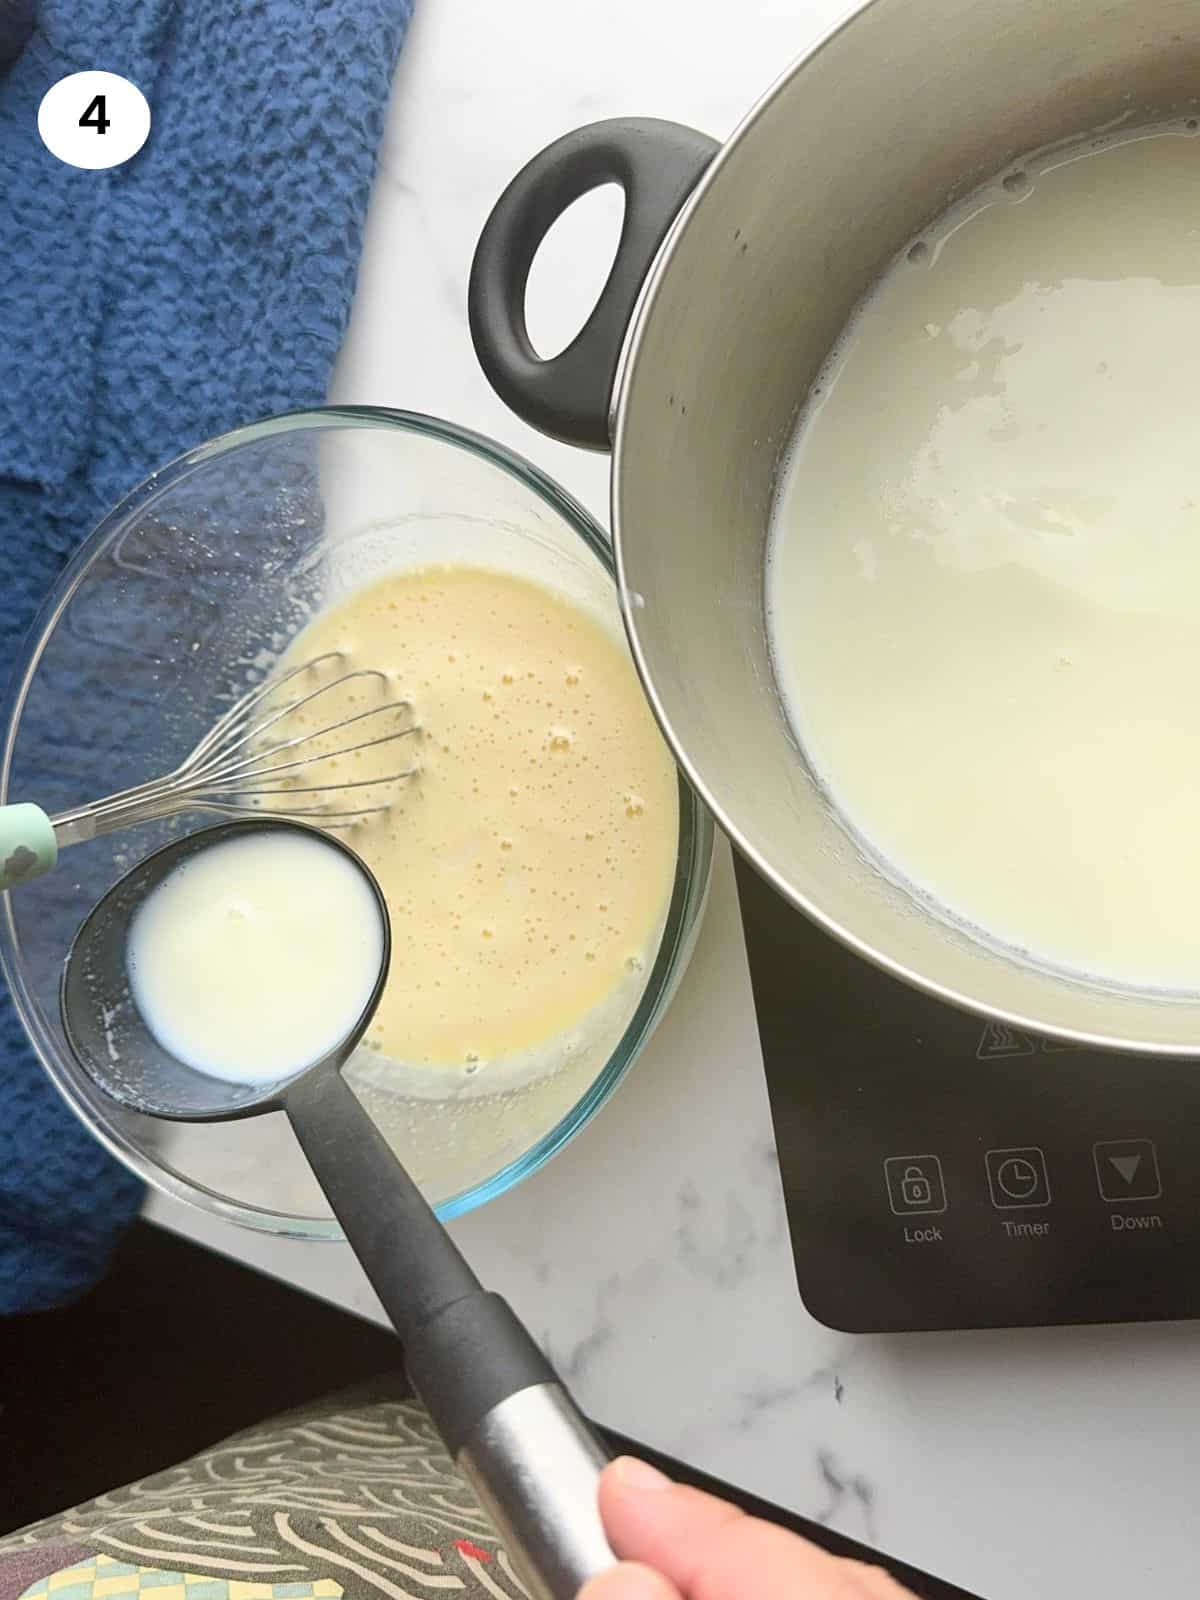
04. By now the milk in the pot should be warm but not boiling. Using a ladle, I pour 2-3 spoons of the milk to the bowl. We want to slowly raise the temperature since the mixture contains the eggs. I continue whisking as I pour the milk in.
Mamazilla's Product Recommendations
This is a set of 2 pyrex baking dishes. Great for casseroles, baked food and puddings and easy to clean.
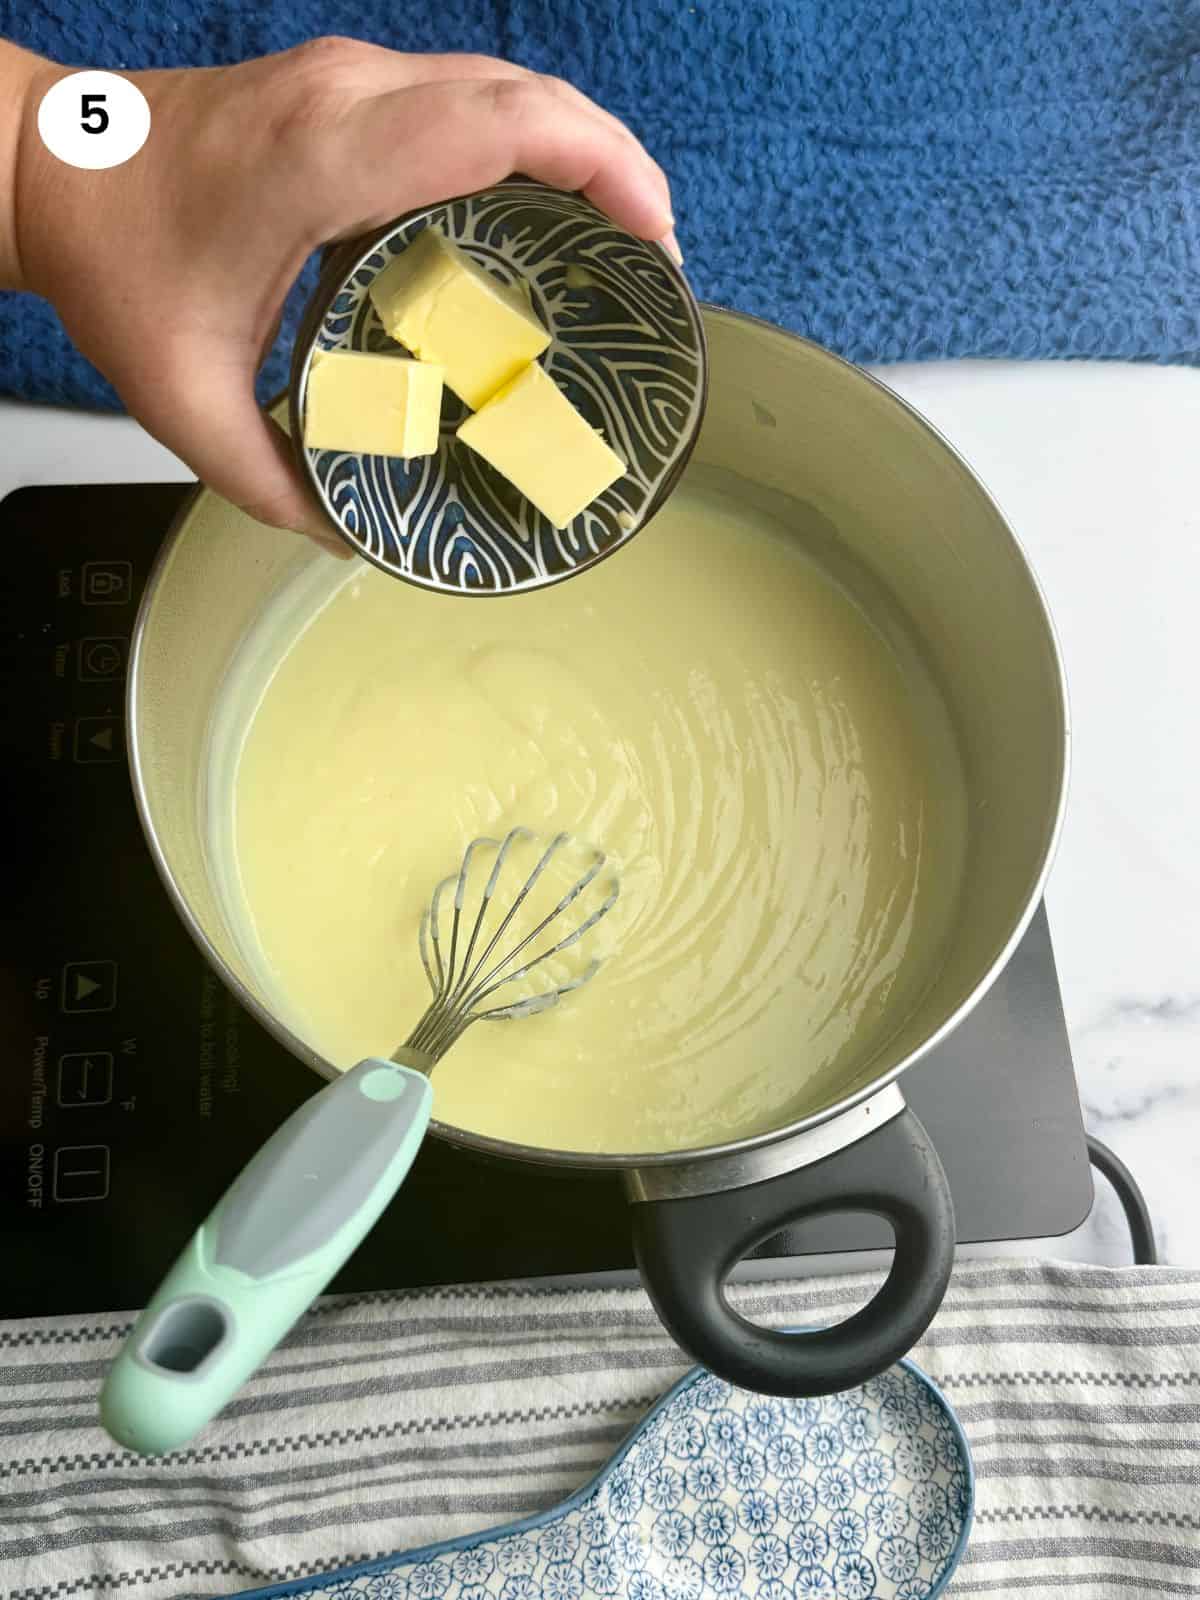
Buy On Amazon05. Now, I pour the contents of the bowl into the pot of hot milk and start to whisk. The heat will slowly thicken the cream. Keep whisking to prevent the cream from burning at the bottom of the pot. Once the cream has thickened, I turn off the heat and add the cold butter. The cold butter will stop the cream from further thickening and give it a velvety, light texture.
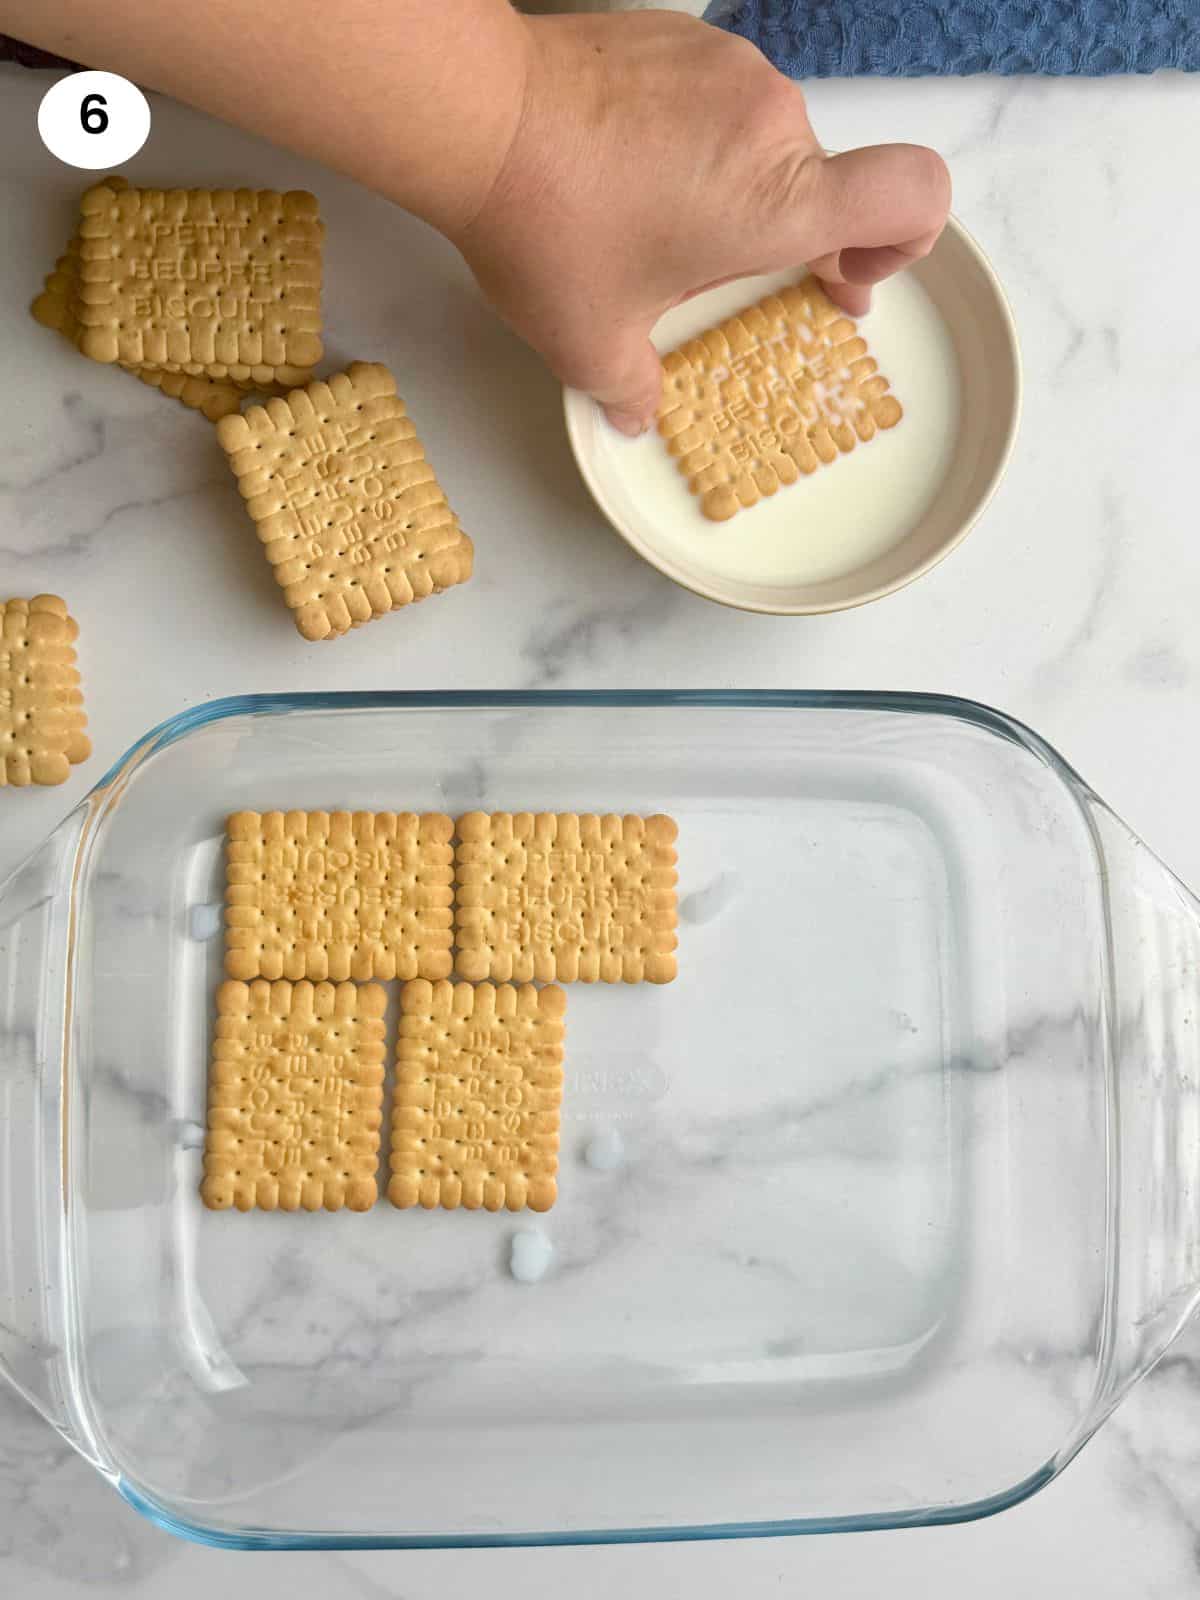
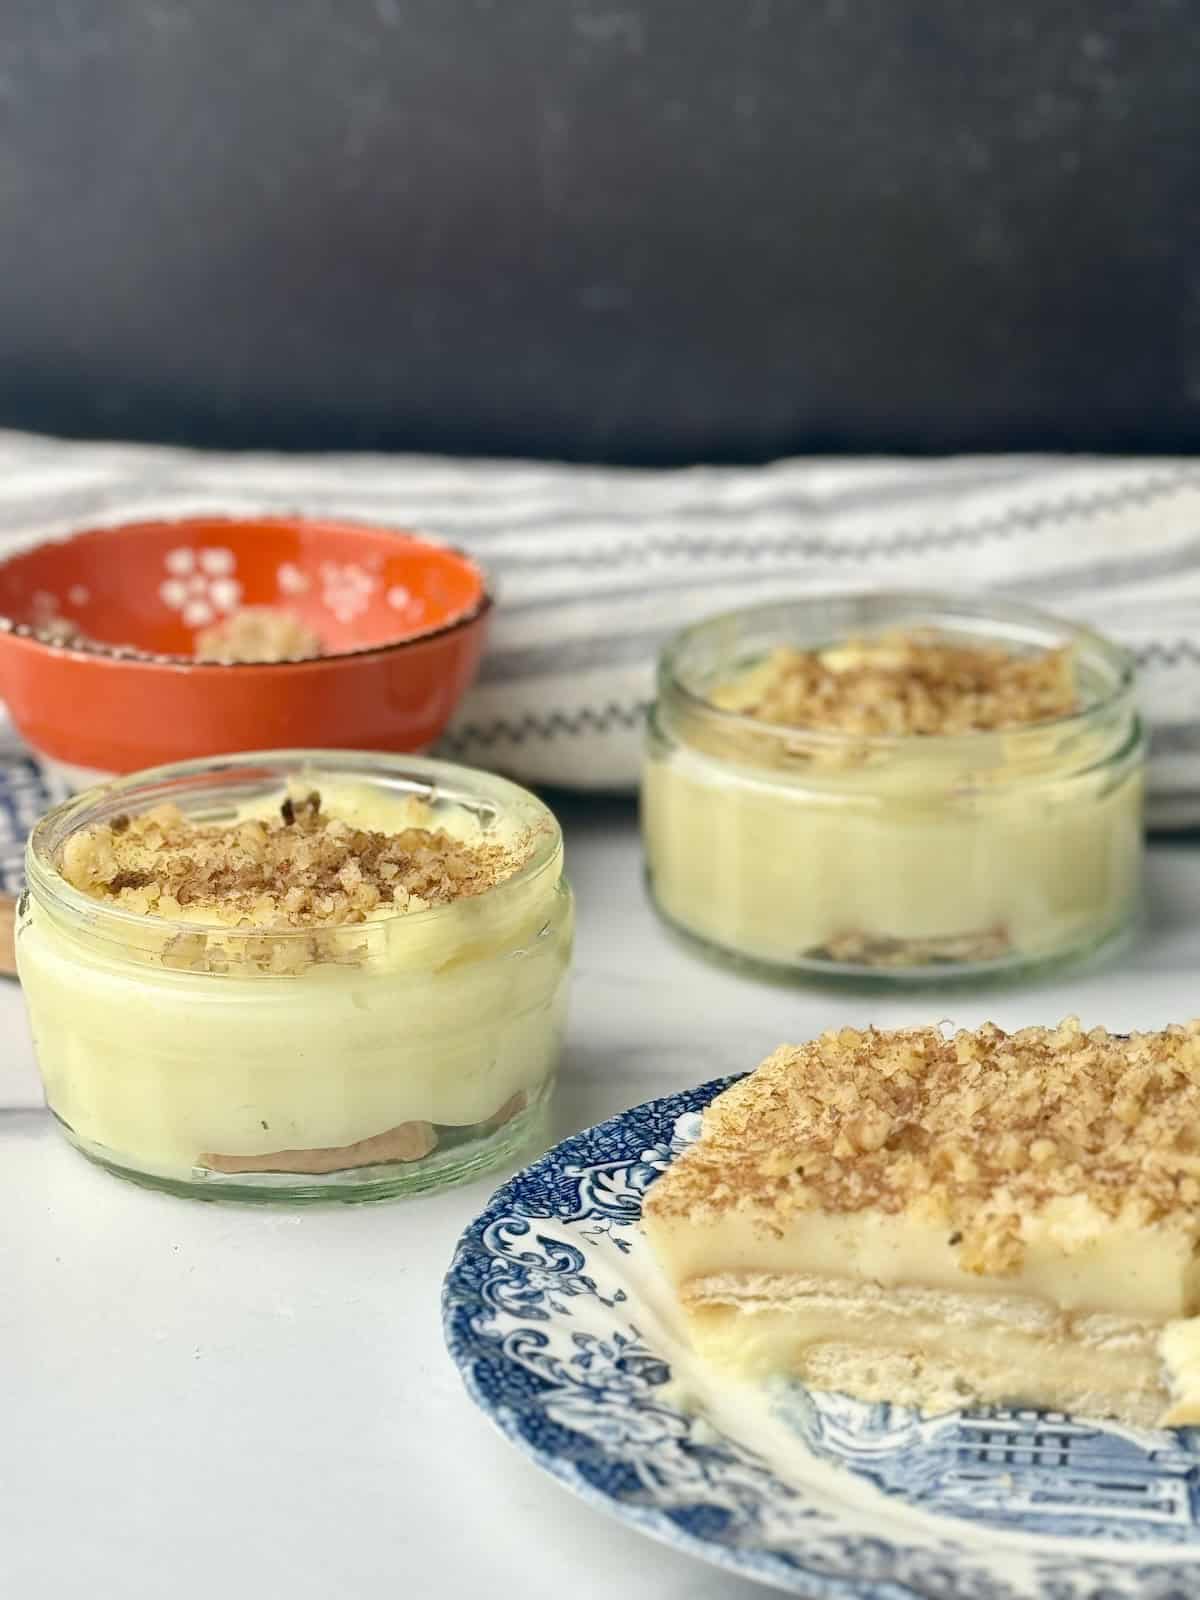
06. I’m using a pyrex tray for the cream and biscuit cake but you can use any tray you like. You could even make individual desserts in little pots or glasses. Before laying the biscuits on the bottom of the tray, I dip each one in milk for just a second.
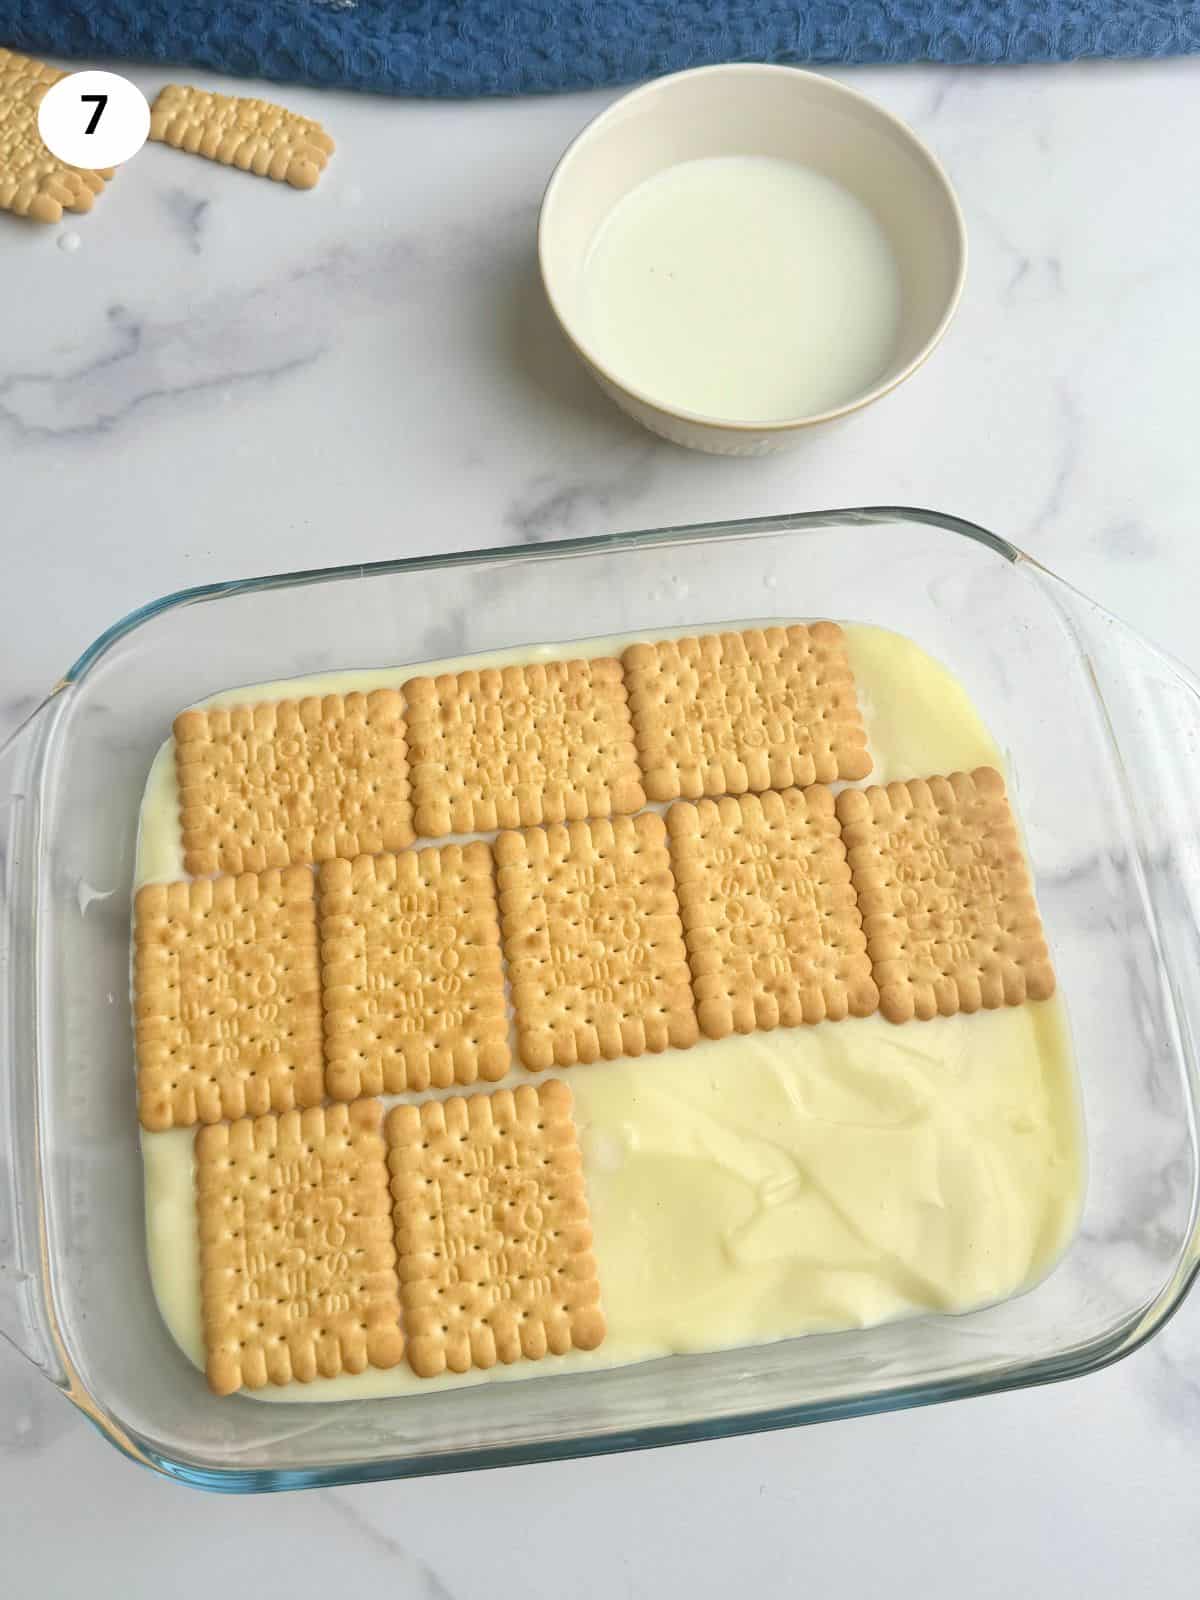
07. I’m adding half of the cream on top of the biscuits and spread it around to cover them with a spatula. I’m adding a second layer of biscuits, dipping each one in the milk the same as before. Then I add the remaining cream and spread it around.
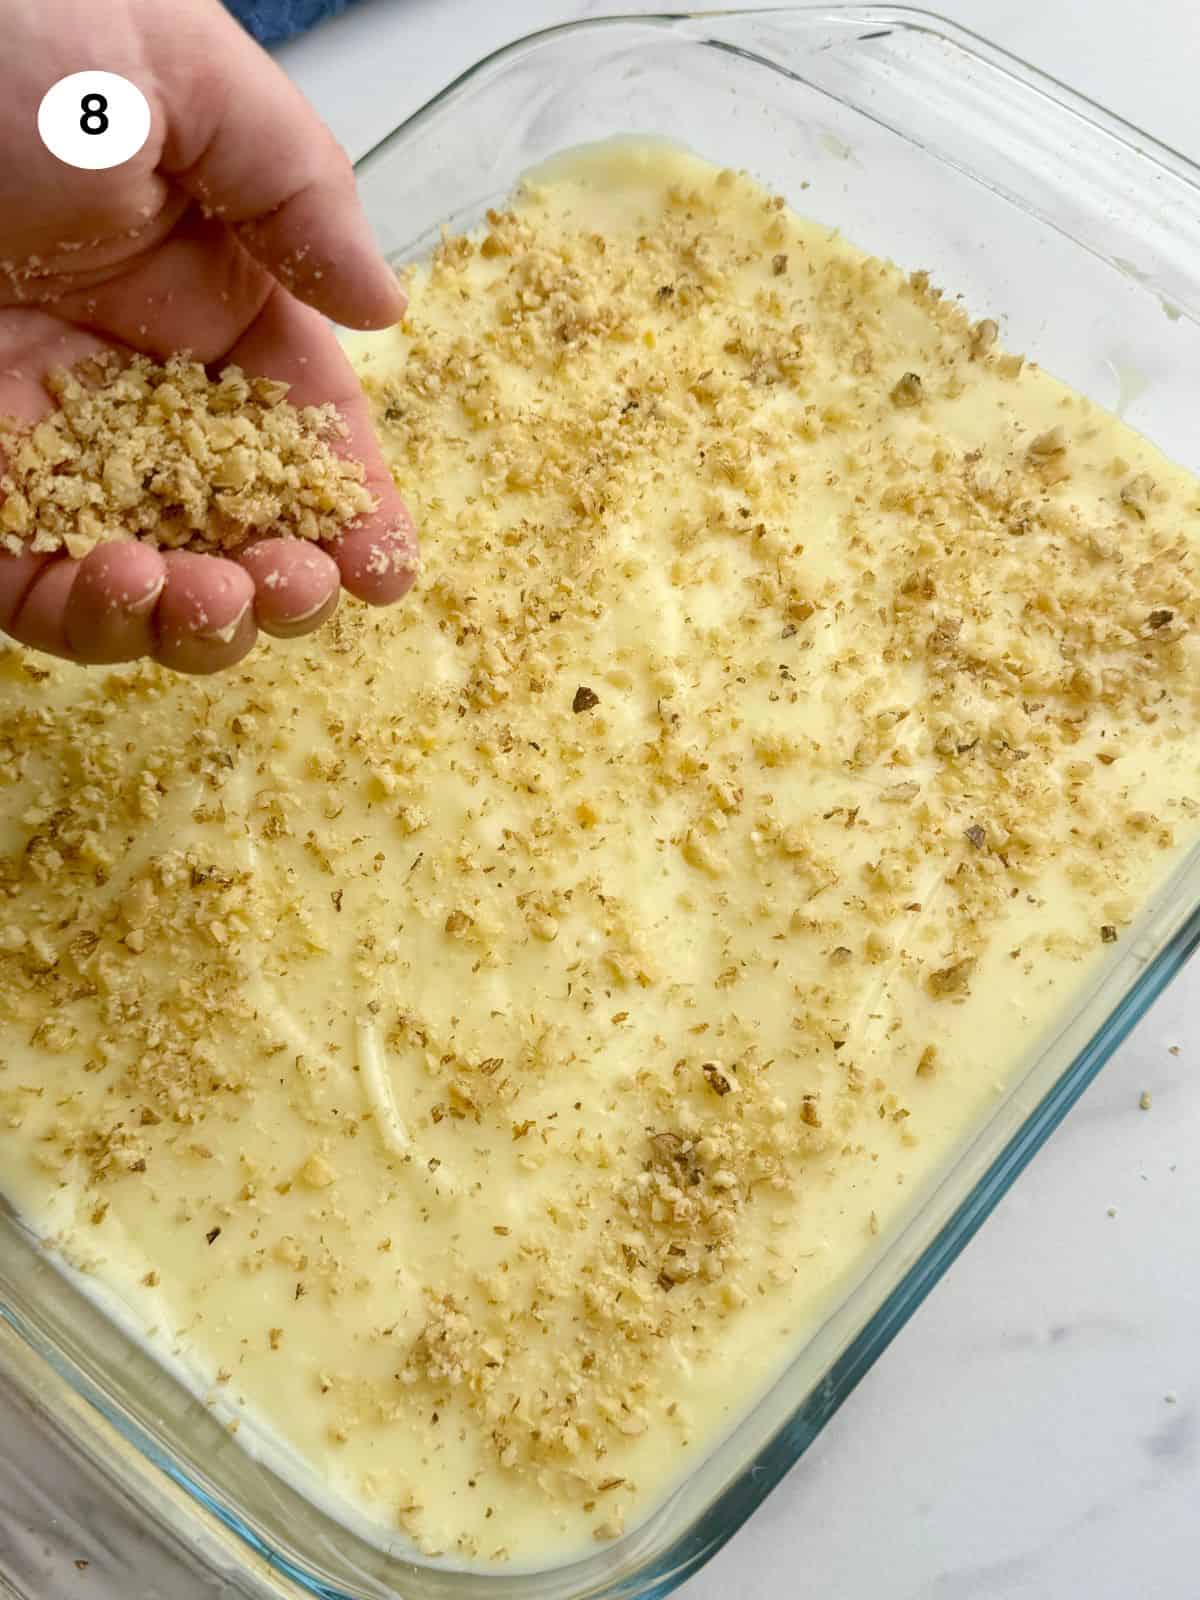
08. I like to spread some chopped walnuts and cinnamon on top as it really compliments the flavors. If you don’t like nuts then you could just add the cinnamon or use cacao powder instead.
Tips
- After combining the cornstarch mixture with the heated milk, make sure you keep stirring to avoid any lumps forming or the cream sticking to the bottom of the pot.
- After the cream is ready, continue with layering the biscuits and the cream immediately. If you wait to assemble the cake later, a thin crust will form at the top of the cream.
- Don’t dip the biscuits in the milk for too long. Just a quick dip for 1-2 seconds is enough.
Substitutions
- You could use a dairy-free milk alternative that does well with heating up.
- You could add some orange zest for some extra aroma.
- You could decorate with cinnamon or cacao powder or chopped nuts or chopped chocolate.
Serving suggestions
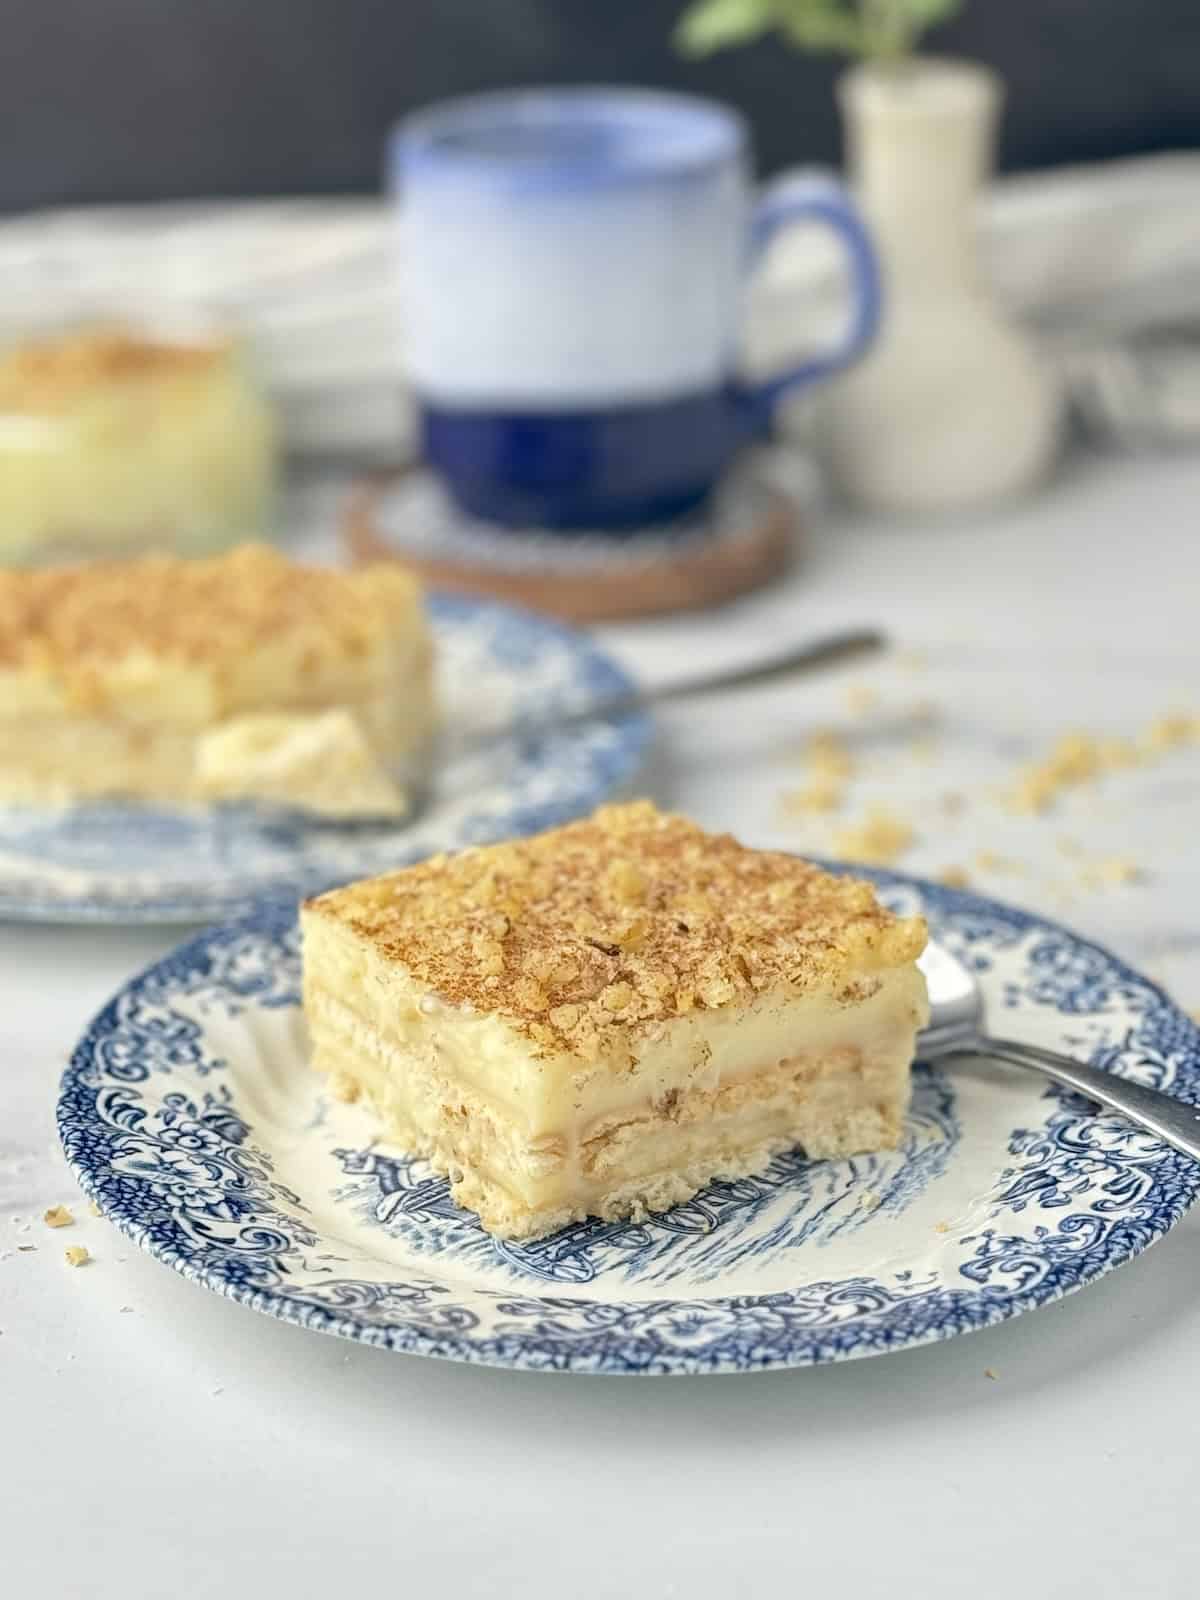
This no-bake biscuit cake is a fridge dessert that is best enjoyed cold. We love having a slice after our meal since it’s quite light and refreshing. You could also have it with a cup of coffee or tea in the afternoon or a glass of milk for the kiddos.
Storage
Since this is a refrigerated dessert, it should be chilled immediately after assembling. The no-bake biscuit cake will remain fresh and delicious in the fridge for up to 5-6 days. Beyond that, you might notice the cream becomes slightly firmer, and the texture isn’t quite as good as on the first day.
FAQ
Some alternatives to petit beurre biscuits are malted milk biscuits, tea biscuits or thin shortbread biscuits.
Yes, you can use dairy-free milk to prepare the cream. Plant-based milks like almond, soy, coconut, or oat milk can be substituted for regular milk in custard recipes. However, keep in mind that the flavor and texture might vary slightly depending on the type of dairy-free milk you use.
If you tried my Easy No-Bake Cream & Biscuit Cake or any other recipe on my website, please leave a 🌟 star rating and let me know how it went in the 📝 comments below. I love hearing from you!
Recipe
Easy No-Bake Cream & Biscuit Cake
This no-bake biscuit cake with a velvety and light cream is really easy and quick to make. A fridge dessert that can be served after a meal or in the afternoon. Enjoy!
12 servings
5 minutes
Ingredients
- 4 cups / 1 litre milk
- ¾ cup / 150gr sugar
- 3 eggs
- ½ cup / 65gr cornstarch
- 1 teaspoon vanilla extract
- ¼ cup / 4 tablespoons / 55gr cold butter
- 24 biscuits
- ½ cup milk (for dipping the biscuits)
- ground cinnamon and chopped walnuts for decoration (optional)
Equipment
- pyrex tray (paid link)
Instructions
- Add the milk to a big pot and turn the heat on to medium.
- In a bowl, add the eggs and sugar and mix until the sugar has dissolved.
- Add the vanilla and cornstarch. Mix until the cornstarch is incorporated.
- Add 2-3 ladle spoons of the heated milk to the bowl and stir to raise the mixture's temperature.
- Add the bowl's content to the pot with the milk. Keep stirring until the cream thickens, about 6-8 minutes.
- Turn off the heat and add the cold butter. Stir until the butter is melted.
- Dip half of the biscuits in half a cup of milk and lay on a tray.
- Add half of the cream and spread to cover the biscuits.
- Dip the rest of the biscuits in the milk and lay on top of the cream. Add the remaining cream on top.
- Decorate with chopped walnuts and ground cinnamon. Rest in the frridge for 2 hours before serving.
Notes
- You could use petit beurre biscuits or any other type of plain, hard biscuits you like.
- Make sure you keep stirring after incorporating the mixture with the milk to prevent forming any lumps.
- You could use a big tray or individual bowls for the dessert.
Storage
Keep it in the fridge and consume it within 5-6 days.
Nutrition Info (per serving)
I am not a nutritionist. The nutrition information has been calculated using an on-line calculator, and is intended for information and guidance purposes only. If the nutrition information is important to you, you should consider calculating it yourself, using your preferred tool.











Julia
This recipe brings back memories from my childhood. If you try it and like it as much as my family does, leave me a comment and a rating here.