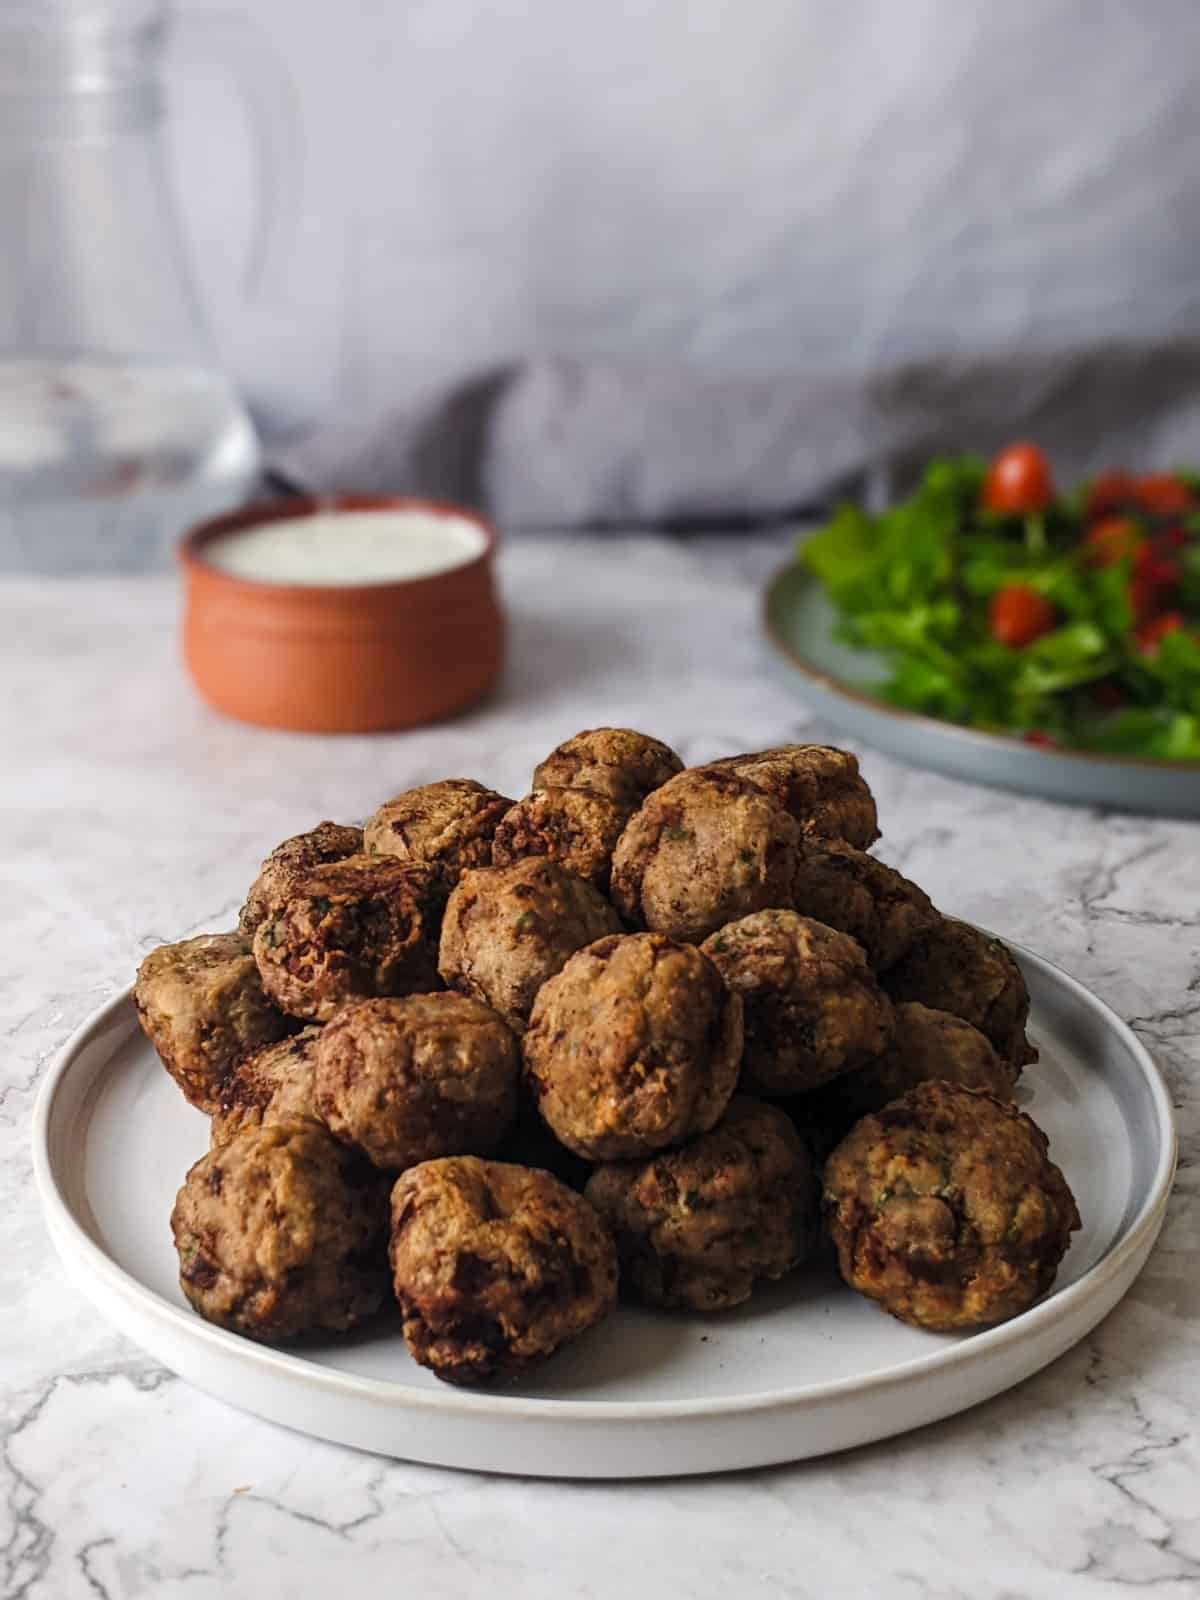
Those of you who have travelled to Greece, have probably already tried keftedakia at a Greek restaurant as a side dish or part of a pikilia dish, a mix of meat, dips, fries and salad. These fluffy little meatballs are full of aromas from the herbs and it will take you 30 minutes to prepare and fry them. For a healthier option, you could bake them in the oven on a lined tray for 30 minutes.
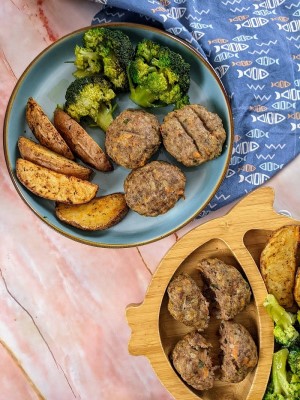
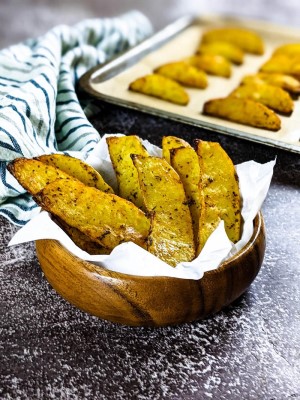
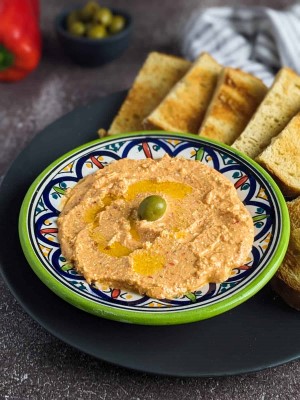
Although they are considered an appetizer and finger food, in my family we love to have keftedakia as a main. Usually, we serve them with some french fries or baked potato wedges and some tyrokafteri to dip them in.
You could also get some wraps or follow my recipe to make some easy pita bread, then put a couple of keftedakia in with some tzatziki sauce and some fries or chopped tomatoes and onions. Perfect for a quick dinner or lunchbox!
Jump to:
Why you should try my recipe
- Quick and easy to prepare.
- Delicious little bites, perfect for buffets and parties.
- Doesn’t require any special cooking skills.
- Great side dish or appetizer that will impress your friends.
- Both kids and adults love them.
Ingredients & How-to
To make these Greek keftedakia meatballs you are going to need some ground beef, egg, onion, garlic, bread, milk, olive oil, vinegar, oregano, fresh parsley, fresh or dried mint, salt and pepper. You could use fresh or dried herbs. I like a mixture of both, some dried oregano and mint and fresh parsley.
Then for frying the meatballs, we are going to need some flour to coat them and some oil, whichever type you like to use for frying. So let’s get started!

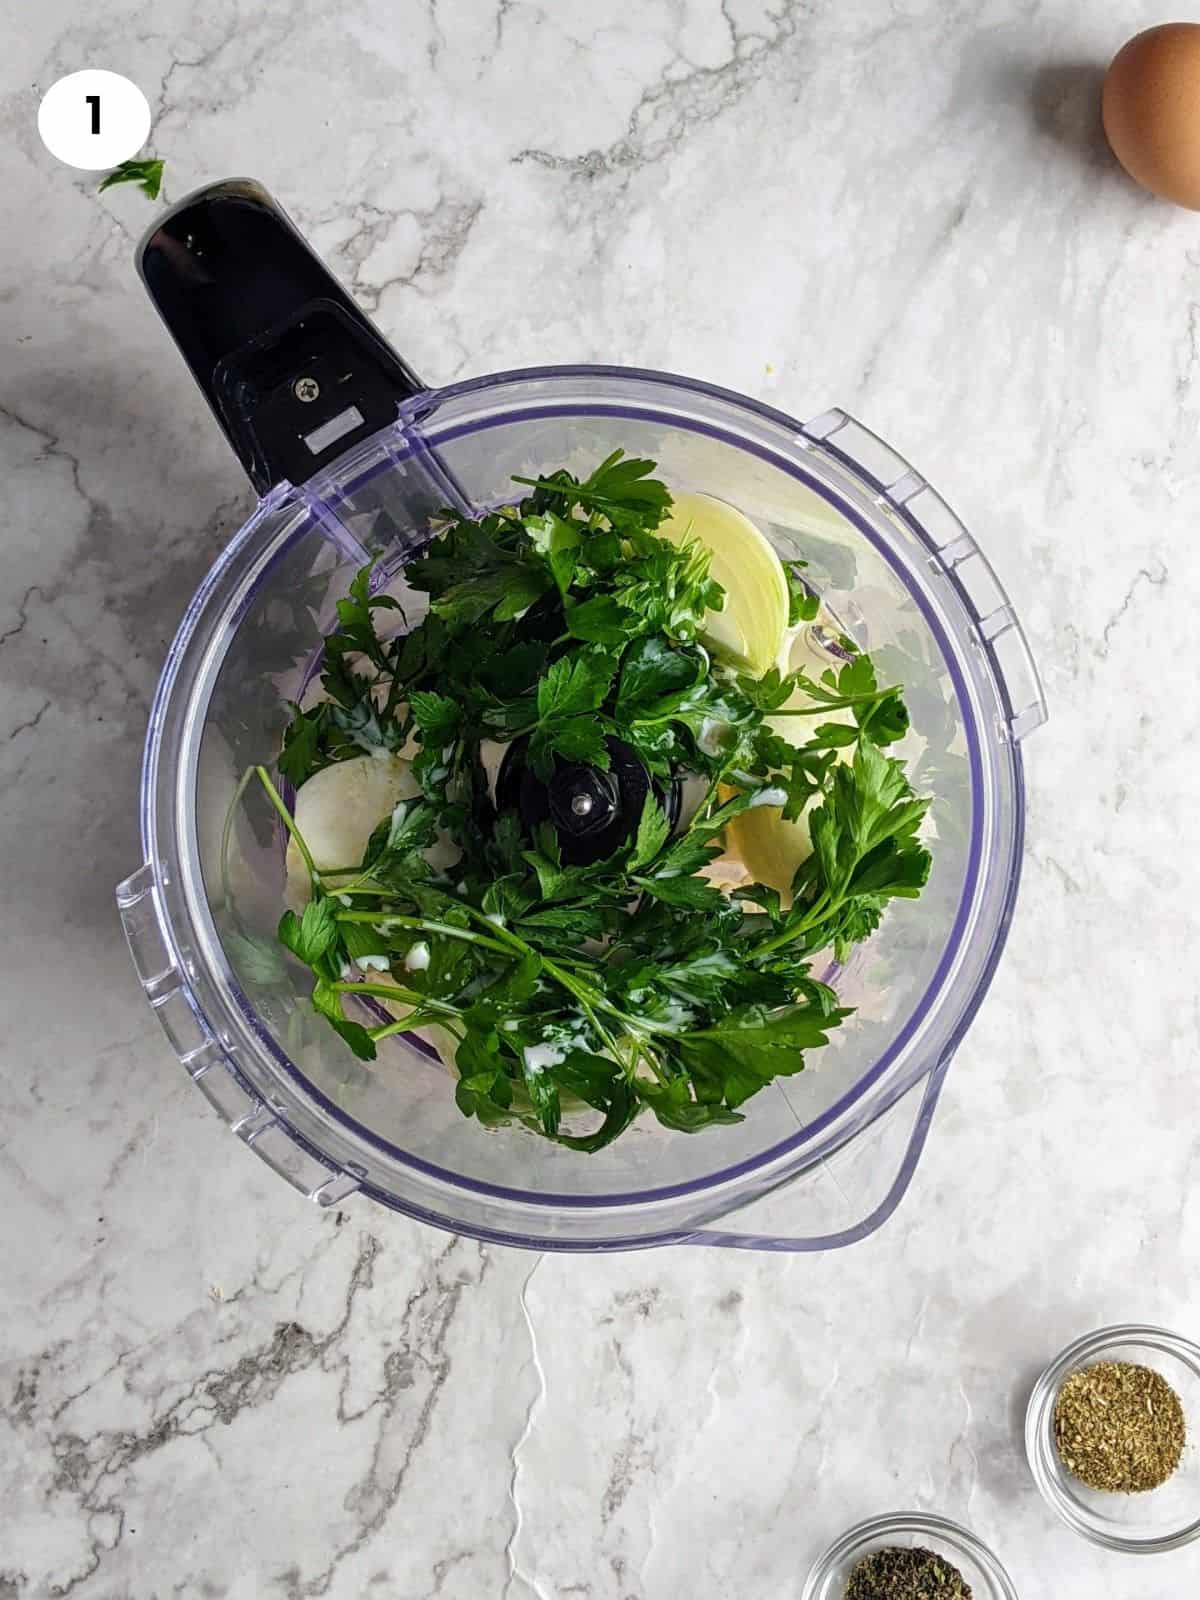
01. I place the onion, garlic, olive oil, vinegar, milk and fresh parsley in a food processor. If you don’t have a food processor, then you can chop the onion, garlic and fresh parsley finely and add them to the bowl along with the rest of the ingredients.
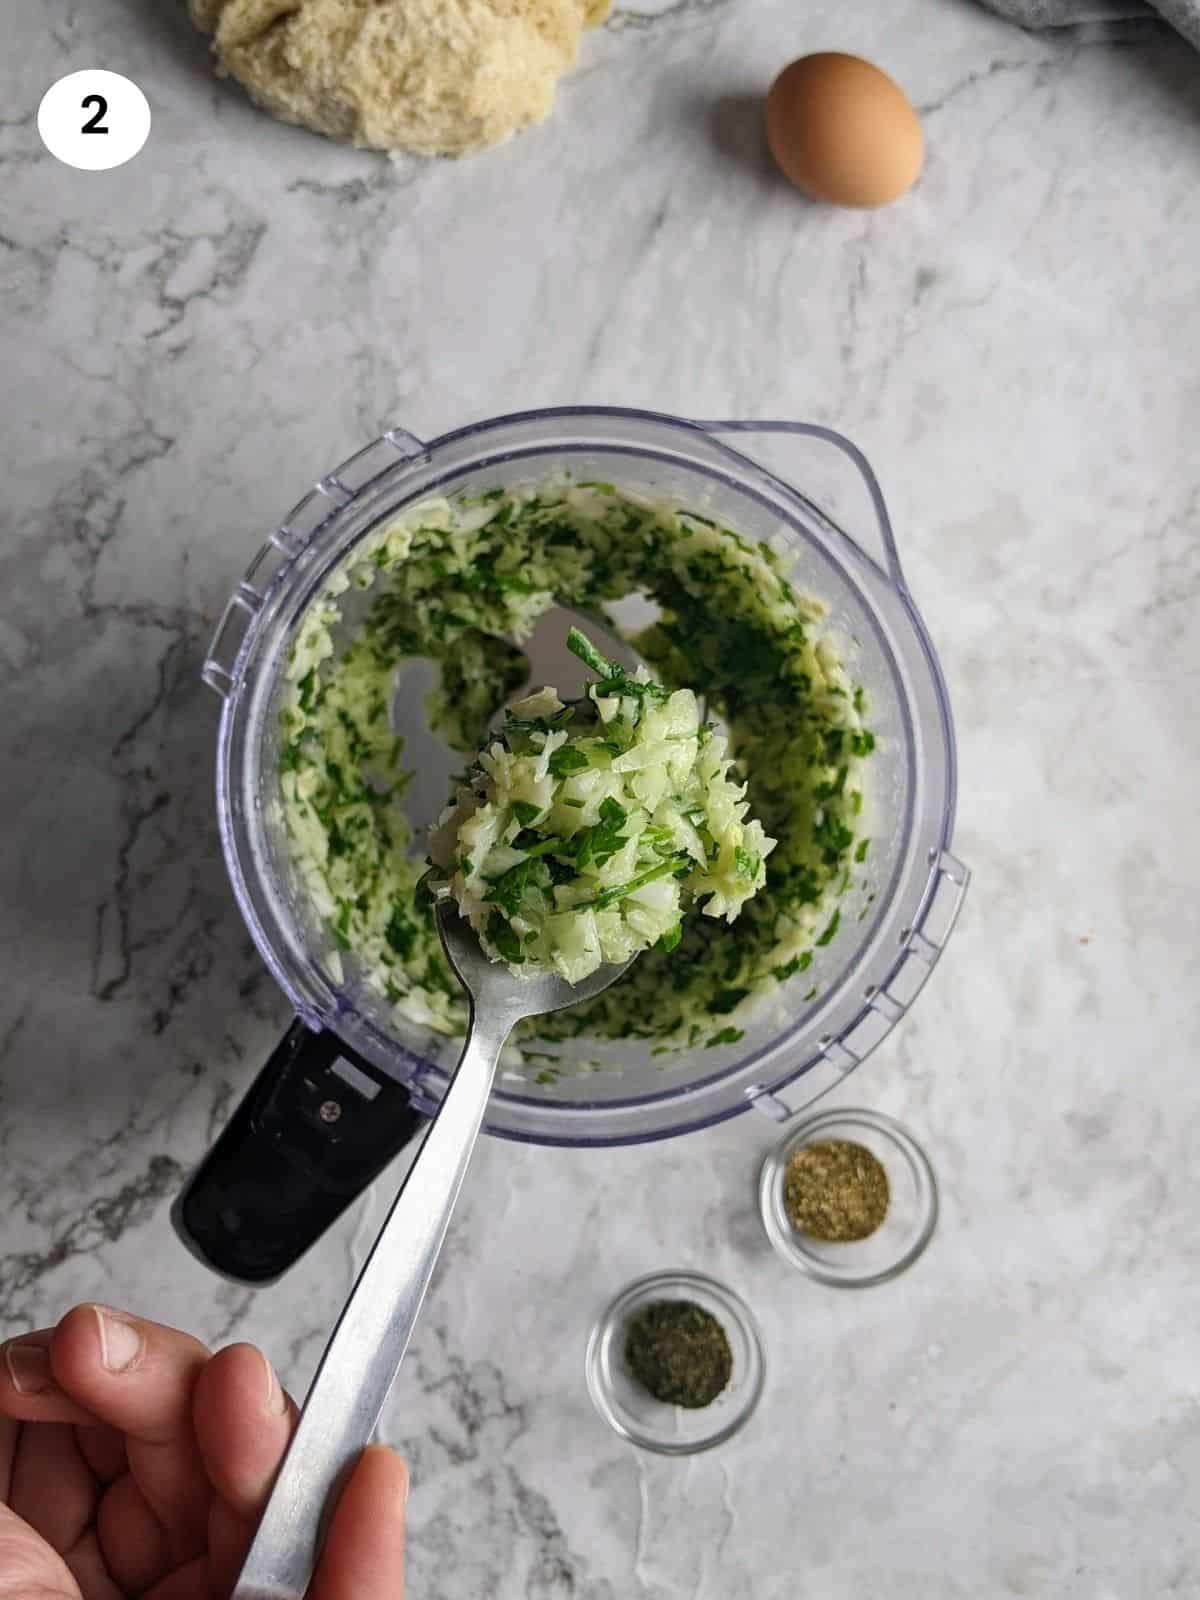
02. I blend them for a minute until the onion, garlic and fresh parsley are chopped. They should be chopped finely but not very watery.
Mamazilla's Product Recommendations
Great for puree, chopping, slicing and shredding vegetables. I also occasionally use it for baking when mixing flour and butter!
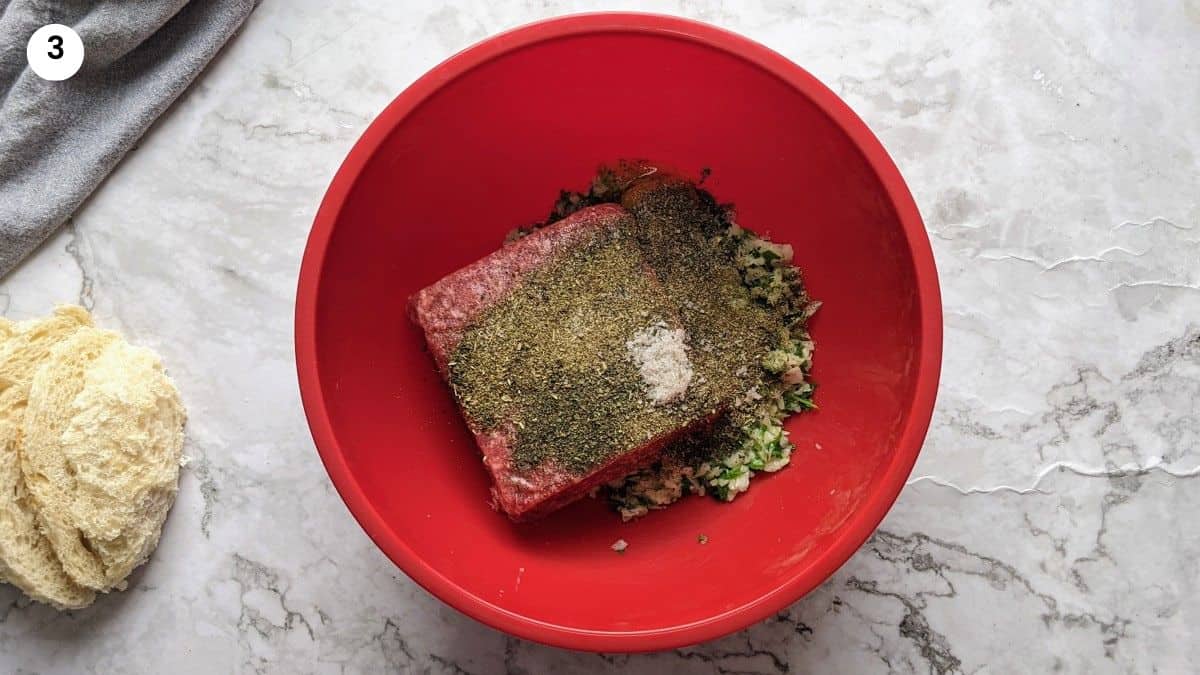
Buy On Amazon03. I’m using around 1lb of ground beef (half a kilo). You could use a mixture of ground beef and pork if you prefer or just beef. I like to use ground meat with a fat percentage of 85%-15% as if it’s too lean the meatballs will come out more dry. In a bowl, I add the ground meat, egg, dried oregano, dried mint, salt and pepper, and the blended ingredients.
04. Finally, it’s time for the bread. I remove the crust from the bread and I soak it in a bowl of water. If you have a couple of days old bread that has gone a bit hard, then that’s even better to use. Alternatively, you could use some panko or breadcrumbs but I find that bread makes the meatballs more soft and fluffy.
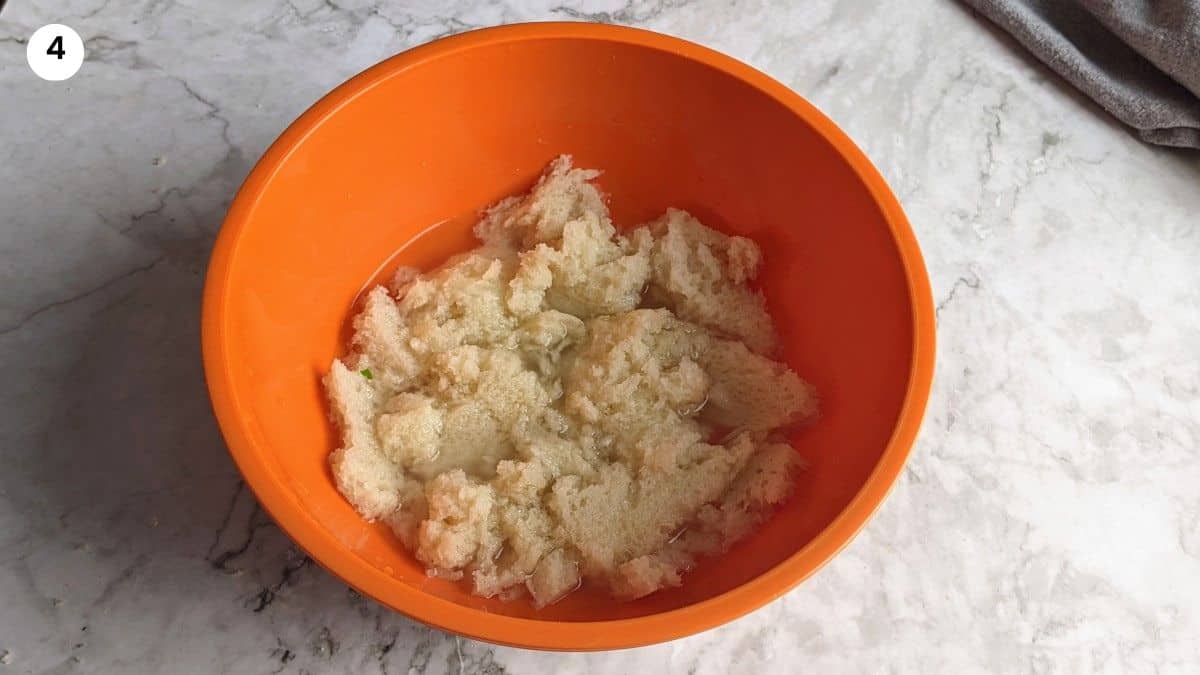
05. Then I squeeze out the water with my hands and add the bread to the bowl with the rest of the ingredients.
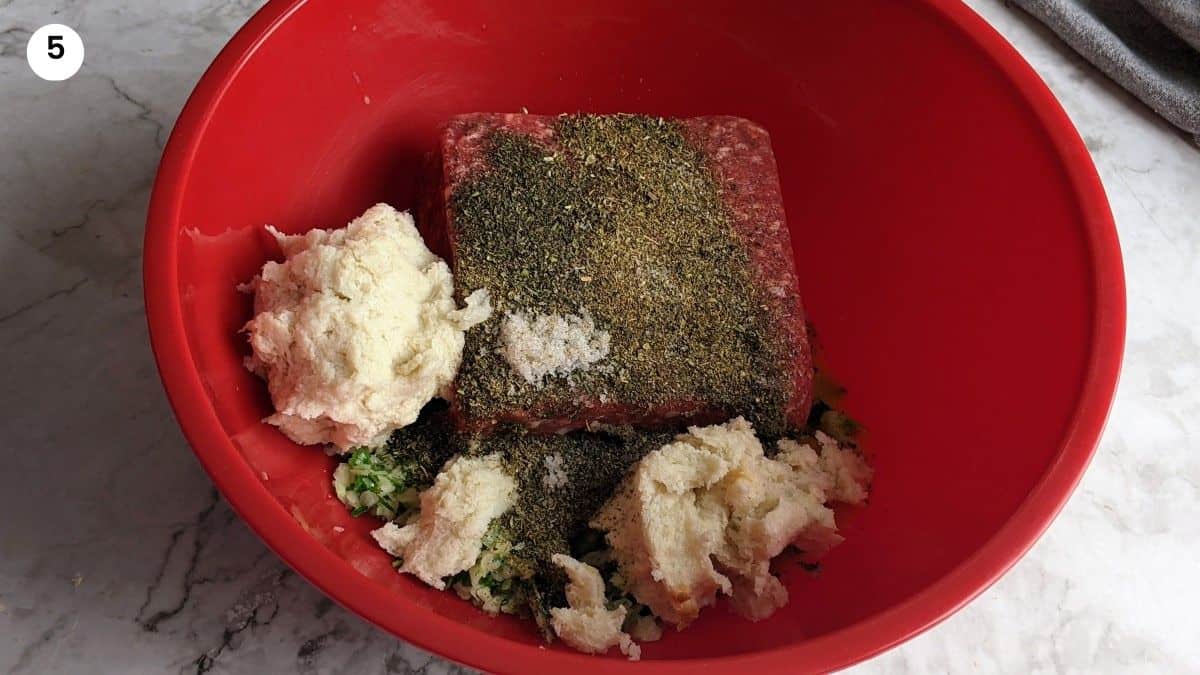
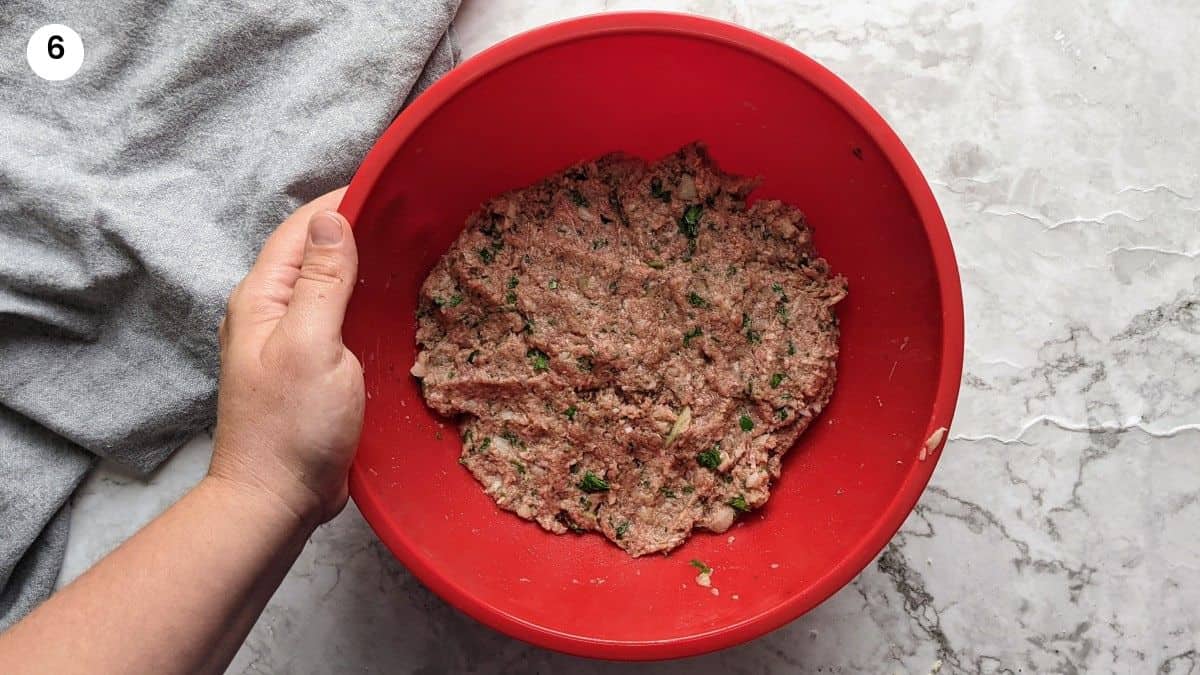
06. I mix all the ingredients well with my hands for a few minutes until it’s all well combined. You will notice that as you start mixing the ingredients the ground meat will get a lighter brown color. Then, I leave the mixture to rest for 10-15 minutes in the fridge. Resting is optional but it brings out the flavors and binds everything together so it’s easier to shape.
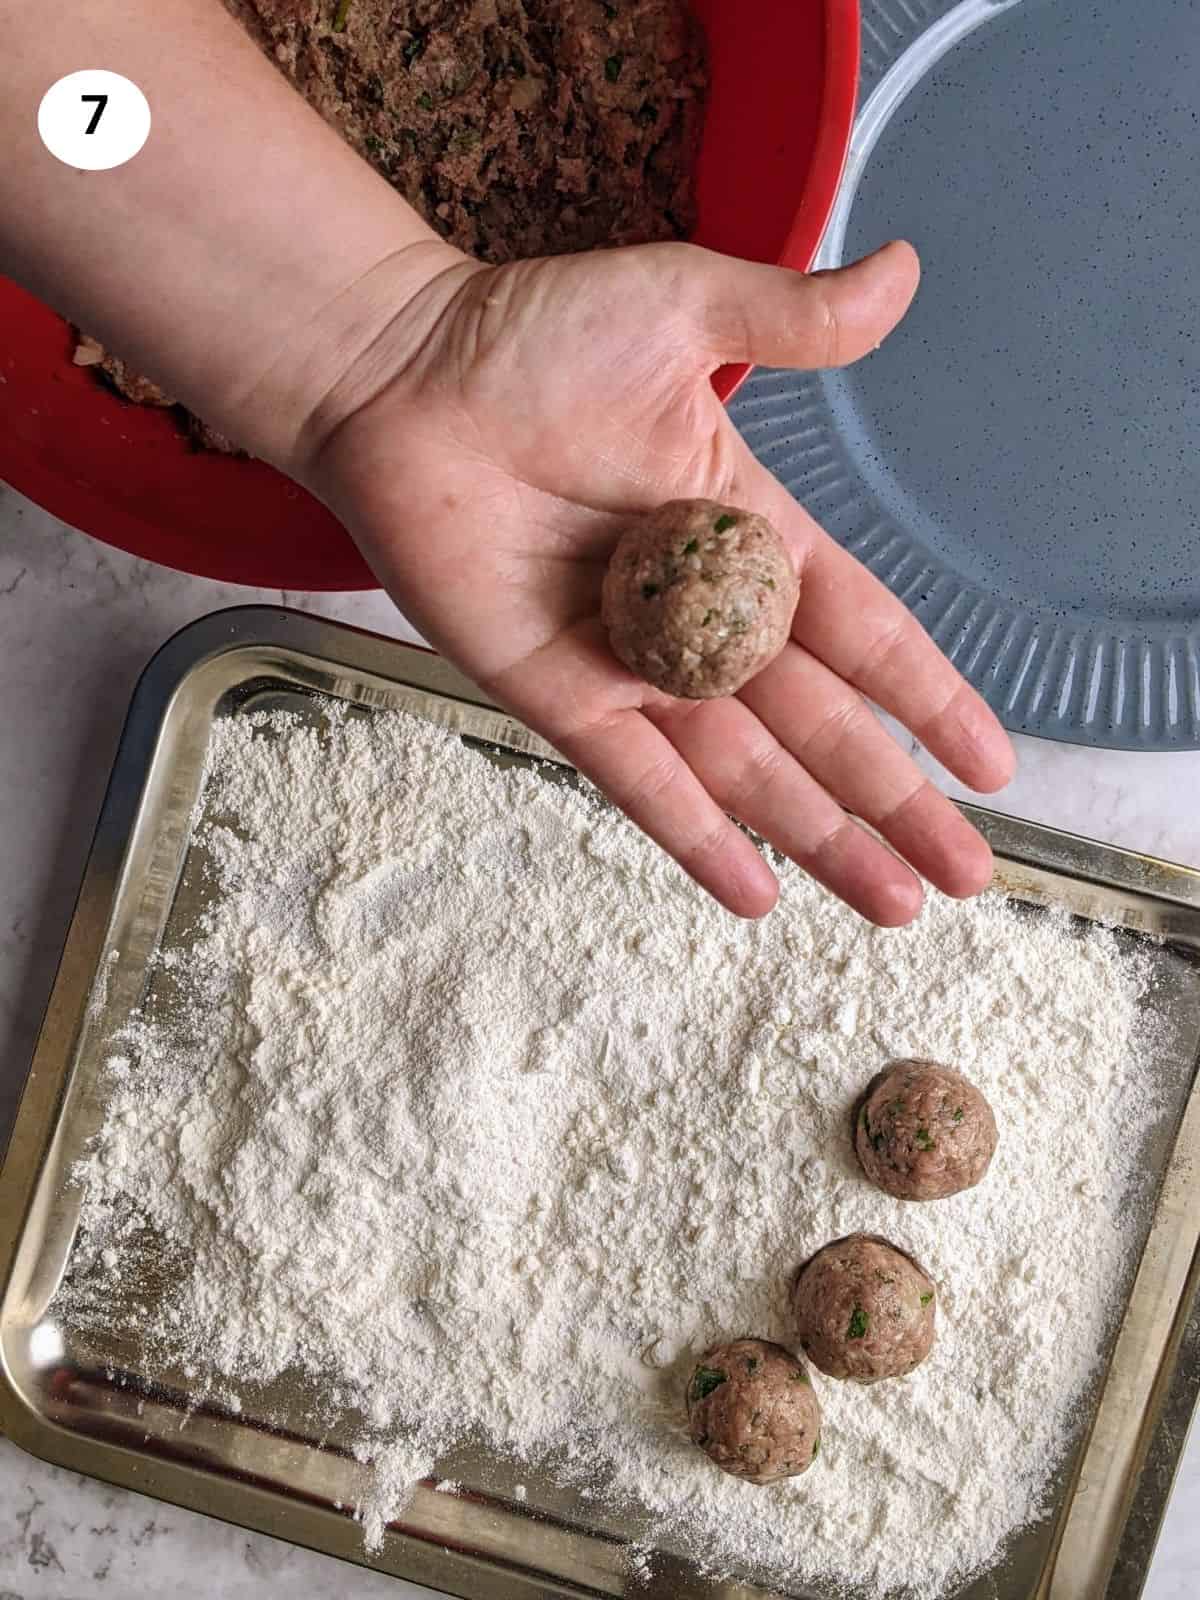
07. To shape the keftedakia, I take a small piece of the mixture about 0.8oz or 25gr and make a round meatball. You could make them a bit bigger or smaller if you like, just try to make them around the same size to cook evenly.
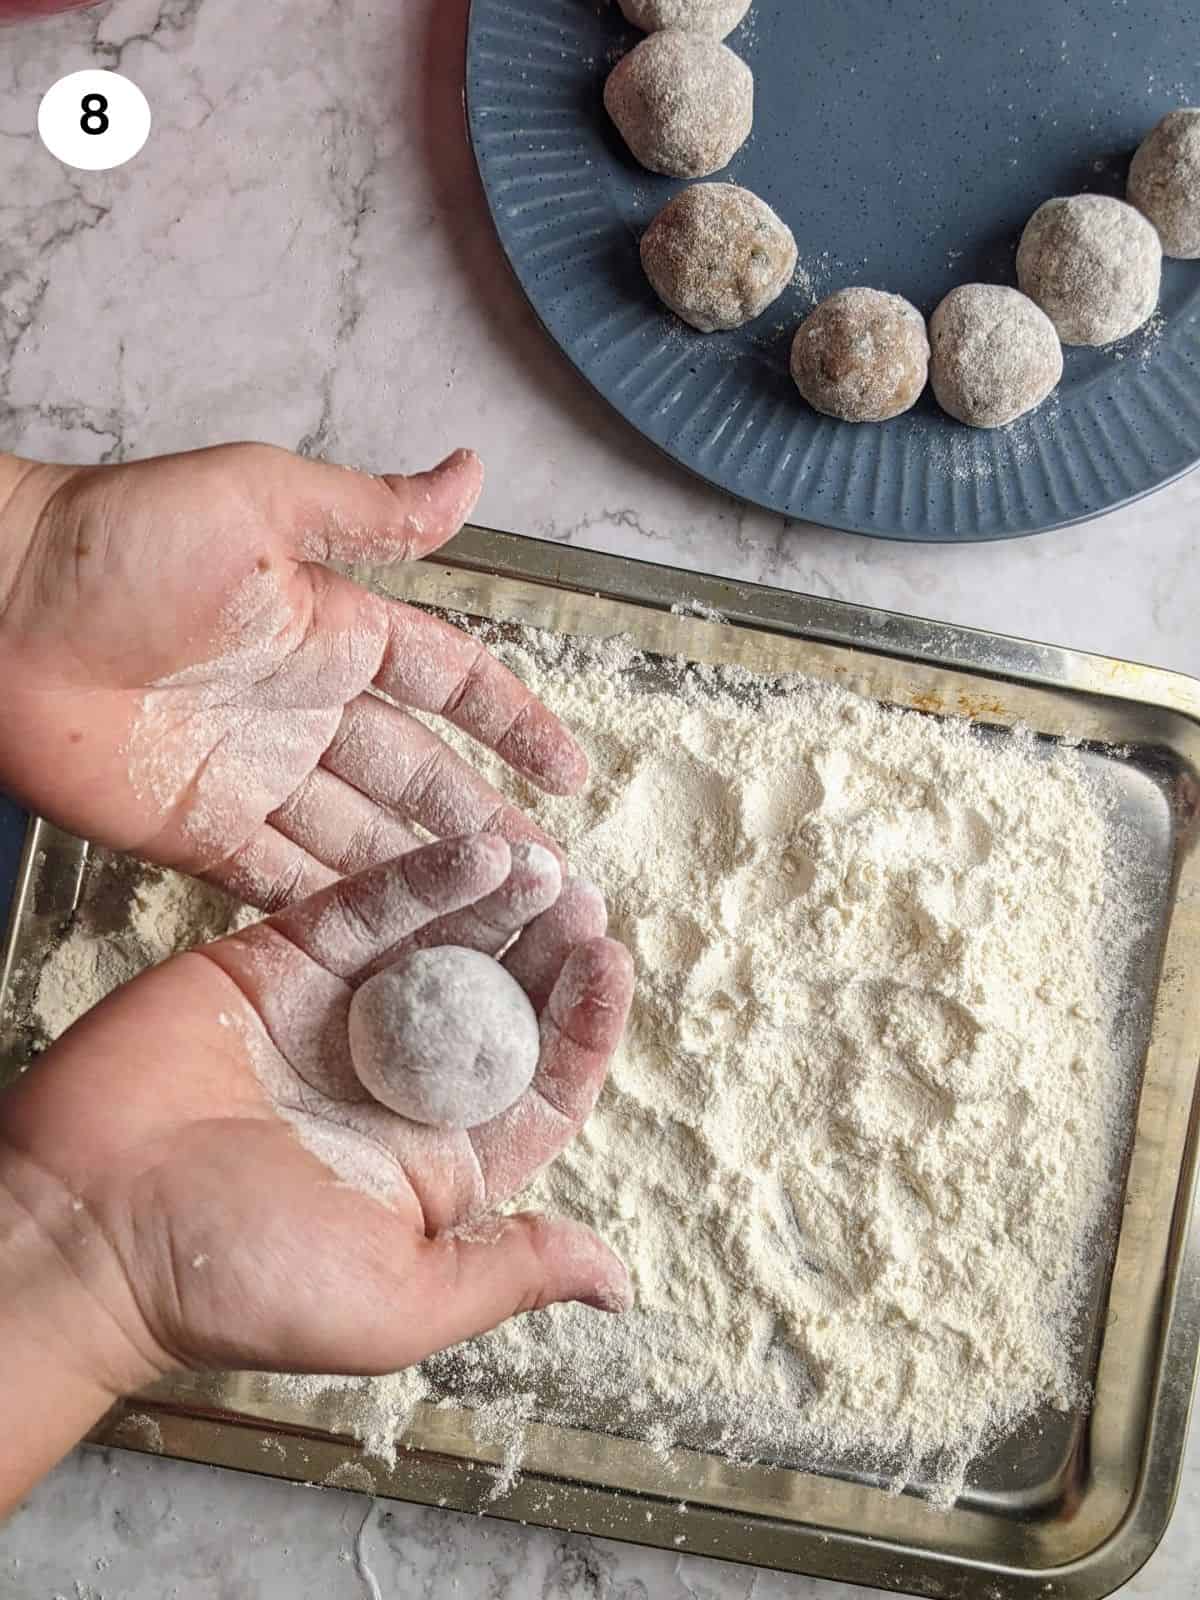
08. In a small tray, I add some flour and I coat the meatballs making sure to remove any excess flour by shifting them with my fingers.
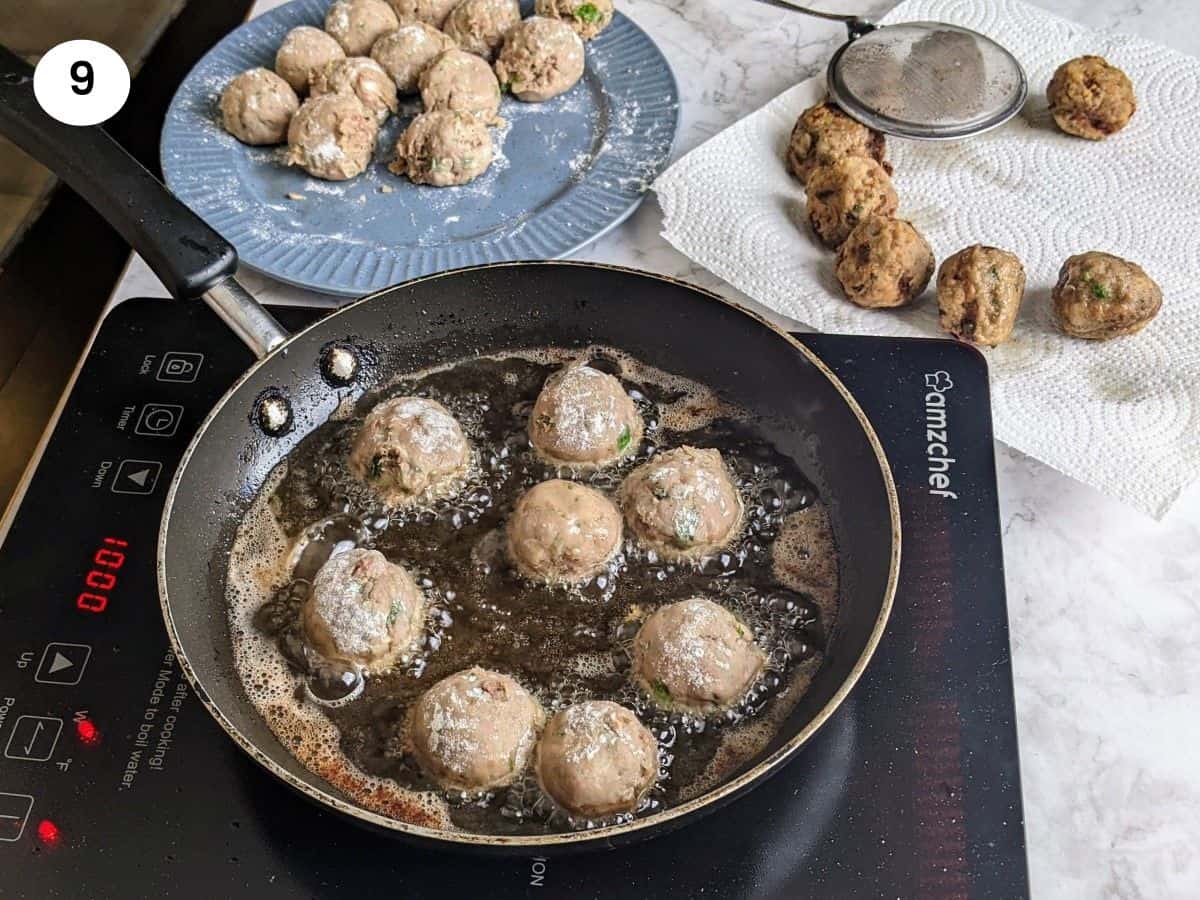
09. I warm up a pan filled with about 1in / 2cm of oil in medium-high heat. Then I add 7-8 meatballs at a time depending on how big your pan is. Try not to overcrowd the pan as that will bring the temperature down and the meatballs might separate or not cook properly.
Mamazilla's Product Recommendations
I love these swiss granite pans! They are nonstick, great for frying or pancakes and crepes and most of all, SGS approved & PFOA free.
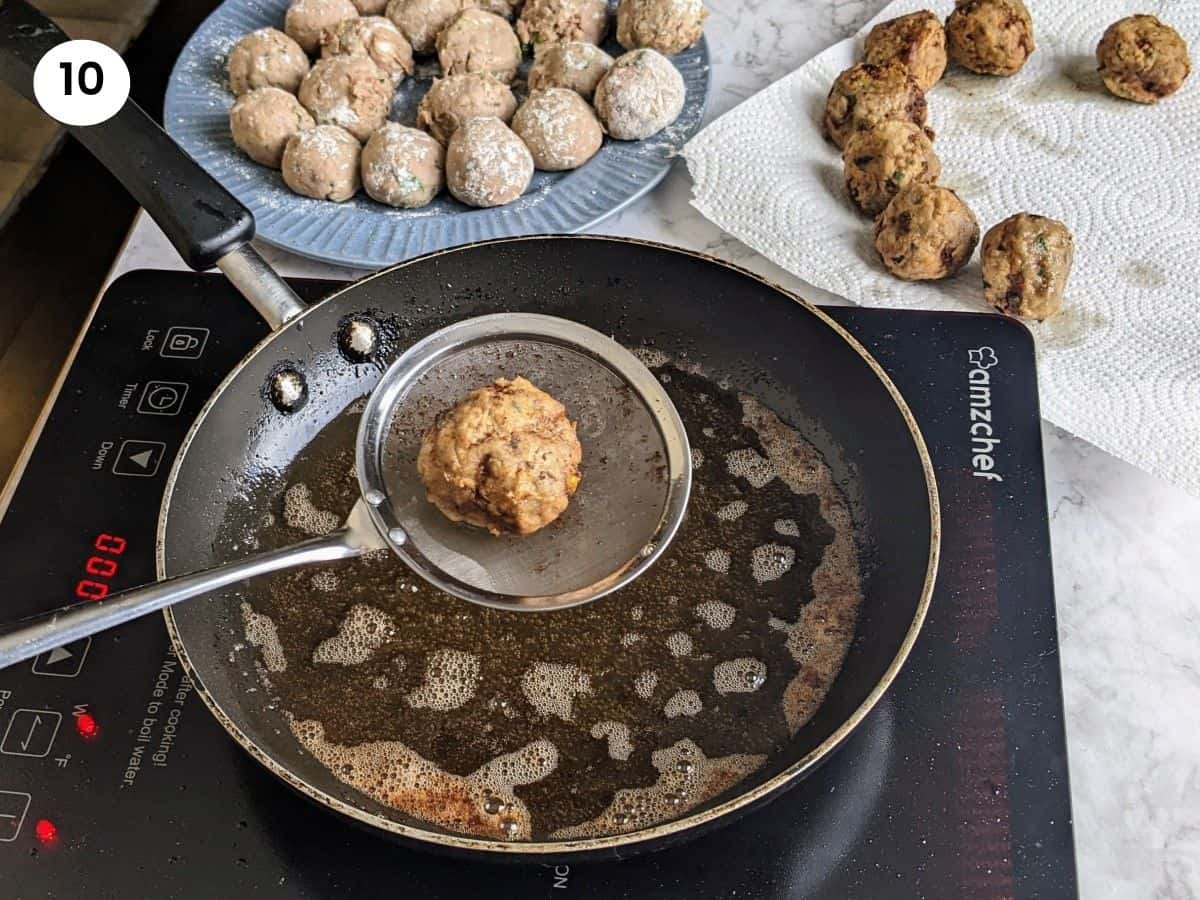
Buy On Amazon10. I leave the meatballs to cook for 4-5 minutes. Don’t forget to turn them halfway through, so they cook nicely on all sides. Then using, a slotted-spoon, I take each one out and place the keftedakia on a plate lined with paper to absorb the excess oil.
Tips
- Leave the meatballs mixture to rest in the fridge for 10 minutes to bring all the flavors together.
- Make sure that the oil is hot enough before adding the meatballs in. If you have a thermometer then look for a temperature between 325-350°F.
- You could try baking the keftedakia for a healthier version. Place them on a lined baking tray and bake for 30 minutes at 180°C/350°F.
- Make sure that the meatballs are shaped about the same so they are cooked evenly.
Substitutions
- You could use fresh or dried herbs or a mix of both.
- You could use half ground beef and half ground pork if you find the beef taste too strong.
- Instead of bread, you could use half a cup of breadcrumbs or panko.
Serving suggestions
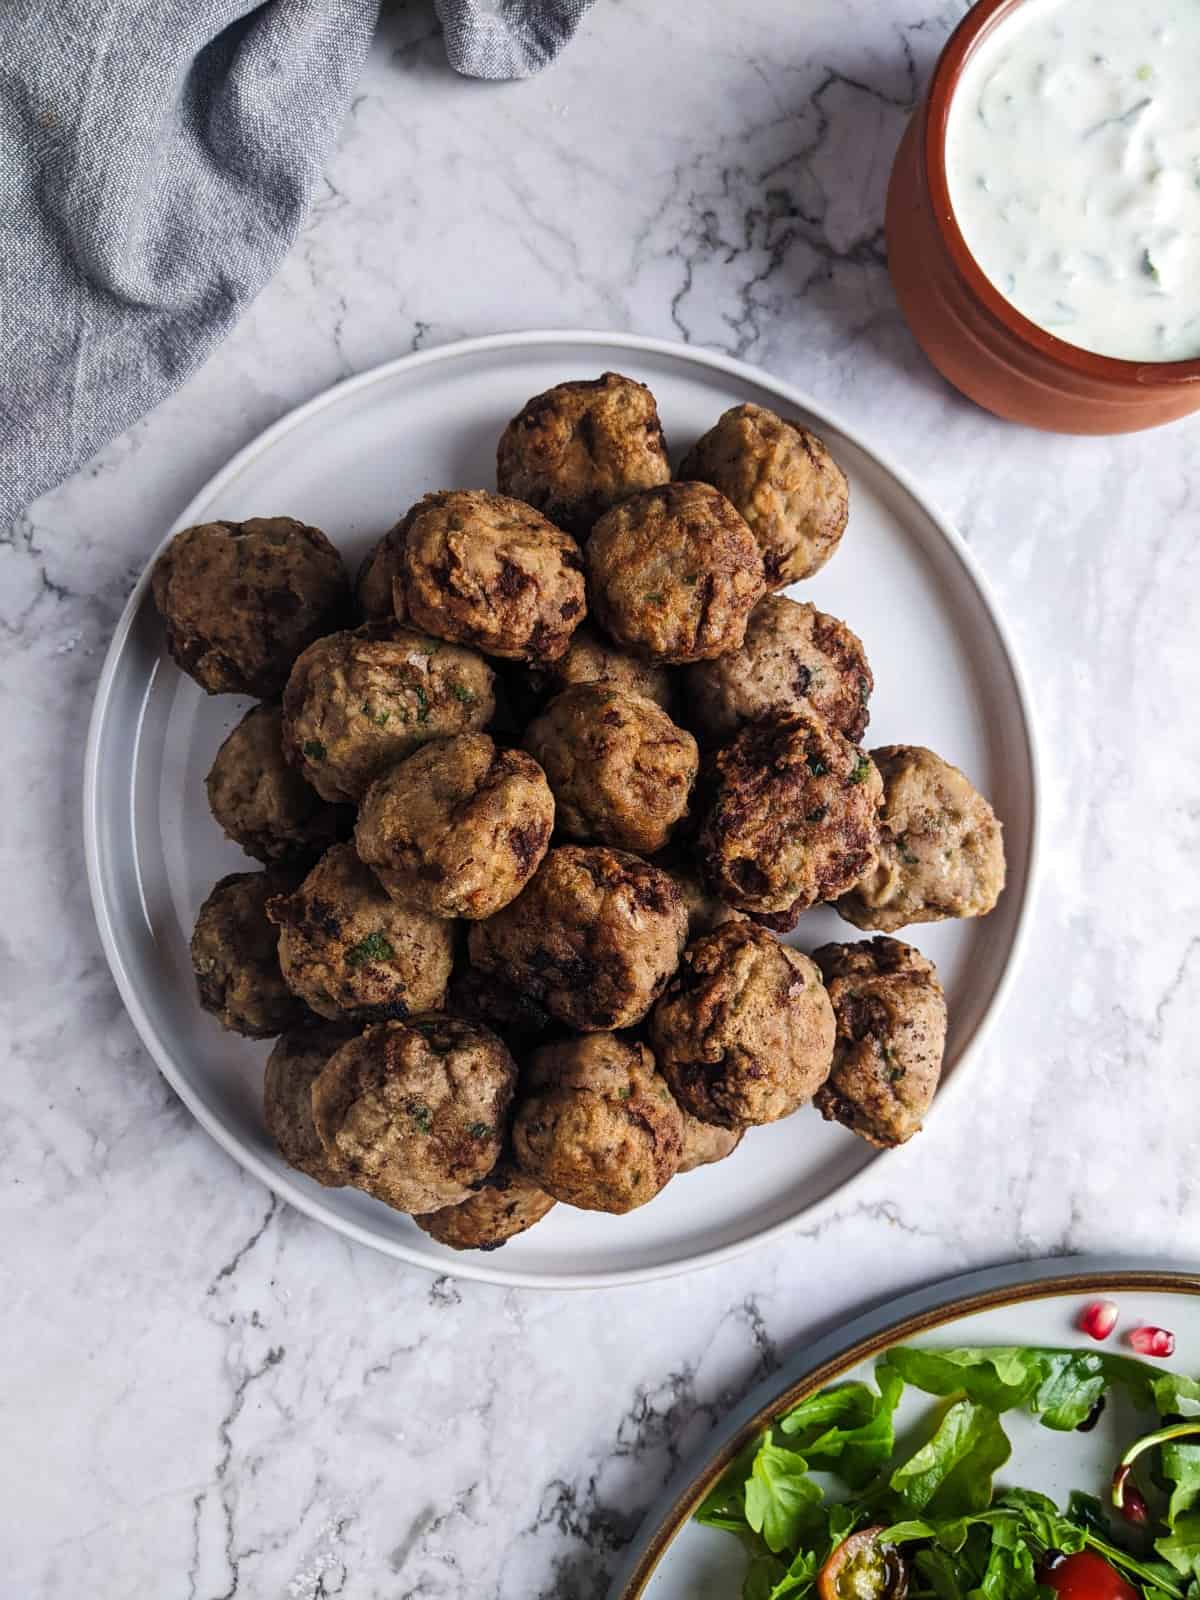
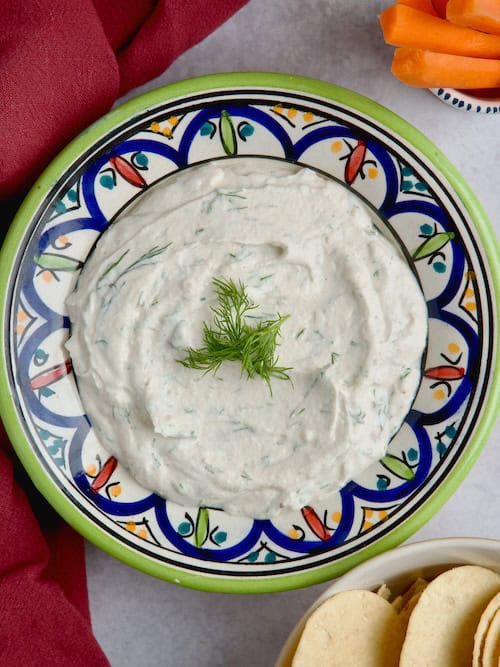
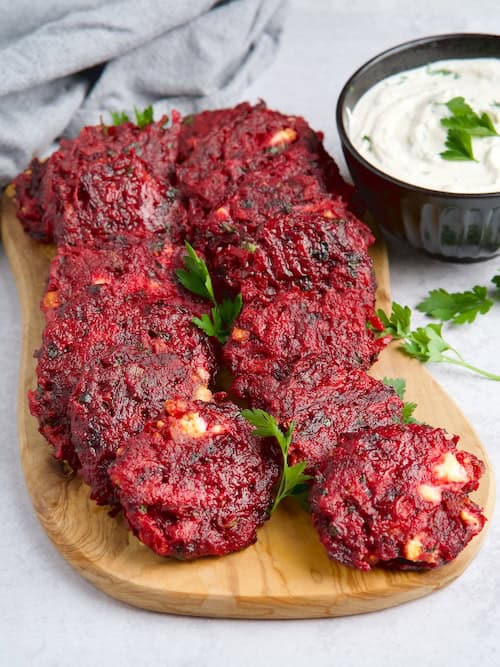
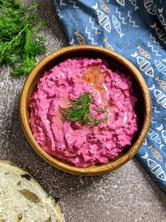
These keftedakia meatballs are great as an appetizer or main with some tzatziki sauce or beet & yogurt dip and some fries or mash on the side. You can add some on a meze platter with other meat, dips, olives and fries which is very common in Greek restaurants with the name ‘pikilia dish’.
If you have little kids, they are going to love keftedakia. It’s a classic food for kids parties and buffets. You can add them on a toothpick with half a cherry tomato and a cube of cheese, and put them on a platter.
Storage
If you have any leftovers of these Greek fried meatballs, you could store them in the fridge for up to 3 days. Just warm them up in the microwave until piping hot. You could also freeze them before or after frying. If you decide to freeze the keftedakia before frying, make sure that you thaw them completely to avoid getting burnt from the sizzling oil.
FAQ
Keftedes are Greek fried meatballs, made of ground meat, bread, onion, garlic, egg and herbs like oregano, mint and parsley. After mixing all the ingredients, you leave the mixture to rest, then shape the meatballs, coat them in flour and fry them.
Soutzoukakia and keftedes are both meatballs but with a few differences. Soutzoukakia have as a key ingredient cumin and their shape is oval whereas keftedes have different herbs and have a round shape. Moreover, soutzoukakia are cooked in a rich tomato sauce whereas keftedes are traditionally fried in oil.
For a healthier version, you could bake the keftedakia for 30 minutes in a preheated oven to 180°C/350°F.
If you tried my Keftedakia - Greek Fried Meatballs or any other recipe on my website, please leave a 🌟 star rating and let me know how it went in the 📝 comments below. I love hearing from you!
Recipe
Keftedakia - Greek Fried Meatballs
These keftedakia or Greek meatballs, are so soft and full of aromas from the herbs. It will only take you half an hour to prepare and cook them. Great for a midweek meal with some salad or fries, or for parties and lunchboxes. So versatile. Enjoy!
28-30 meatballs
10 minutes
Ingredients
- 1lb / 500gr ground beef
- 1 onion
- 1 egg
- 2 garlic cloves
- 1 tablespoon vinegar
- 2 tablespoons olive oil
- 4 bread slices (no crust)
- 1 tablespoon milk
- 1 teaspoon oregano
- 1 teaspoon dried mint
- bunch of fresh parsley
- salt & pepper
Equipment
- food processor (paid link)
- nonstick frying pan (paid link)
Instructions
- Add the peeled onion, peeled garlic cloves, vinegar, olive oil, milk and fresh parsley in a food processor. Blend for a minute until all chopped.
- In a bowl, add the blended ingredients, the ground beef, egg, oregano, mint, salt and pepper.
- Add the bread to a bowl of water until soaked. Squeeze the water out with your hands and add the bread to the bowl with the rest of the ingredients.
- Mix everything well for a minute. Add the keftedakia mixture to the fridge to rest for 10 minutes.
- Shape the keftedakia into a round shape about the size of a golf ball (25gr / 0.8oz each).
- Coat the keftedakia with flour and place them on a plate.
- Add some oil to a frying pan, about 2cm / 0.8in and heat up over medium-high heat.
- Depending on the size, place about 7-8 meatballs in the pan. Fry for 4-5 minutes, turning them halfway through.
- Remove each keftedaki using a slotted spoon and place on a plate lined with paper towel to absorb the excess oil. Continue with the rest of the meatballs.
Notes
- Instead of bread, you could use half a cup of breadcrumbs.
- Make sure the oil is hot before adding the meatballs in, around 325-350°F.
Storage
You could store the keftedakia in the fridge for up to 3 days. Freezable for up to 3 months.
Nutrition Info (per serving)
I am not a nutritionist. The nutrition information has been calculated using an on-line calculator, and is intended for information and guidance purposes only. If the nutrition information is important to you, you should consider calculating it yourself, using your preferred tool.






Comments